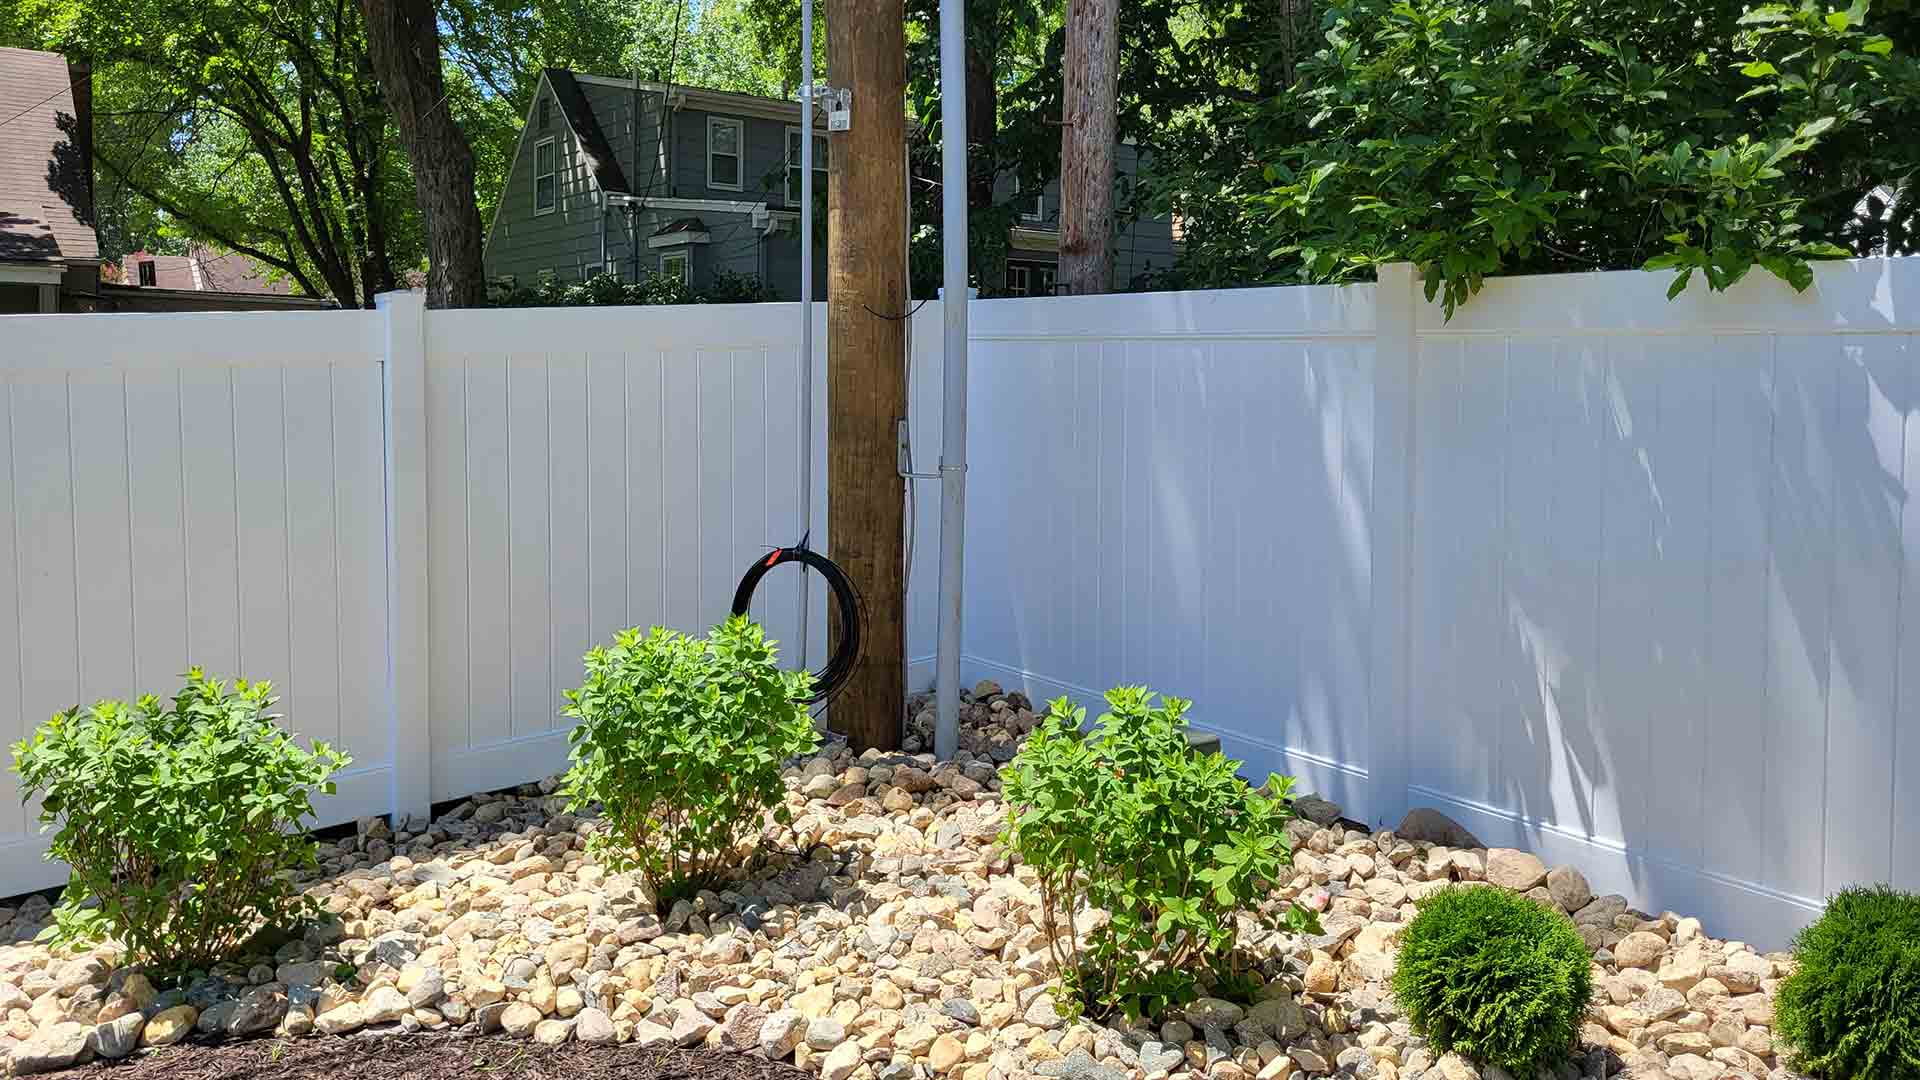
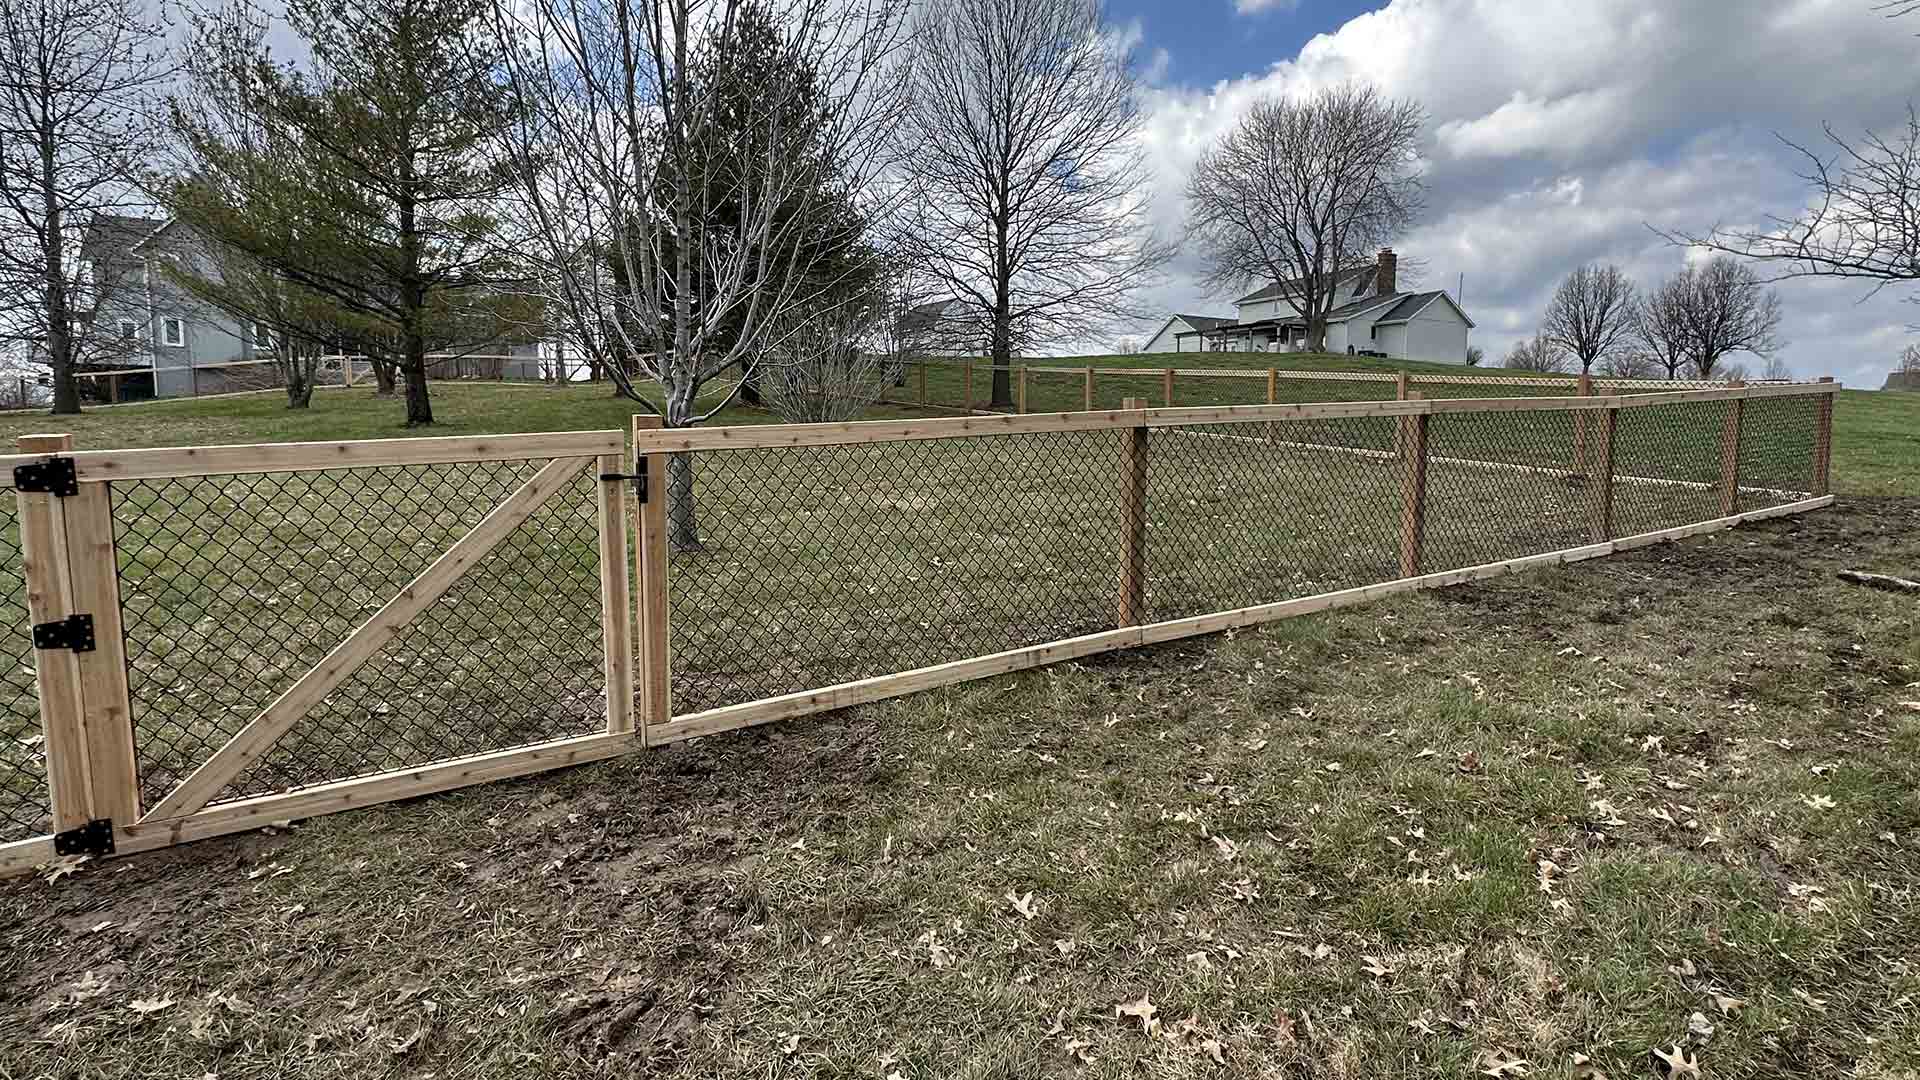
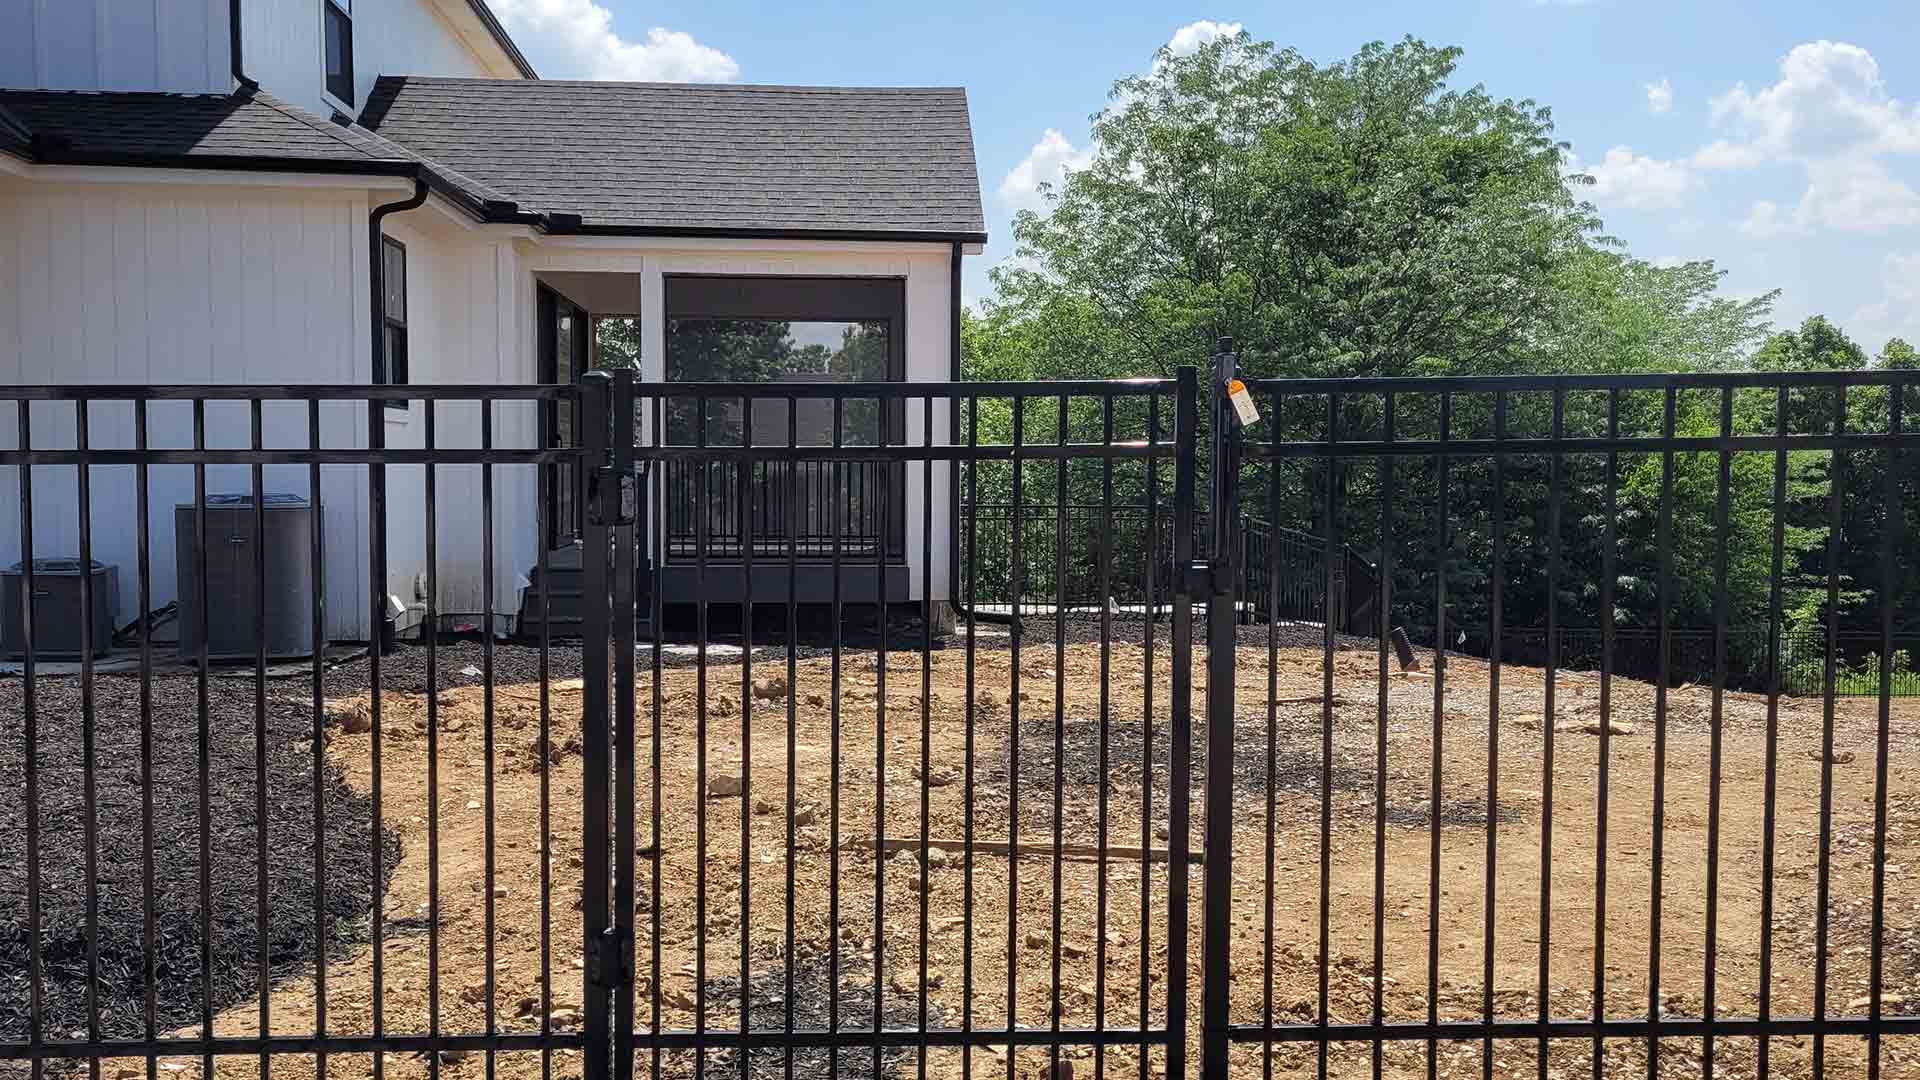
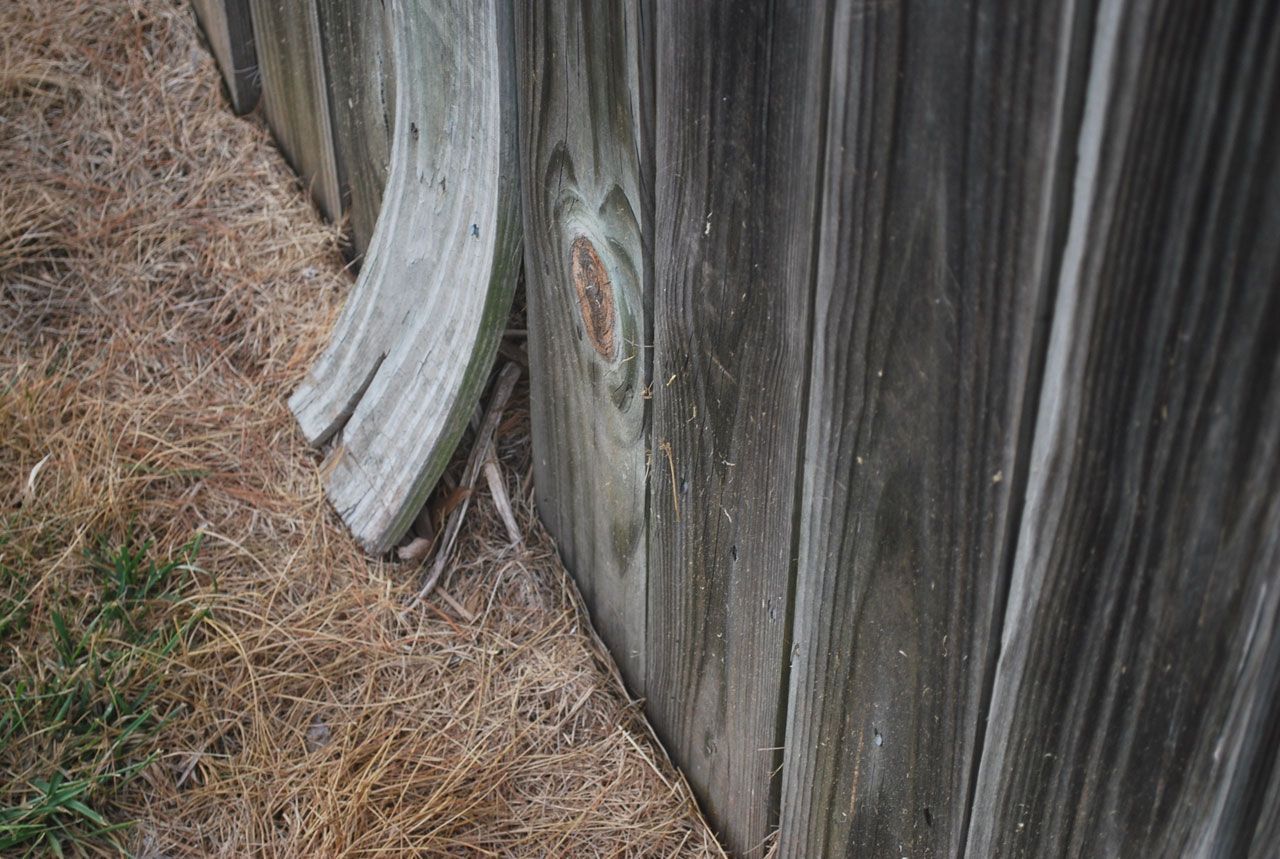
Looking to install a PVC fence? This article will guide you through each step of the PVC fence install process, ensuring you have all the information you need, from planning and gathering materials to the final touches and maintenance.
Key Takeaways
-
Thoroughly plan your PVC fence installation by checking local building codes, determining property lines, and selecting an appropriate fence style to ensure compliance and avoid disputes.
-
Gather all essential materials and tools prior to installation, including PVC panels, posts, concrete, and necessary tools like a tape measure and level, to facilitate an efficient and accurate setup.
-
Regularly maintain your PVC fence through cleaning, timely repairs, and seasonal inspections to prolong its lifespan and preserve its appearance.
Planning Your PVC Fence Project
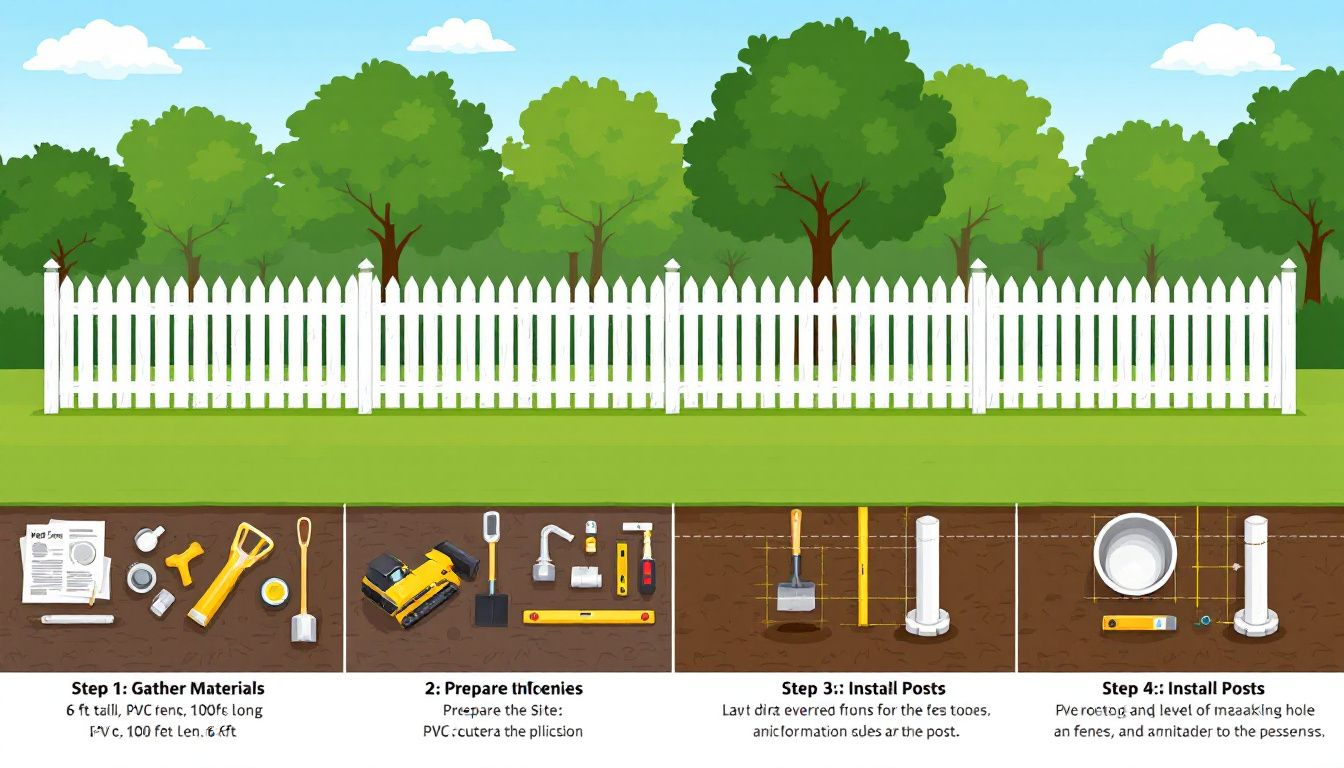
Proper planning is the cornerstone of a successful PVC fence installation. Begin by understanding local building codes and permits to avoid legal issues and ensure compliance with regulations.
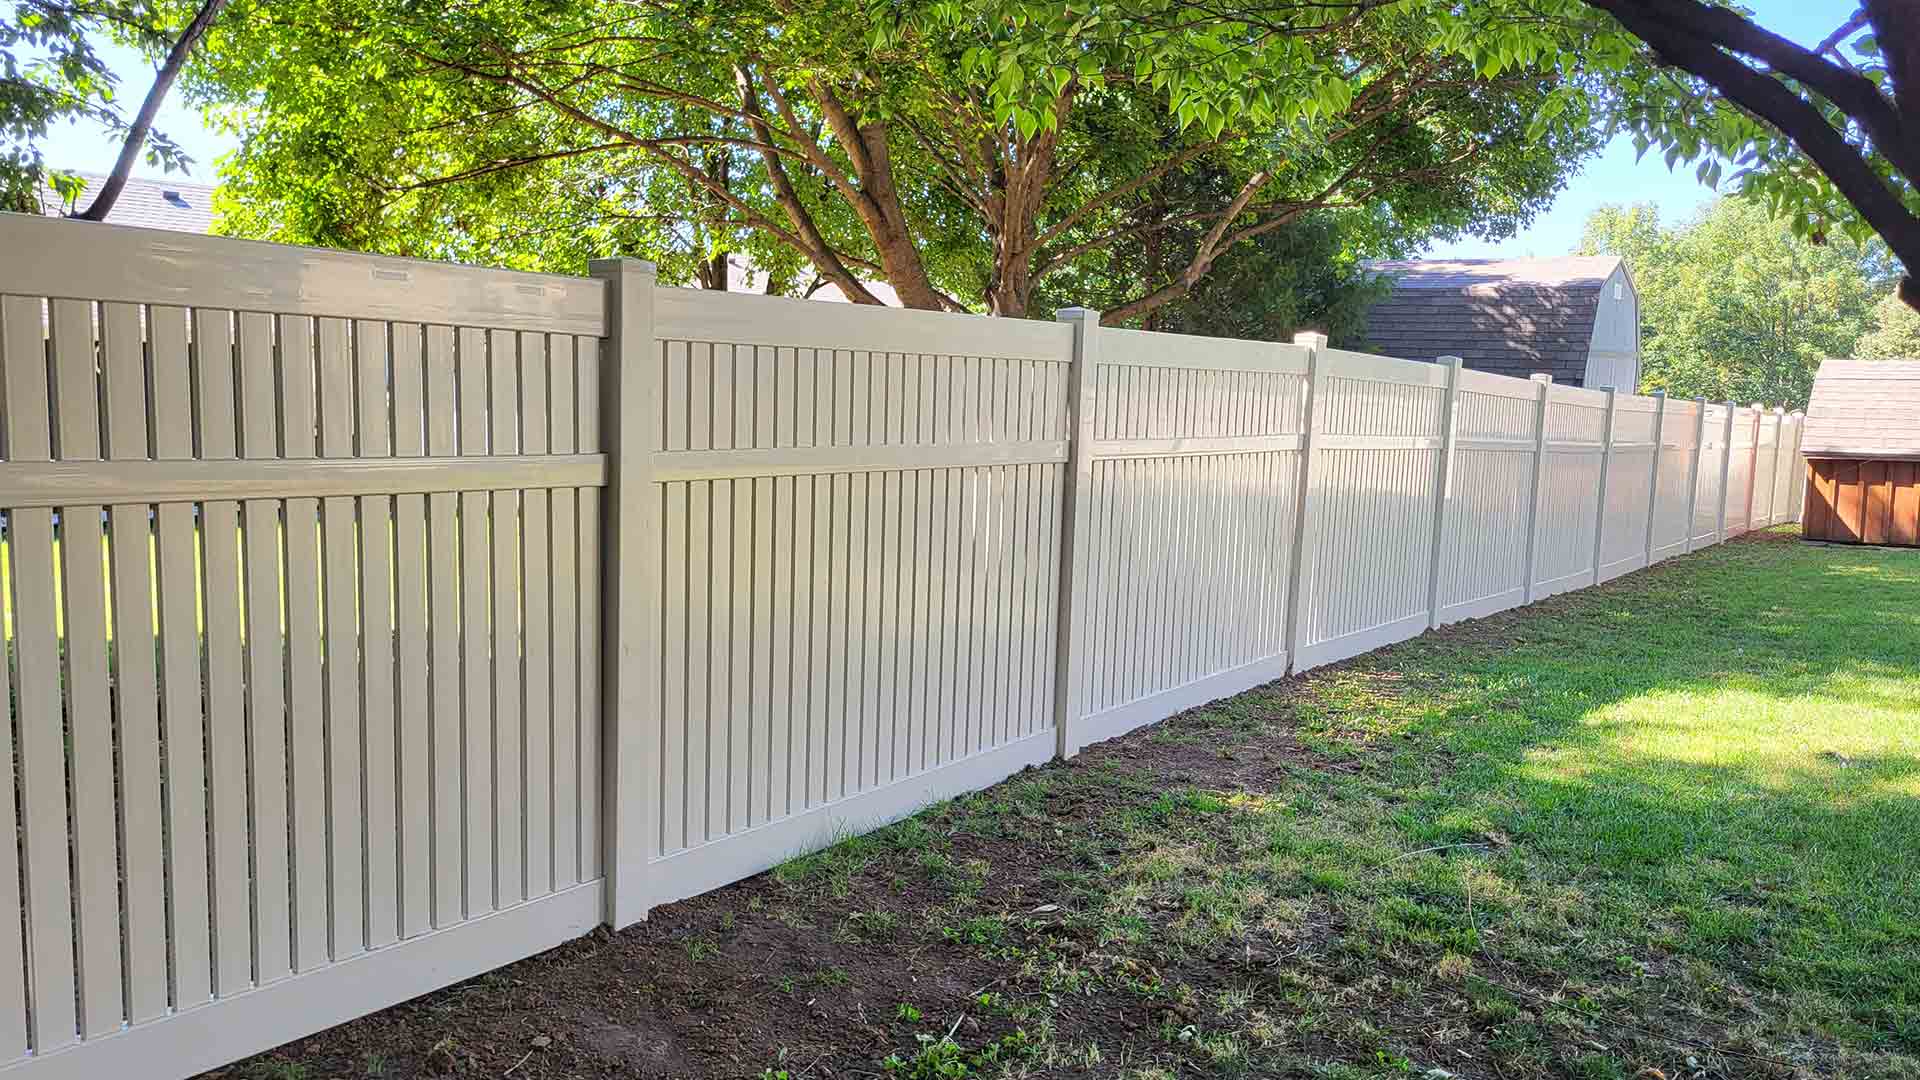
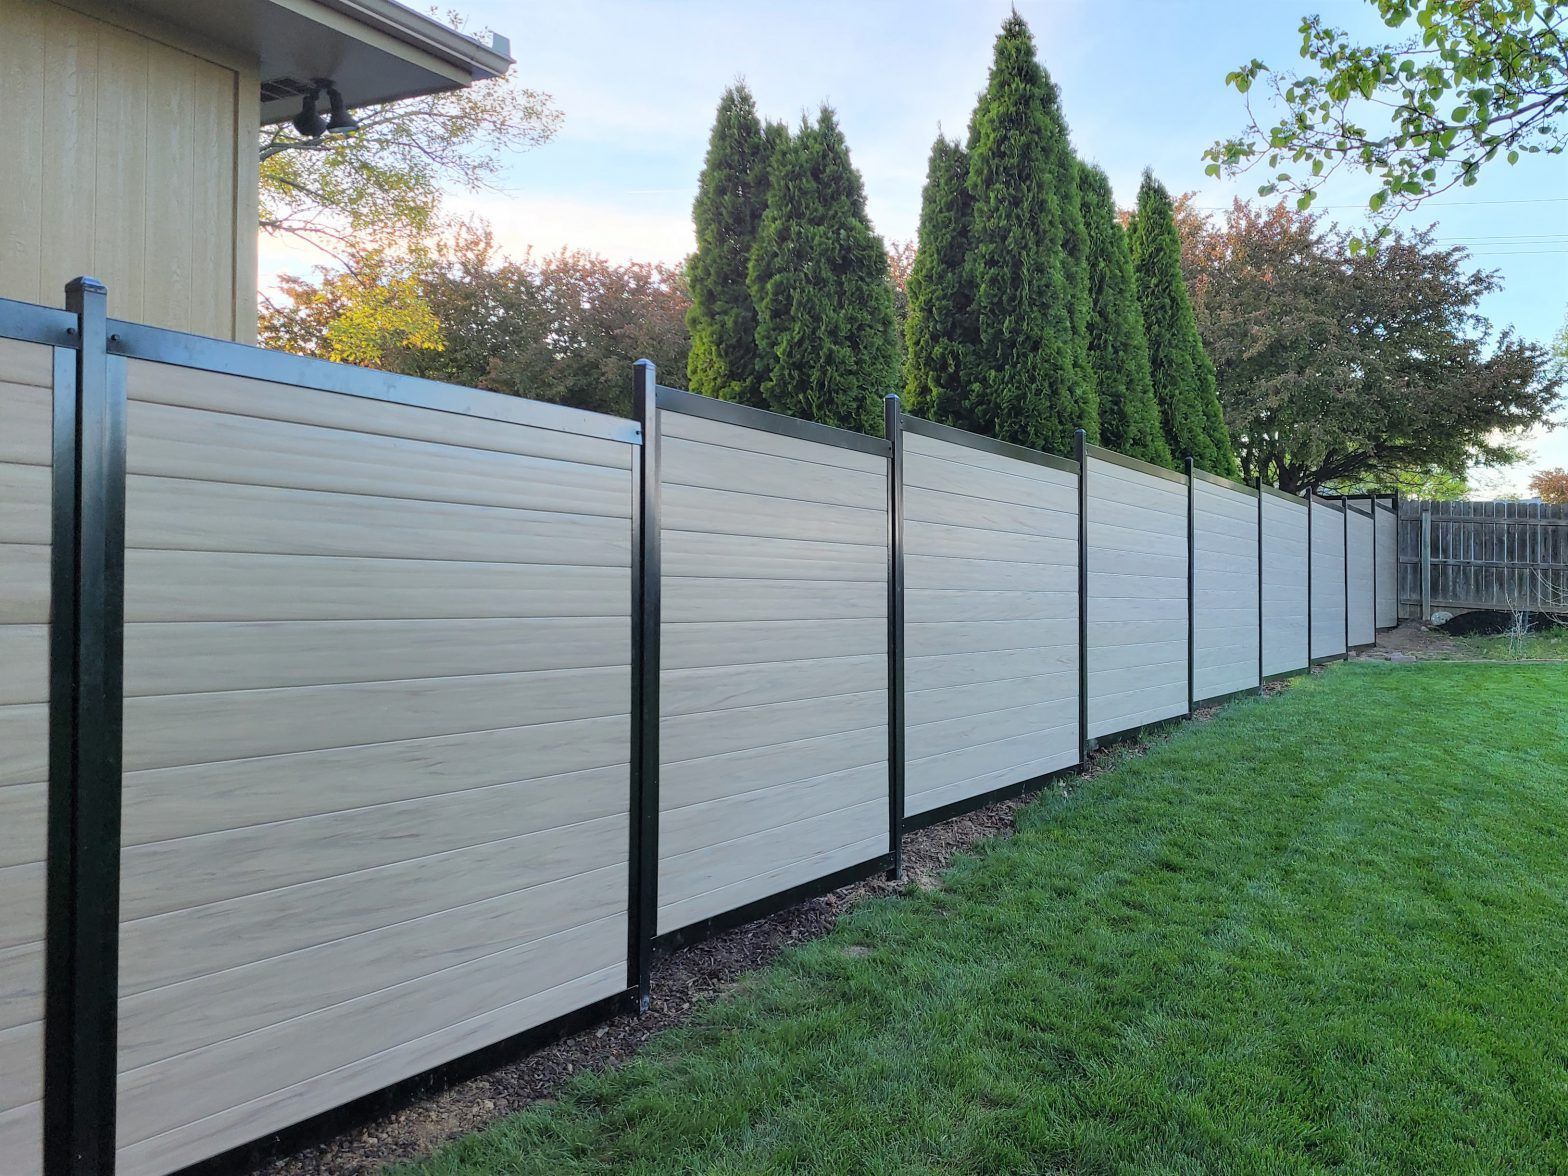
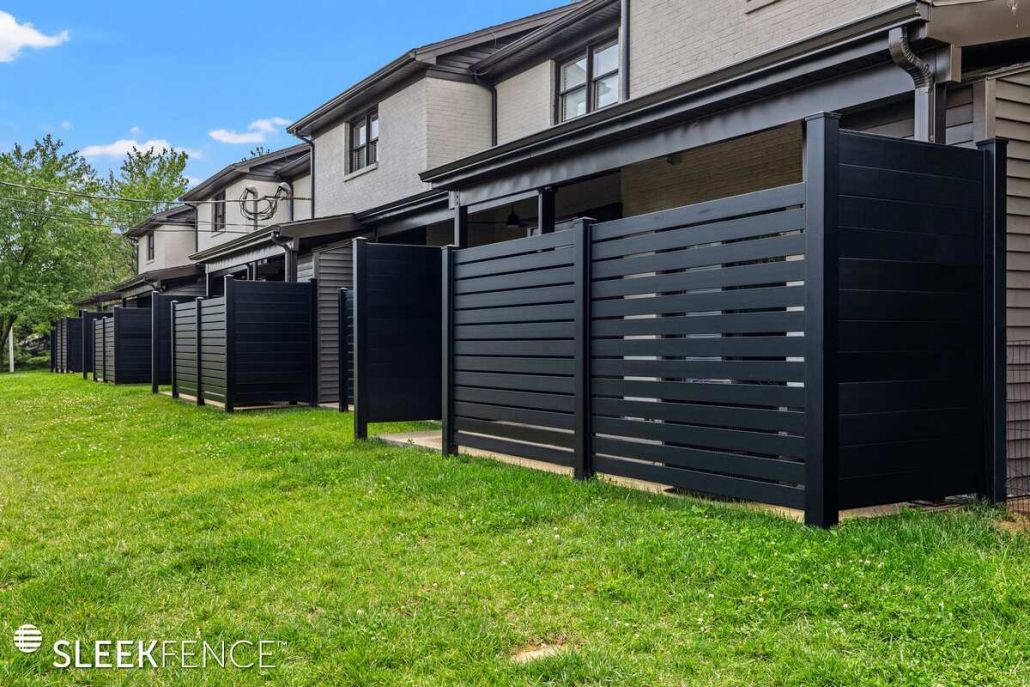
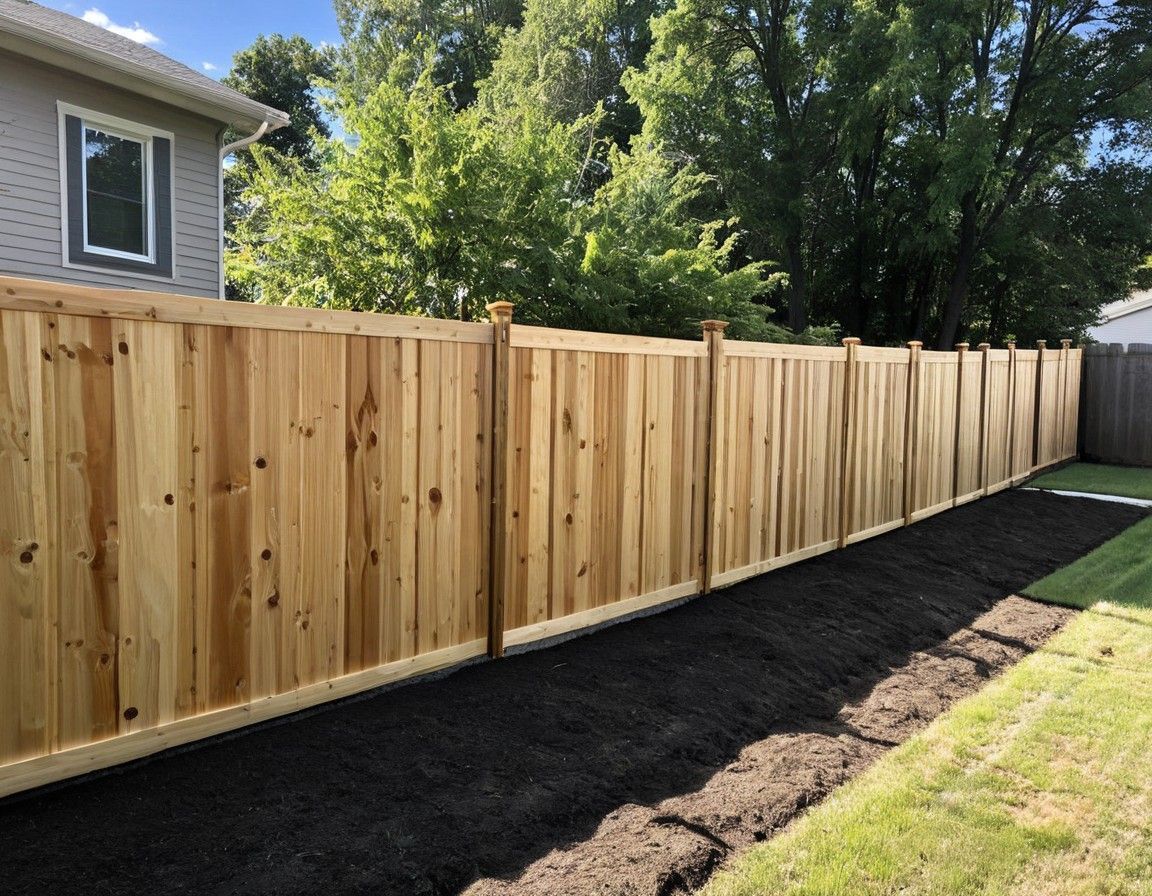
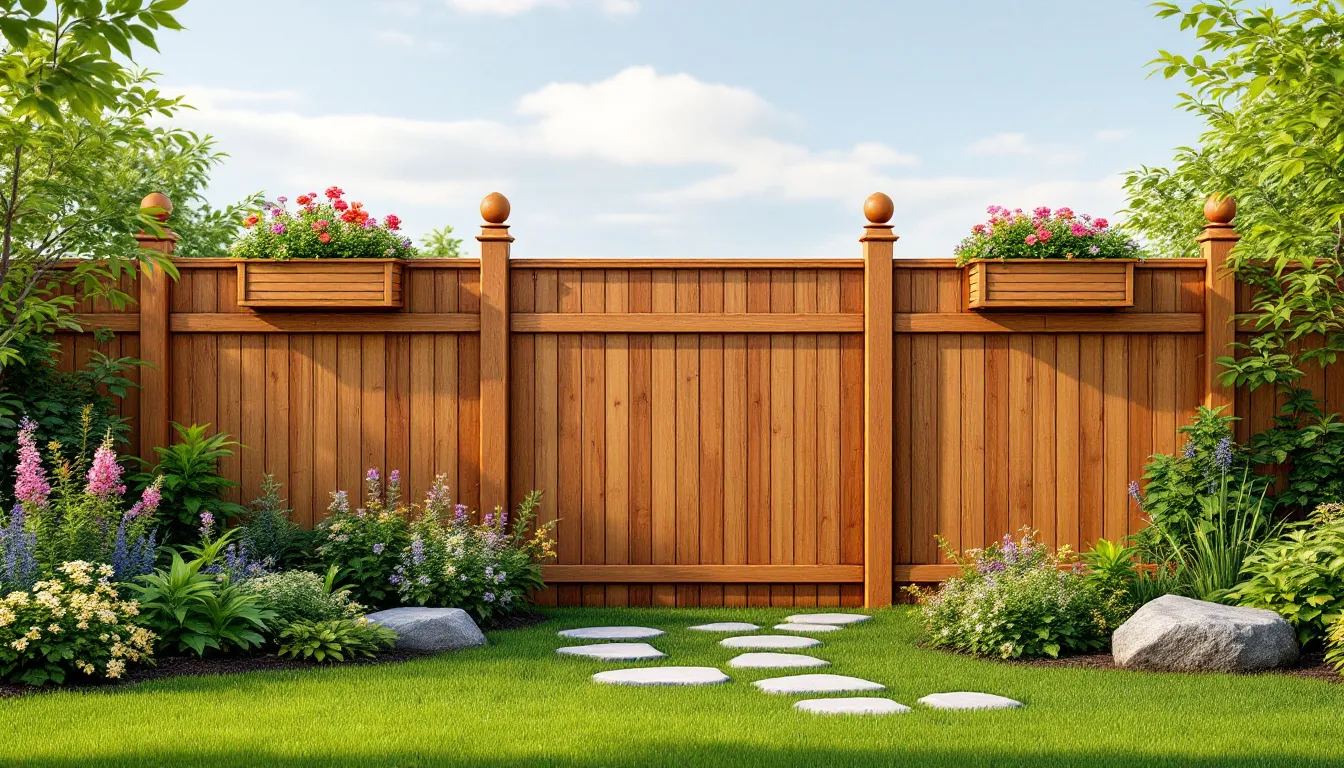
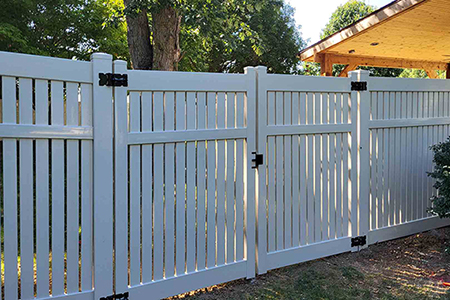
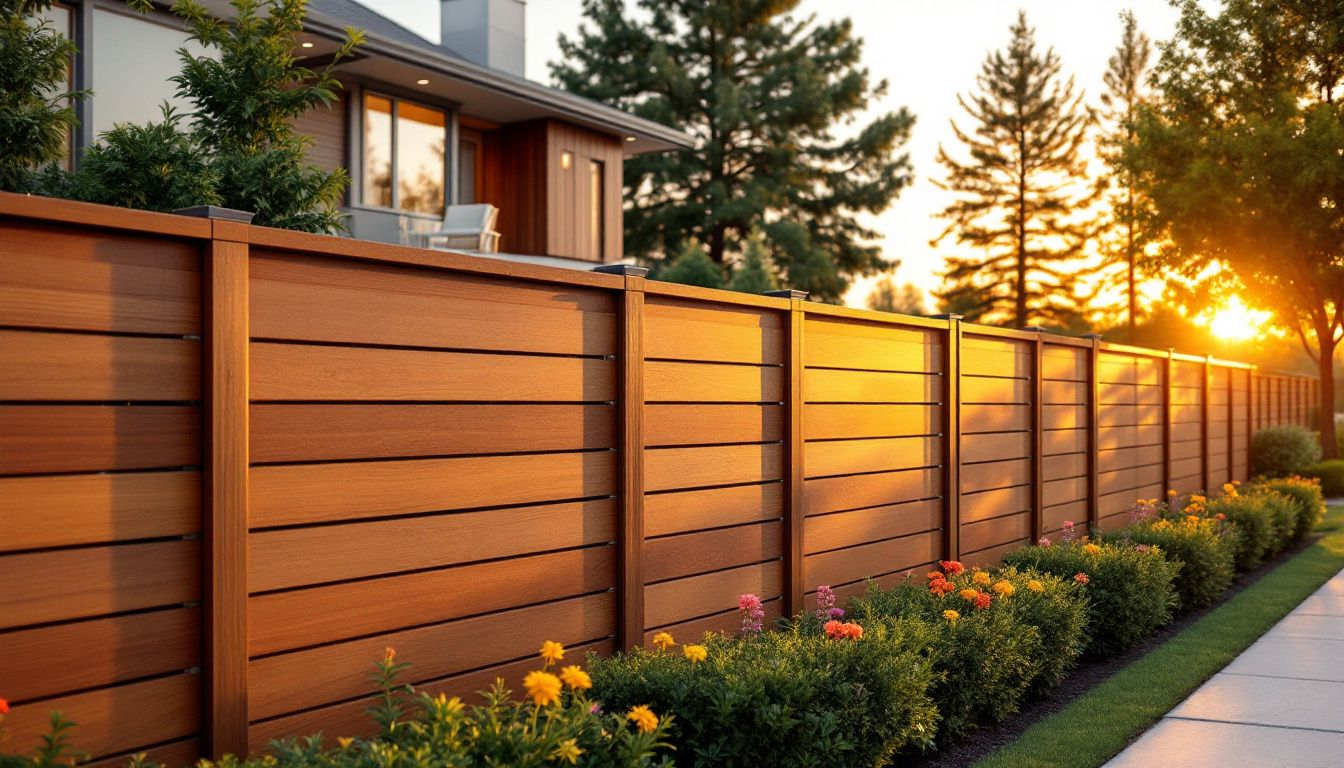
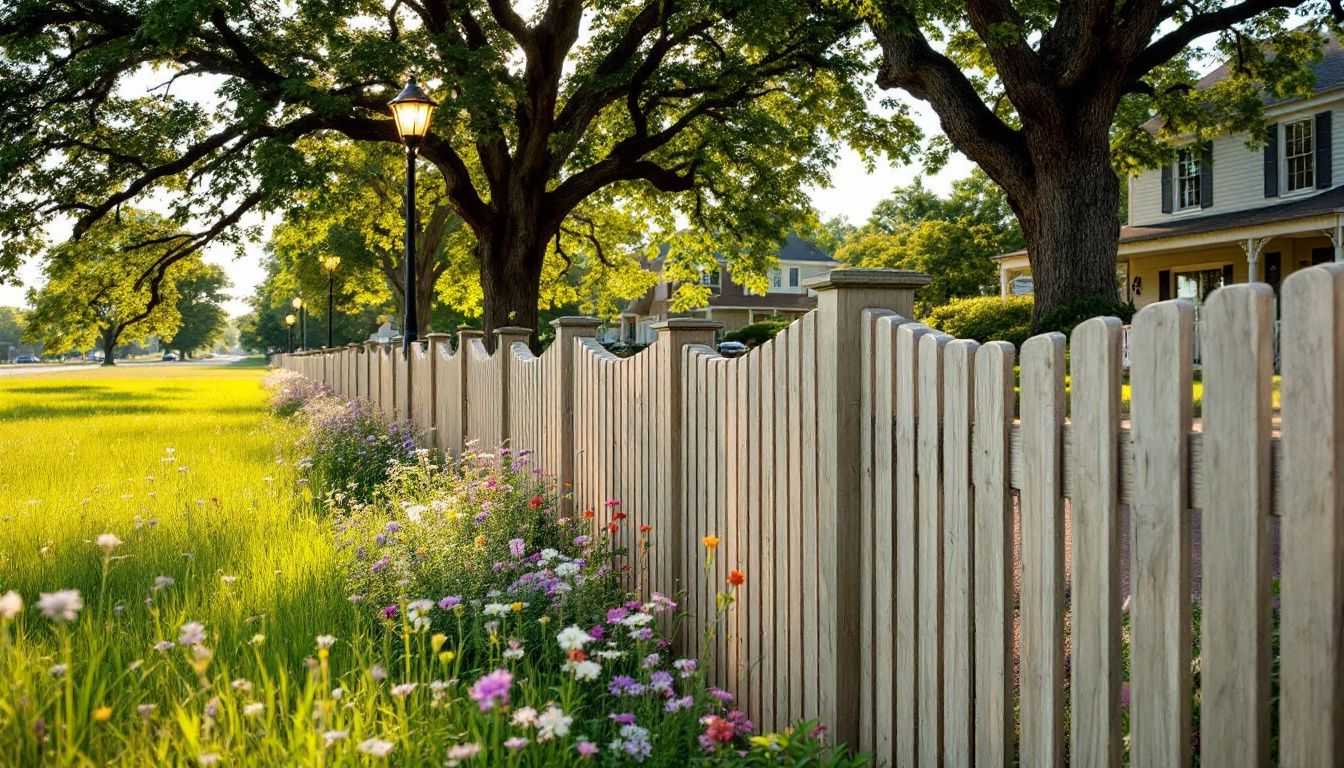
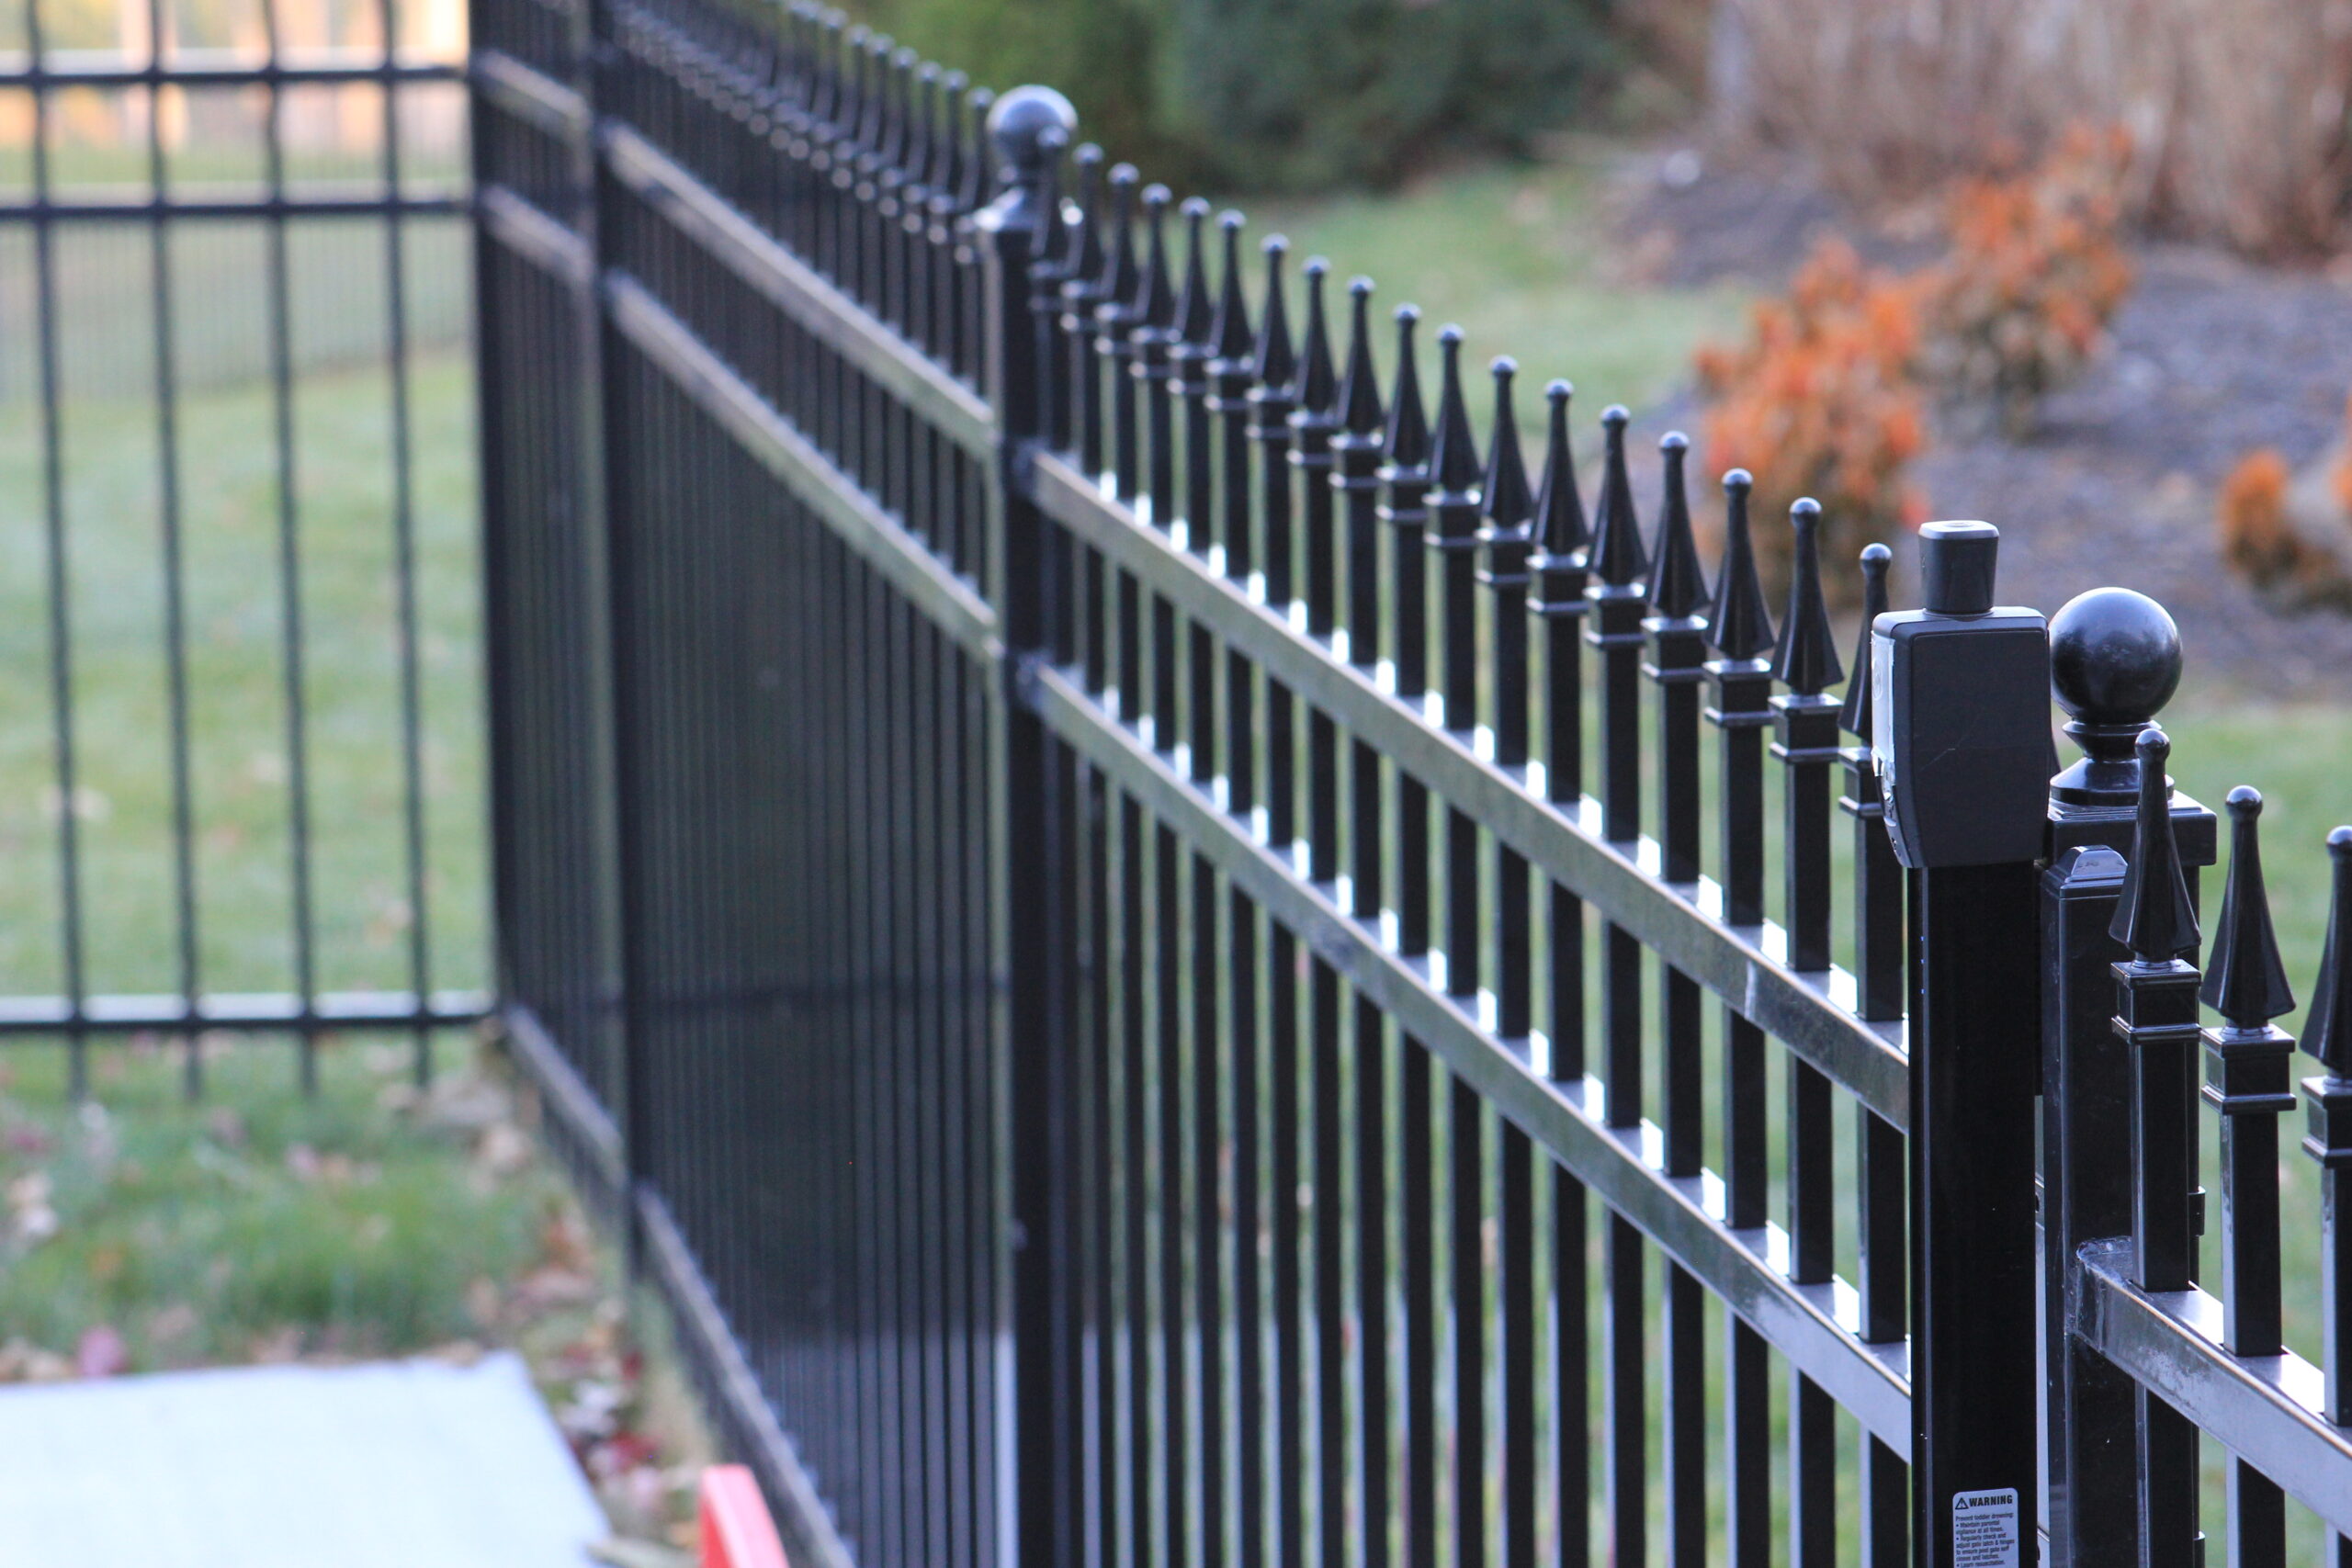
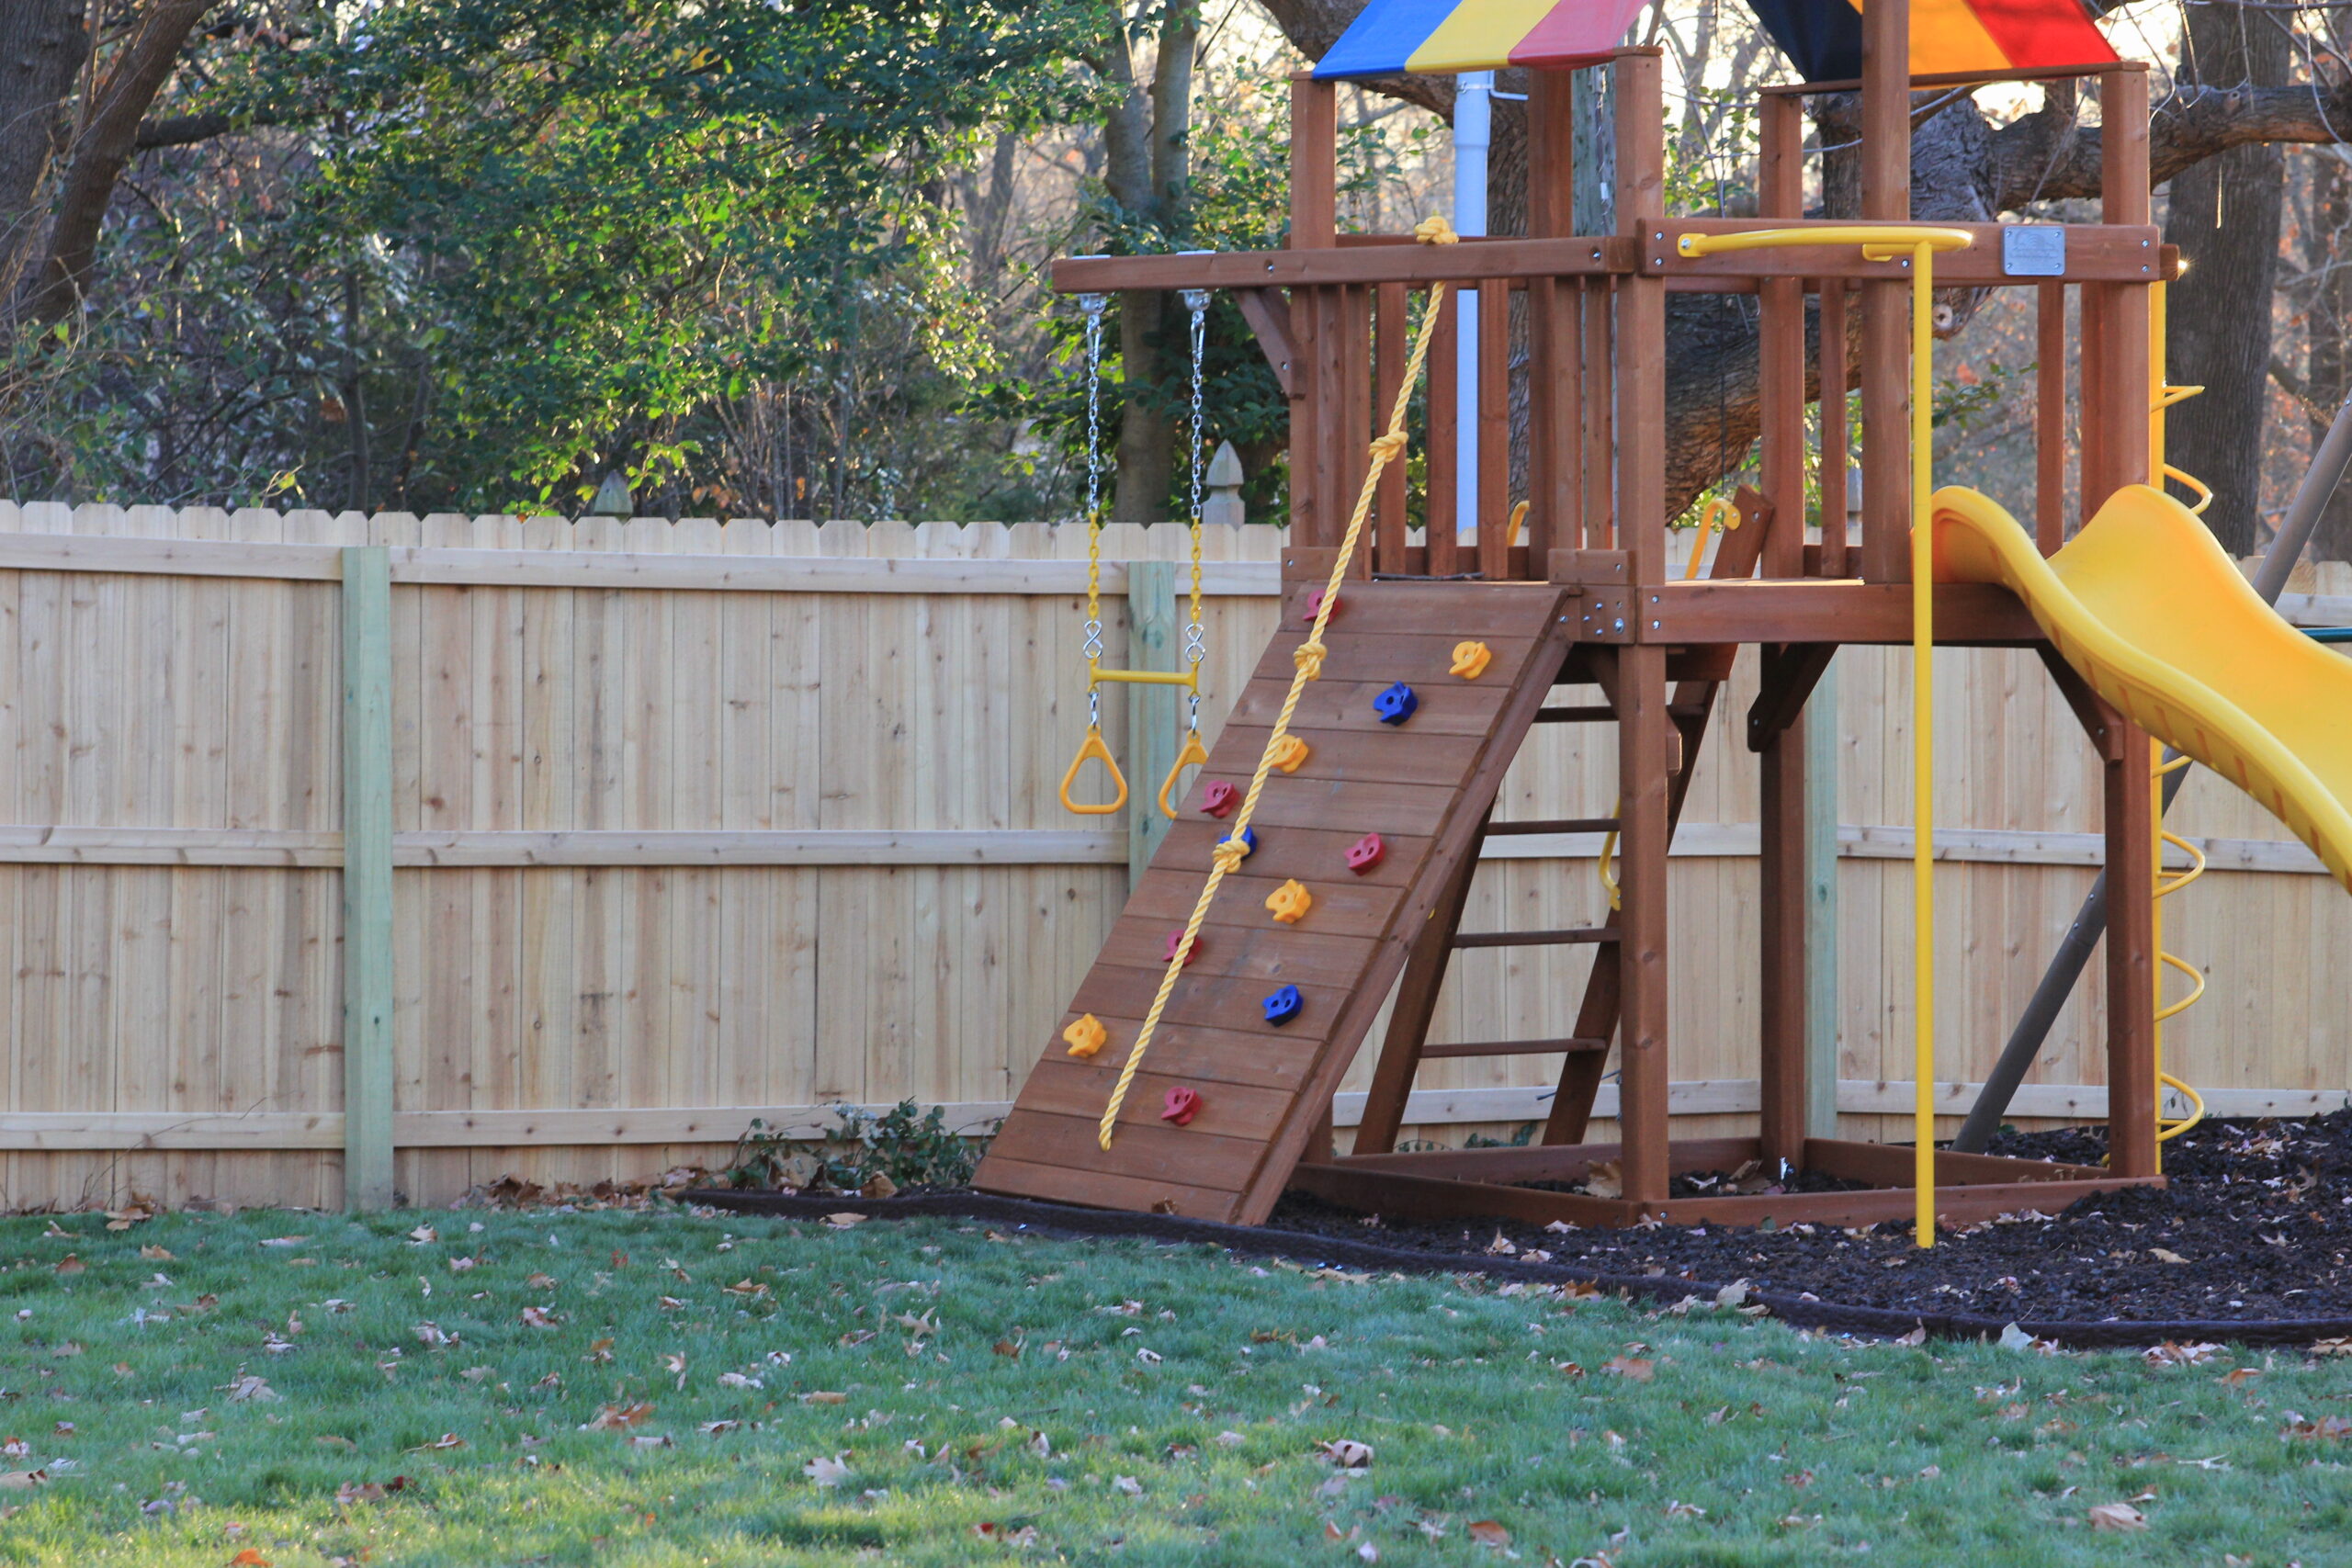
Accurately determine your property lines to prevent disputes with neighbors. Choose a fence style that complements your property and meets your needs. Whether it’s a vinyl privacy fence, vinyl fences, or a decorative design, the right style ensures both functionality and aesthetics.
Check Local Building Codes and Permits
Double-check local building codes and permits before starting your PVC fence installation. Regulations can vary significantly between municipalities, especially in urban areas where requirements may be stricter. Factors like fence height, materials, and proximity to protected zones can influence permit needs.
Compliance with local zoning laws will prevent future issues, costly fines, or the need to redo work to meet standards.
Determine Property Lines
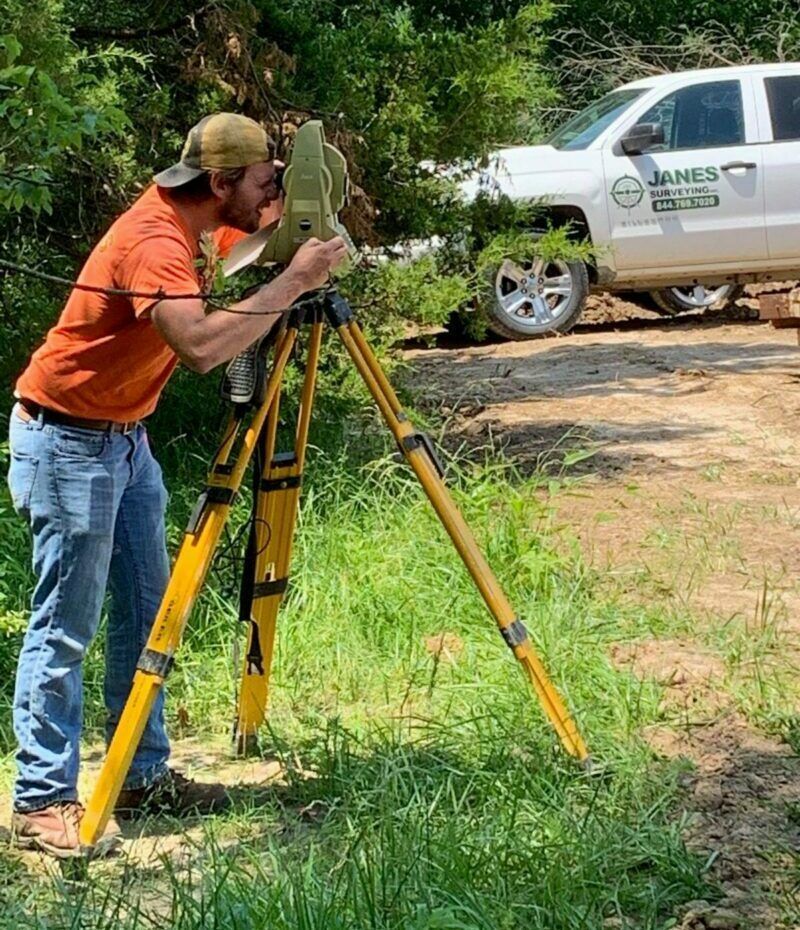
Determining your property lines accurately is crucial. A property survey is the most reliable method to establish boundaries and avoid neighbor disputes.
Marking your property lines clearly ensures your fence lines are within legal boundaries, preventing potential legal issues and fostering good neighborly relationships.
Choose the Right Fence Style
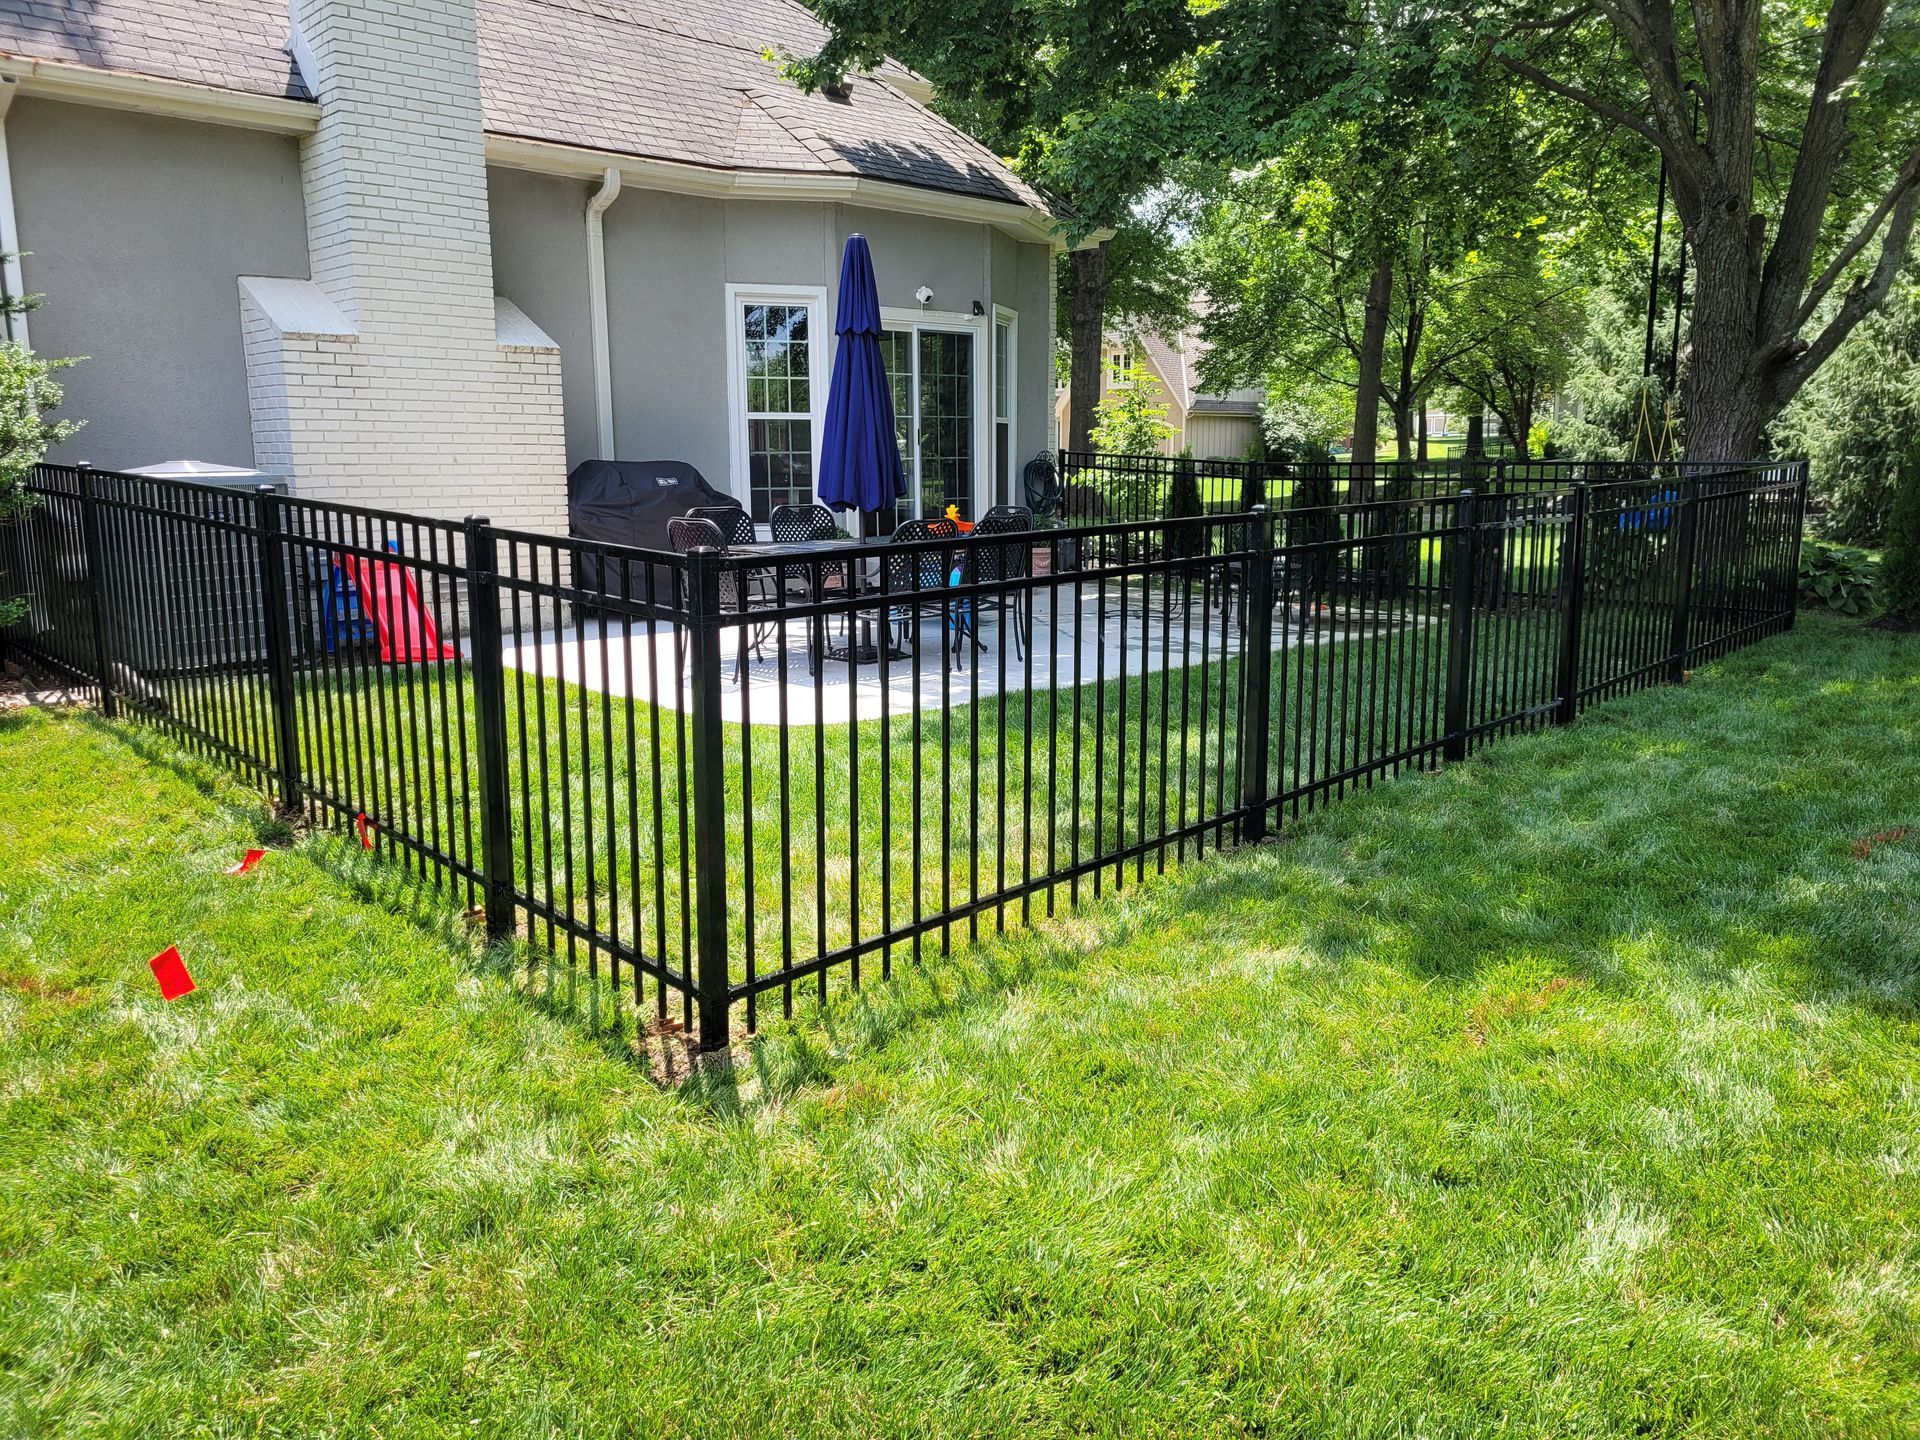
Selecting the right style for your PVC fence impacts both functionality and aesthetics. Whether you need a vinyl privacy fence for security or a decorative picket design for curb appeal, the appropriate style is crucial for project success.
Consider factors such as the primary purpose of the fence, the architectural style of your home, and any local regulations that may dictate specific requirements for fence height, style, and placement.
Gathering Essential Materials and Tools
Gathering the right fence materials and tools ensures an efficient PVC fence installation. Essential materials include PVC fence panels, posts, concrete mix, gravel for drainage, and gate hardware.
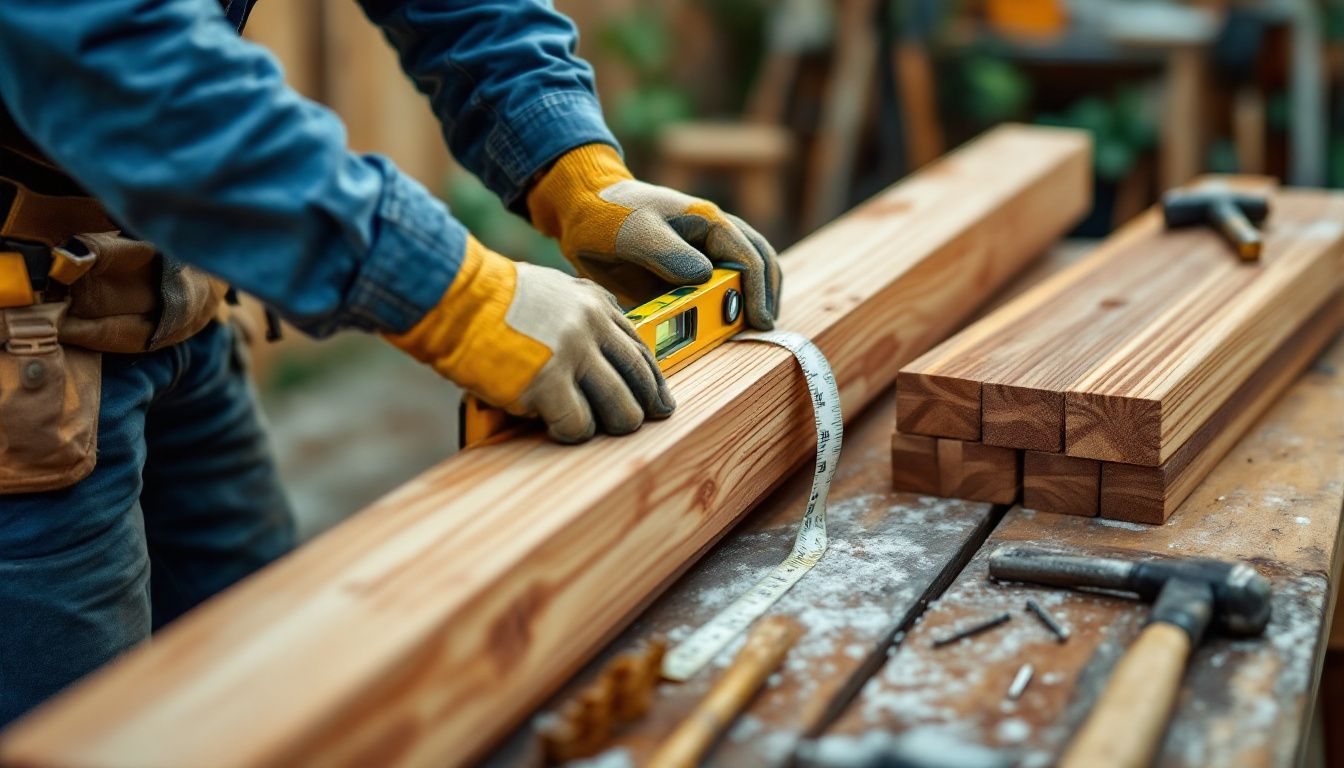
Having tools like a tape measure, level, string line, post hole digger, power auger, and circular saw on hand ensures accurate and efficient completion of each step. Proper preparation saves time and reduces the likelihood of issues during installation.
Materials Checklist
Compile a comprehensive materials checklist before starting your PVC fence installation. Essential items include PVC fence panels, PVC fence posts for structural support, concrete to secure posts, and gravel for drainage.
Include post caps for a decorative and protective finish, and gate kits if your layout includes a gate. Follow the manufacturer’s instructions to ensure all necessary materials are gathered.
Required Tools
The right tools are crucial for a successful PVC fence installation. A tape measure ensures accurate measurements, a level keeps everything straight and aligned, a string line marks the fence line, and a post hole digger or power auger is necessary for digging post holes.
A circular saw is useful for cutting panels to required lengths. Each tool plays a vital role in maintaining accuracy and efficiency during installation.
Preparing the Site for Installation
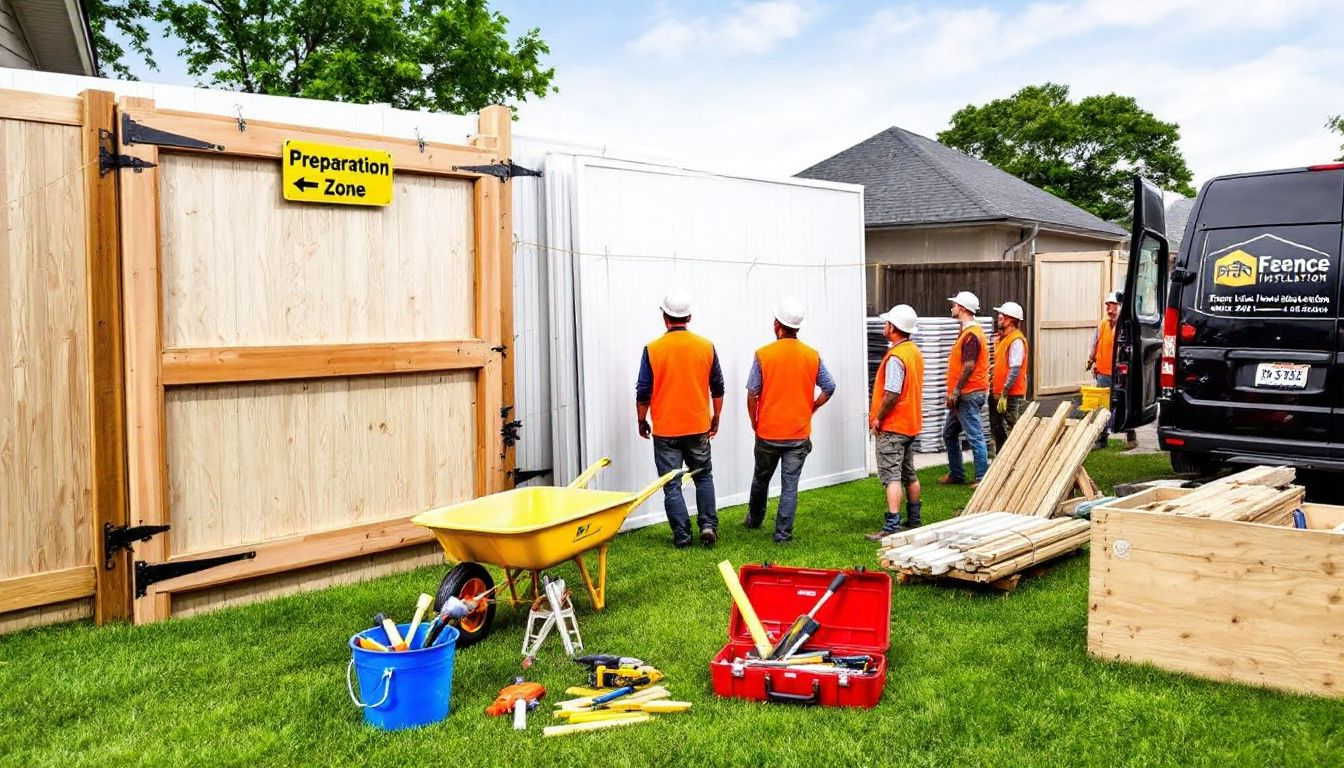
Proper site preparation is essential for a successful PVC fence installation. Begin by marking the fence line with stakes and a string line for accurate measurements and alignment. Then, contact utility companies to mark underground lines and avoid damage during digging.
Clear the area of debris, rocks, and vegetation to make the installation process smoother and safer. These steps lay a solid foundation for a durable and well-aligned fence.
Marking the Fence Line
Accurate marking of the fence line is crucial for a straight and properly aligned fence. Use stakes and a string line to outline the corners and endpoints, ensuring the fence follows the planned layout and maintains alignment.
Precise marking prevents misalignment issues, ensuring the fence looks professional and functions correctly.
Contacting Utility Companies
Contact utility companies to mark any underground utility lines before digging post holes. This step avoids damaging water, gas, or electrical lines, preventing dangerous situations and costly repairs.
Call 811 to have local utility providers mark these lines, ensuring a safe and smooth installation process.
Clearing the Area
Clear the installation area of obstructions for a smooth PVC fence install. Remove debris, rocks, and vegetation to ease digging post holes and placing fence components.
A clean and clear area makes the installation process more efficient and ensures the fence posts are set securely and correctly.
Installing PVC Fence Posts
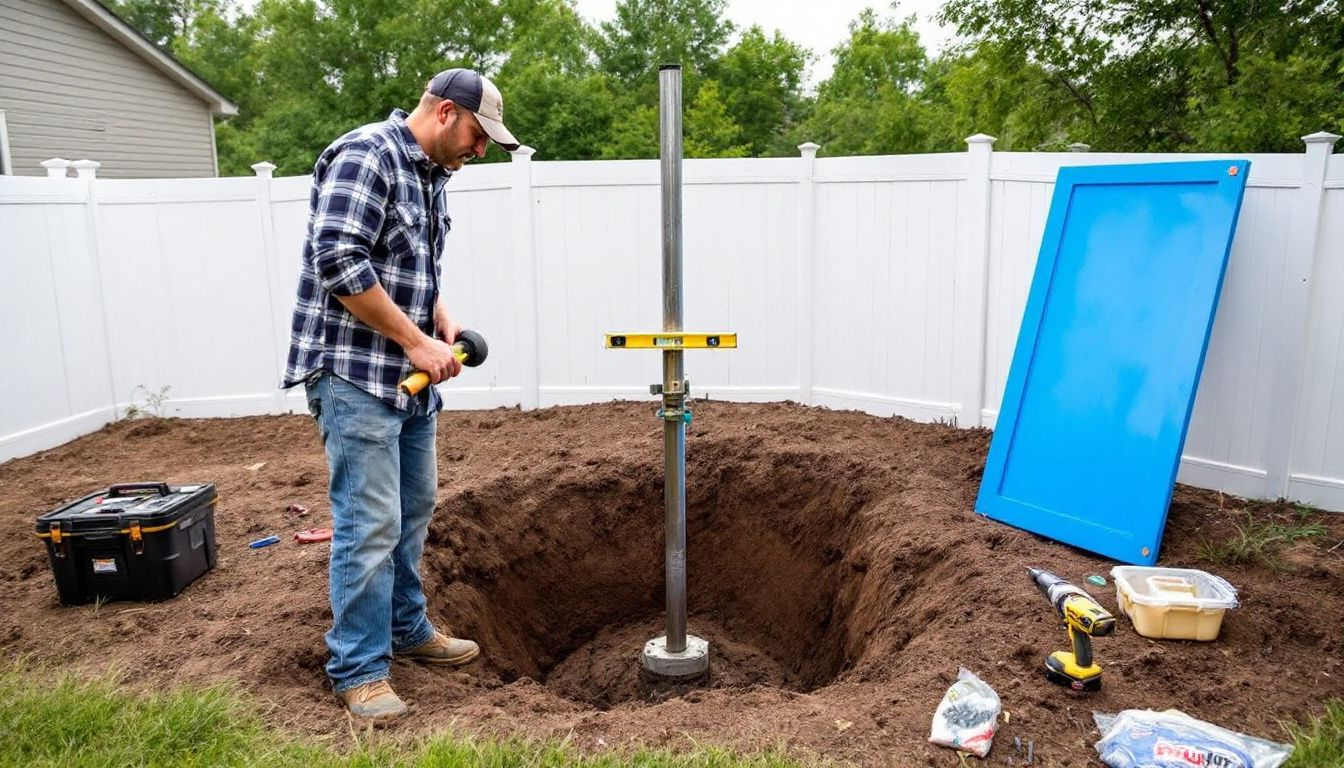
Installing the fence posts forms the foundation of your PVC fence. Set the posts at the correct distance to accommodate vinyl fence panels, and secure vinyl posts in gravel and concrete for stability to install a vinyl fence.
Enhance gate post stability by incorporating a treated lumber fence post inside the vinyl fence posts. Following these steps ensures a strong and durable fence.
Digging Post Holes
Properly dug post holes are essential for the stability of your PVC fence. Use a post hole digger or power auger to create sufficiently deep holes while digging holes. Main posts, like terminal posts for corners and gate sides, need deeper settings for support.
Ensure the holes are wide enough at the base to resist frost heave and provide a solid foundation.
Setting Posts in Gravel and Concrete
Set PVC fence posts in gravel and concrete for stability. Gravel aids drainage, while concrete secures the posts. Place gravel in the holes, fill them with concrete, and use a level to ensure the posts are vertical and stable.
This gravel and concrete combination provides a strong, durable base for your fence.
Allowing Concrete to Set
Proper concrete setting is crucial for PVC fence stability. Typically, wait at least 24 to 48 hours for the concrete to cure before attaching fence panels.
Rushing this process can compromise fence durability. Give the concrete ample time to set to ensure the posts are firmly in place.
Assembling and Installing Fence Panels
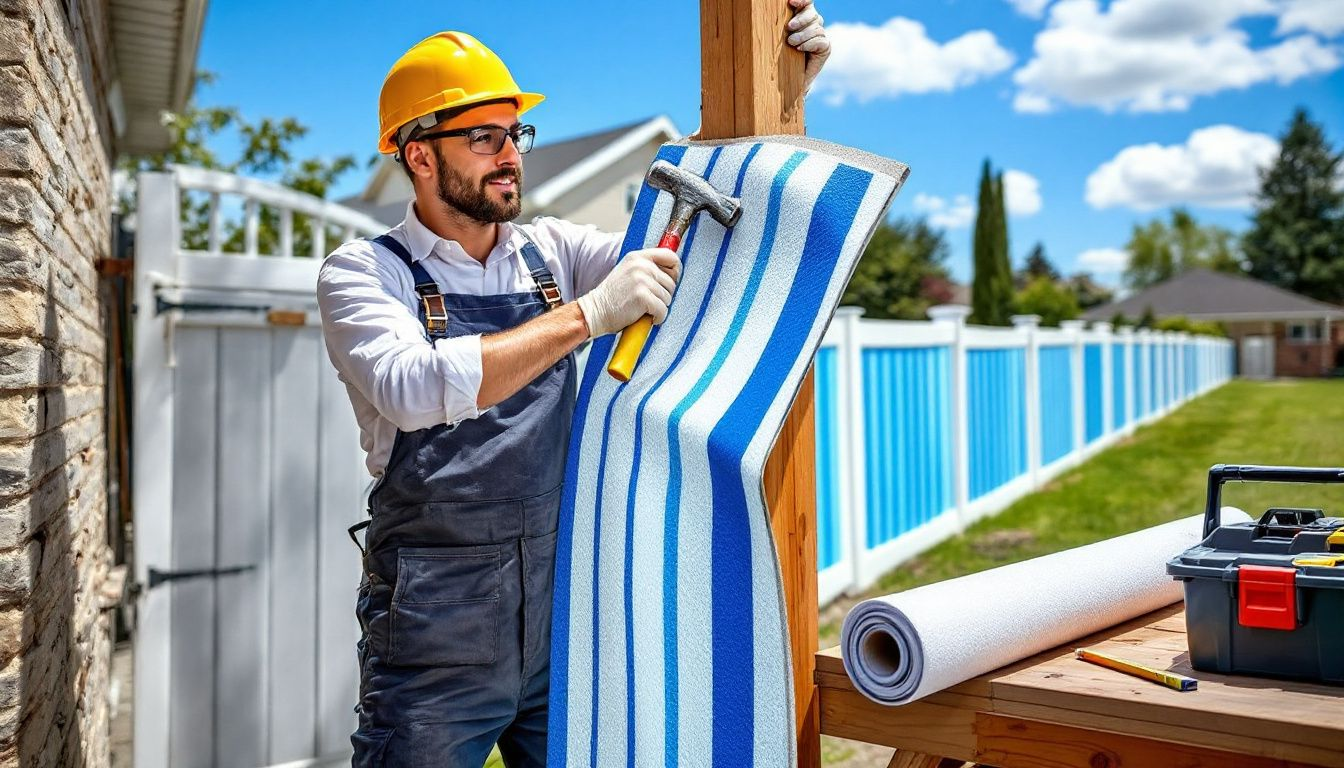
After setting the posts, the next step is assembling and installing the fence panels. Measure and cut the panels to the correct length, attach the bottom rail to the posts, and then secure the panels.
Follow the manufacturer’s specifications to ensure the panels are installed correctly, resulting in a stable and attractive fence.
Measuring and Cutting Panels
Accurate measurements are critical when cutting PVC fence panels. Measure the distance between the posts using a tape measure to determine if cutting is necessary. Use a circular saw to cut the panels to the required lengths.
Ensure the top and bottom rails match in length before cutting to maintain uniformity and a professional appearance.
Attaching Bottom Rail
Start the installation by securing the bottom rail to the posts with appropriate screws or brackets. Install the bottom rail first to provide a stable base for the panels. Ensure it is level before securing to make subsequent steps easier and ensure proper alignment.
Securing Fence Panels
Ensure the PVC fence panels are level and aligned correctly when attaching them to the posts. Use screws or brackets to secure them tightly. Proper alignment and secure attachment are crucial for the fence’s stability and appearance.
Ensuring each panel is level results in a professional-looking installation.
Finishing Touches and Gate Installation
The final steps of PVC fence installation include installing the top rail, post caps, and gates. These finishing touches enhance both the appearance and functionality of your fence.
Follow the manufacturer’s instructions to properly install these components, ensuring alignment with the rest of the fence for a polished, professional look.
Installing Top Rail and Post Caps
Attach the top rail securely to the PVC posts according to the manufacturer’s guidelines. Use a level to ensure the top rail is straight and aligned with the rest of the fence.
After installing the top rail, place decorative post caps on top of the posts and secure them with PVC adhesive or screws. These finishing touches add a polished look and protect the posts from the elements.
Installing Gates
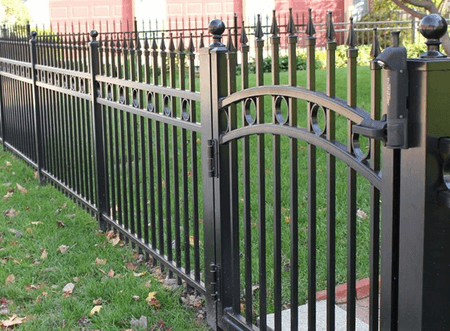
Gates are a crucial component, providing entry and exit points. Install gates according to the manufacturer’s instructions to ensure proper alignment and functionality. Ensure they are hung on sturdy gate posts and checked for level alignment to function without binding.
Proper gate installation enhances the usability and appearance of your fence.
Adding Latches and Locks
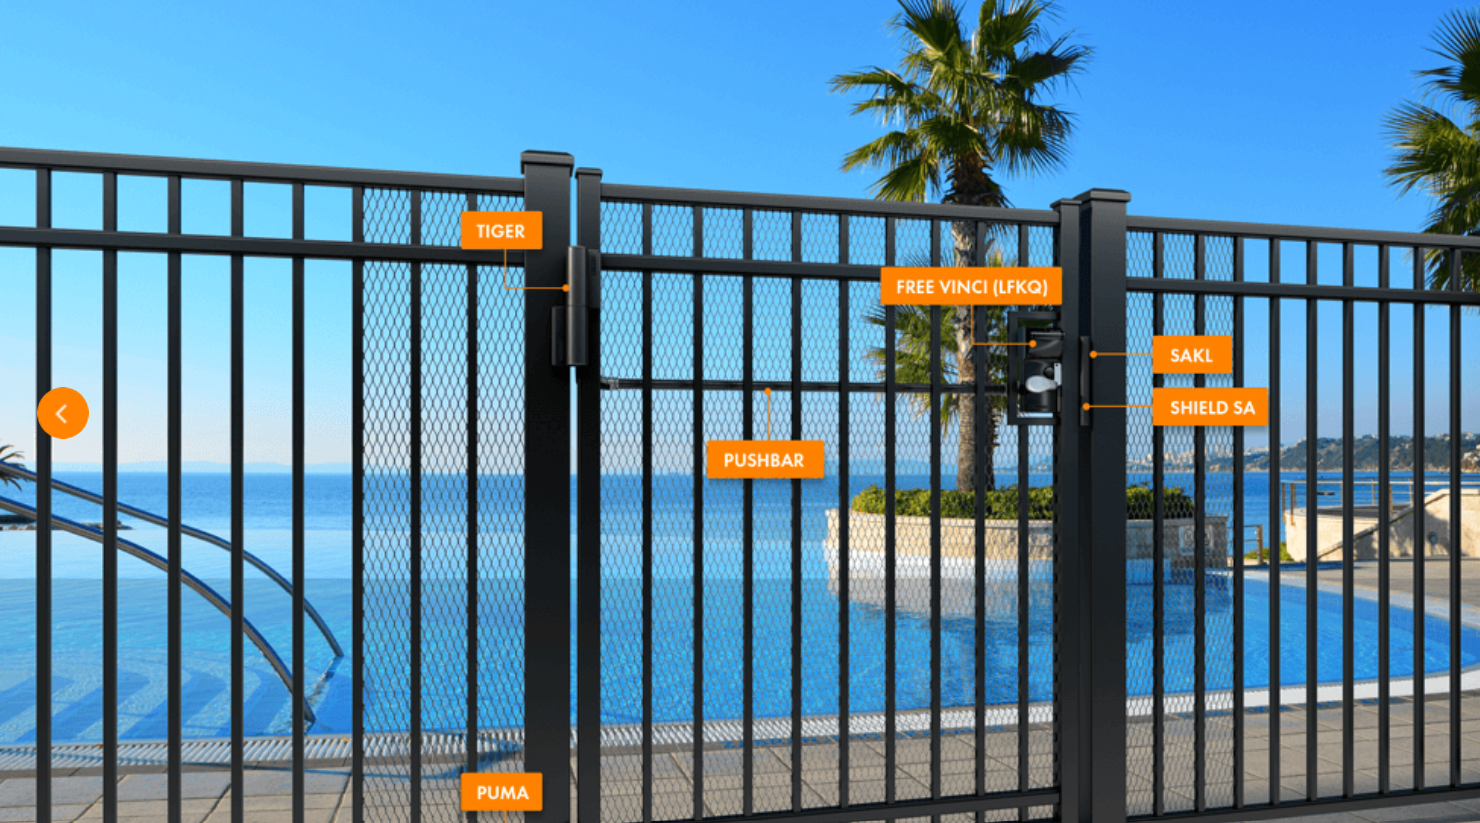
Latches and locks are essential for maintaining security and functionality, particularly for gates leading to pools or private areas. Install high-quality latches and locks according to the manufacturer’s specifications to ensure they are secure and easy to use.
Position latches at an accessible height for convenience while ensuring they prevent unauthorized access. Properly installed locks and latches enhance both security and usability.
Maintaining Your PVC Fence
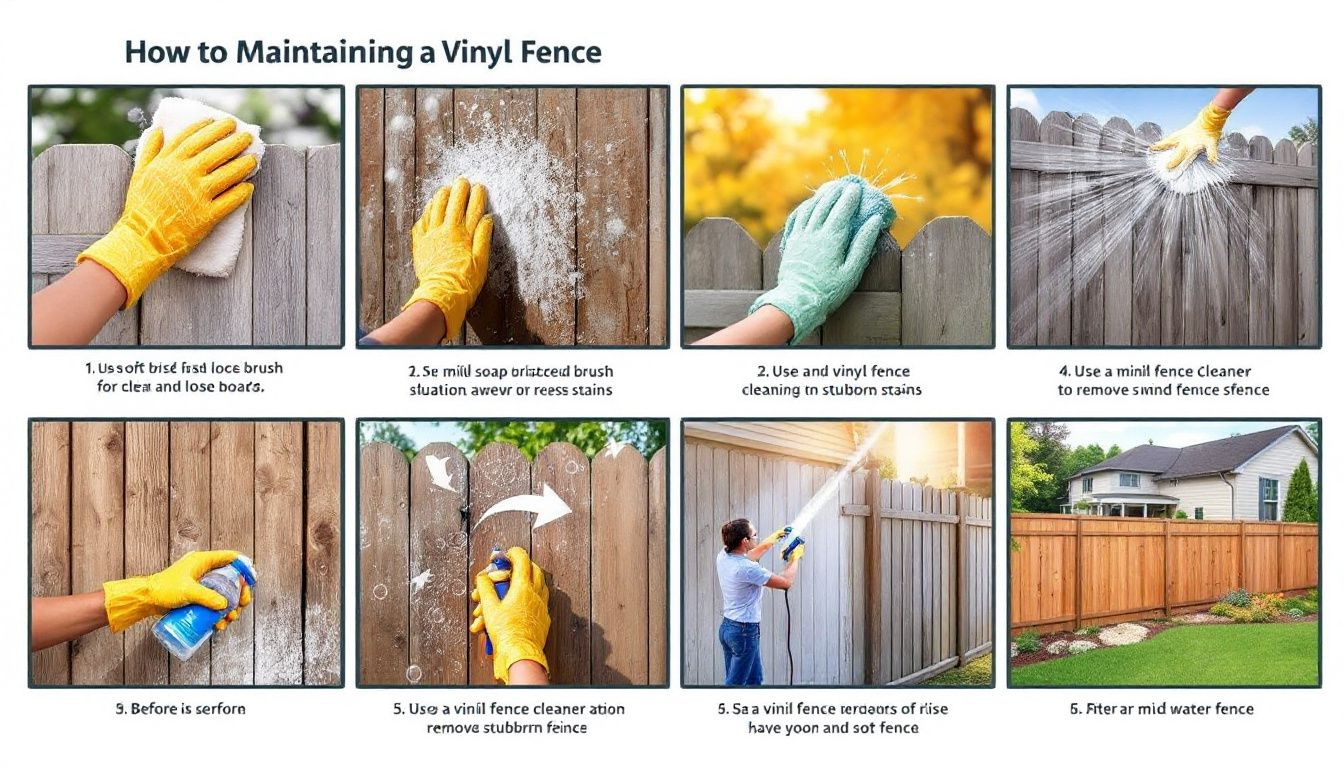
Maintaining a PVC fence involves regular cleaning, inspections, and prompt repairs to ensure longevity and aesthetics. Regular upkeep handles wear from the elements and keeps the fence looking new. Conducting regular maintenance significantly extends the lifespan of your PVC fence and avoids costly repairs.
This section covers key aspects of maintaining your fence: cleaning, repairing damage, and conducting seasonal inspections.
Regular Cleaning
Regular cleaning maintains the appearance of your PVC fence and prevents mold buildup. Use a garden hose to wash off light dirt, or warm, soapy water for deeper cleaning. A high-pressure power washer effectively removes dirt and stains.
Implementing these cleaning methods regularly keeps your fence looking new and prevents mold or mildew growth.
Repairing Damage
Timely repairs of issues like loose panels and cracks are crucial to prevent minor problems from escalating. Address any scratches, dents, or breaks in your PVC fence as soon as they occur using a vinyl fence patch kit or compatible repair materials. Using expandable foam spray and plastic filler can also effectively repair cracks.
Prompt repairs will maintain the integrity and appearance of your fence, preventing more significant issues from developing.
Seasonal Inspections
Conducting seasonal inspections is essential to ensure the longevity and aesthetic appeal of your PVC fence. Regular inspections allow for the identification of minor issues, such as cracks or discoloration, before they develop into more significant problems.
Look for signs of wear and tear and address any identified problems promptly to maintain the structural integrity and appearance of your fence. Seasonal inspections will help you catch issues early and avoid costly repairs.
Summary
Installing a PVC fence can greatly enhance the functionality and aesthetic appeal of your property. By following the best practices outlined in this guide, from thorough planning and gathering the right materials and tools to proper installation and regular maintenance, you can ensure a successful and long-lasting fence installation. Remember, each step plays a crucial role in the overall success of your project. A well-installed and maintained PVC fence will provide you with years of privacy, security, and beauty. Now, it’s time to get started on your new vinyl fence installation project and transform your outdoor space.
Frequently Asked Questions
Do I need a permit to install a PVC fence?
You may need a permit to install a PVC fence depending on your local building codes. It is essential to check with your local municipality for specific requirements.
How deep should I dig the post holes for my PVC fence?
To ensure proper support for your PVC fence, post holes should be dug to a depth of 2.5 to 3 feet, with a wider base to prevent frost heave. This depth will help maintain the stability of your fence.
What materials do I need for a PVC fence installation?
For a PVC fence installation, you will need PVC fence panels, posts, concrete mix, gravel for drainage, and gate hardware. Ensure you follow the manufacturer’s guidelines to have all the required materials.
How do I maintain my PVC fence?
To maintain your PVC fence effectively, regularly clean it, promptly repair any damage, and conduct seasonal inspections to enhance its longevity and appearance.
Can I install a PVC fence myself?
Yes, you can install a PVC fence yourself if you have proper planning, the right tools, and follow the installation steps carefully.

