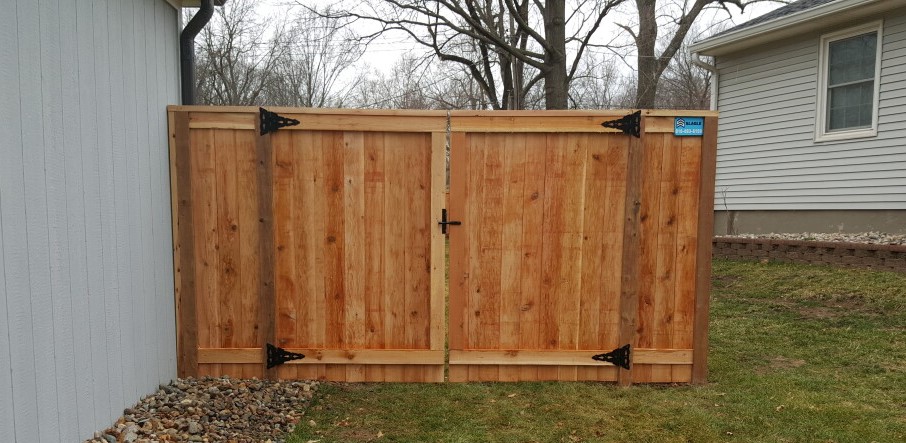
Need to install a fence? This article covers everything from the installation of fence planning your project to the final touches. Learn how to measure, dig post holes, set posts in concrete, and attach rails and panels. Let’s get started!
Key Takeaways
-
Proper planning is essential for a successful fence installation, including determining the purpose, understanding property lines, and selecting the right materials.
-
Gathering the necessary tools and materials ahead of time streamlines the installation process and helps prevent delays.
-
Accurate measuring, marking, and securing of the fence posts and panels are crucial for a sturdy and visually appealing fence.
Planning Your Fence Installation Project
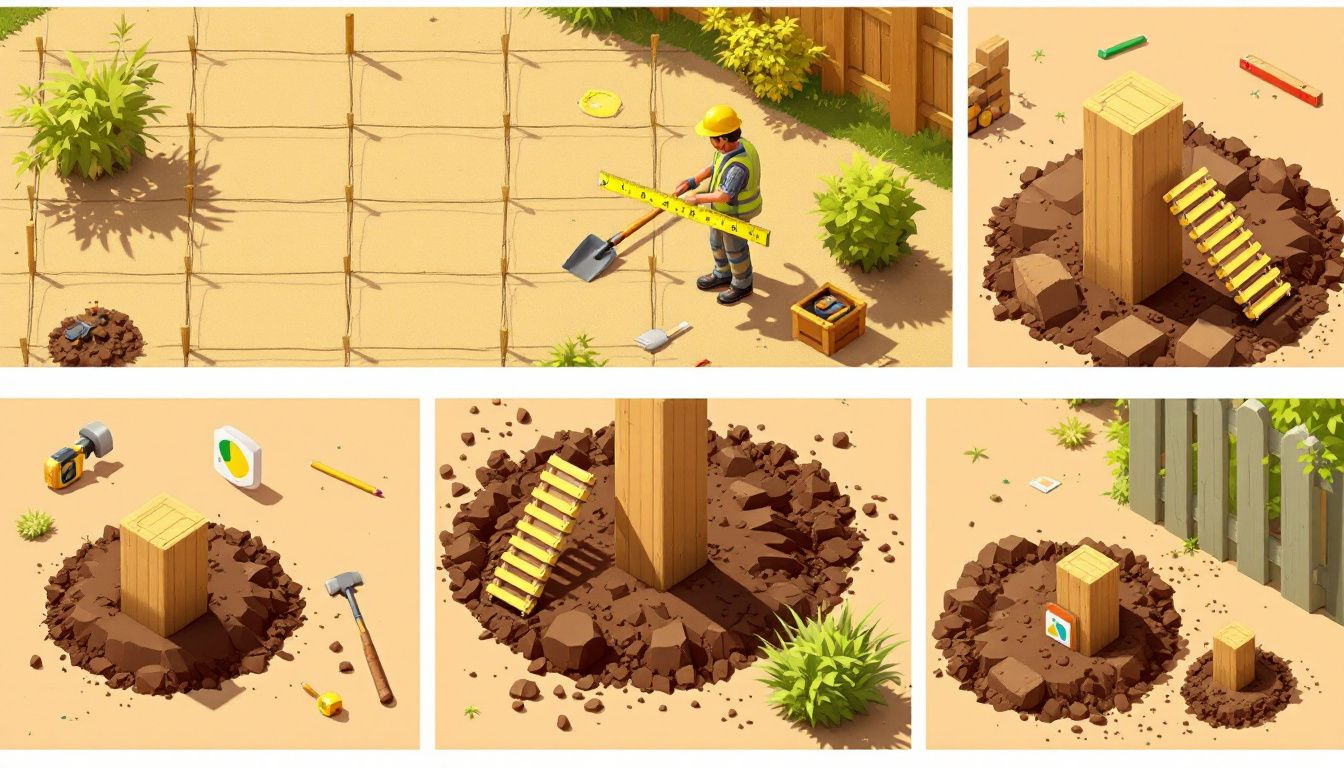
The foundation of any successful fence installation project lies in meticulous planning. Before you pick up a tool or buy materials, outline your goals and understand the specifics of your fence installation process. This planning phase will save you time, money, and potential headaches down the line.
Start by thinking about the primary purpose of your new fence. Are you looking to increase privacy, enhance security, or perhaps just add a decorative element to your yard? The design and materials you choose will largely depend on this purpose. Additionally, understanding your property lines and local building codes helps avoid legal issues and ensures your fence complies with regulations.
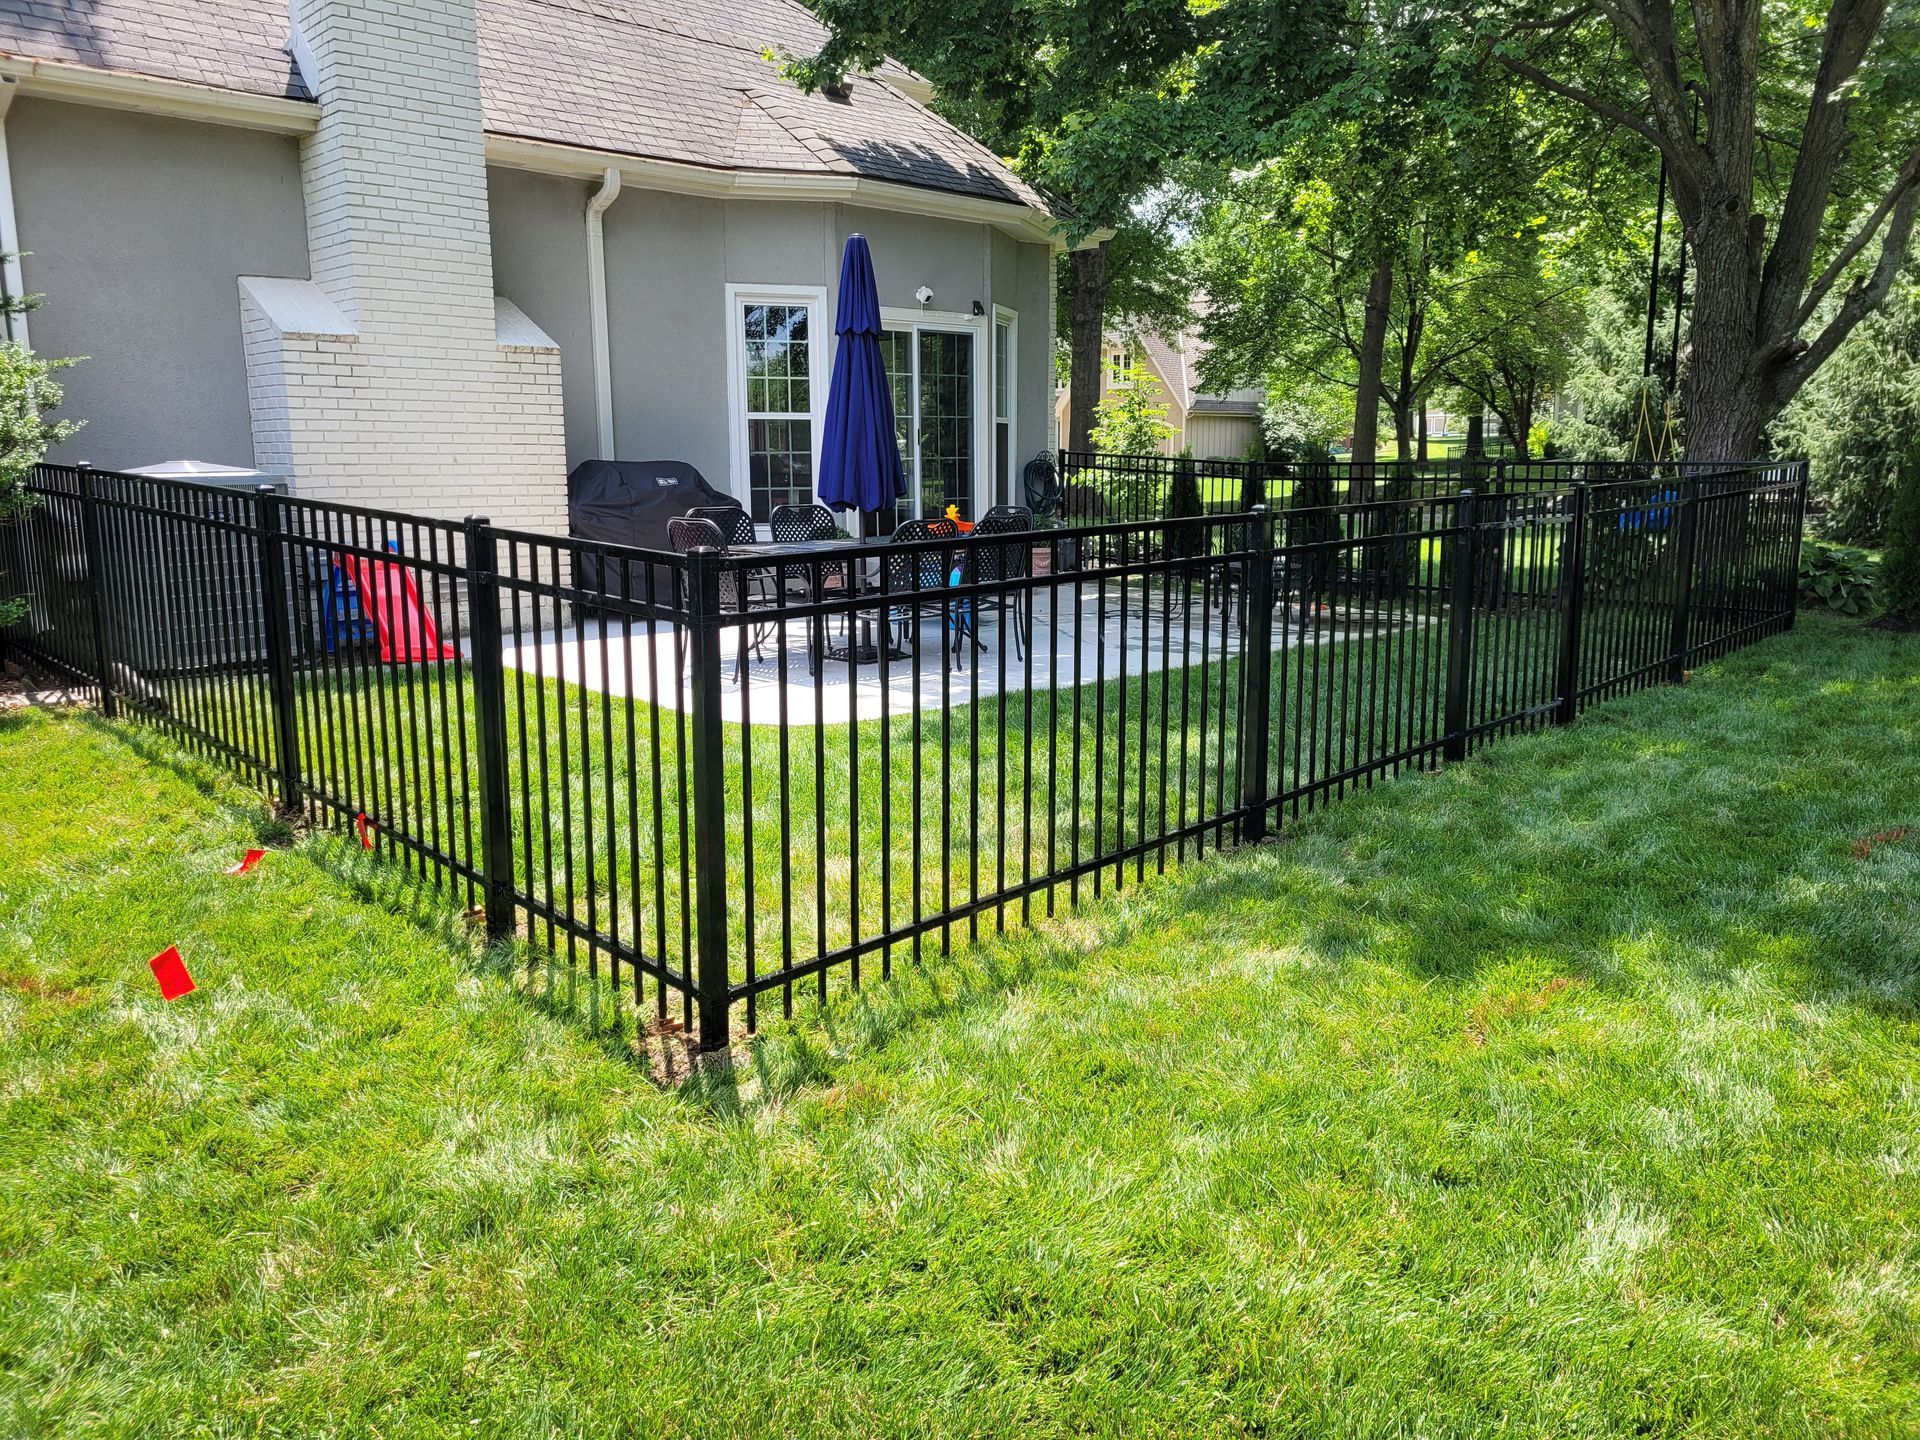
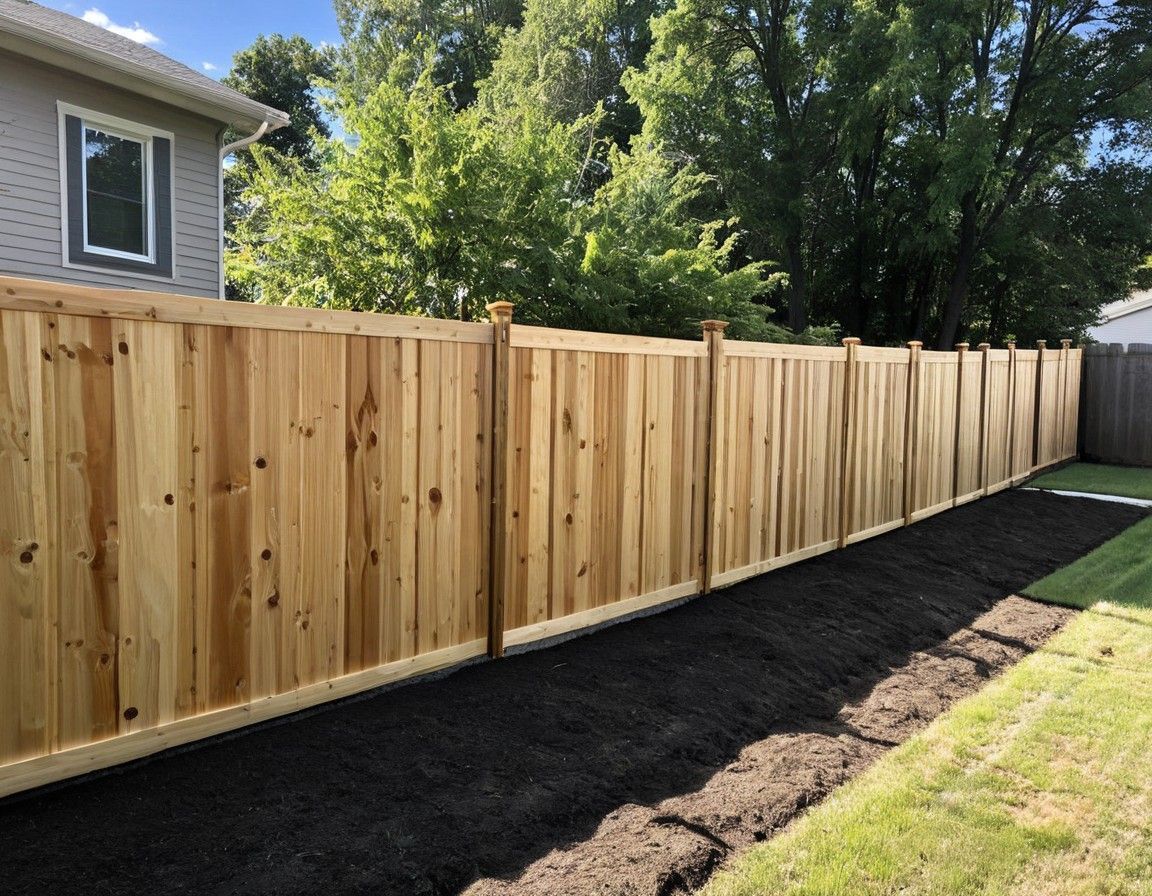
Selecting the appropriate type of fence is another key element in the planning stage. Whether you decide on a wood fence for its natural aesthetic or a chain link fence for its durability and cost-effectiveness, your choice will affect the installation process and the overall look of your yard. With a well-thought-out plan, you’ll set the stage for a smooth and efficient fence installation.
Determine the Purpose and Design
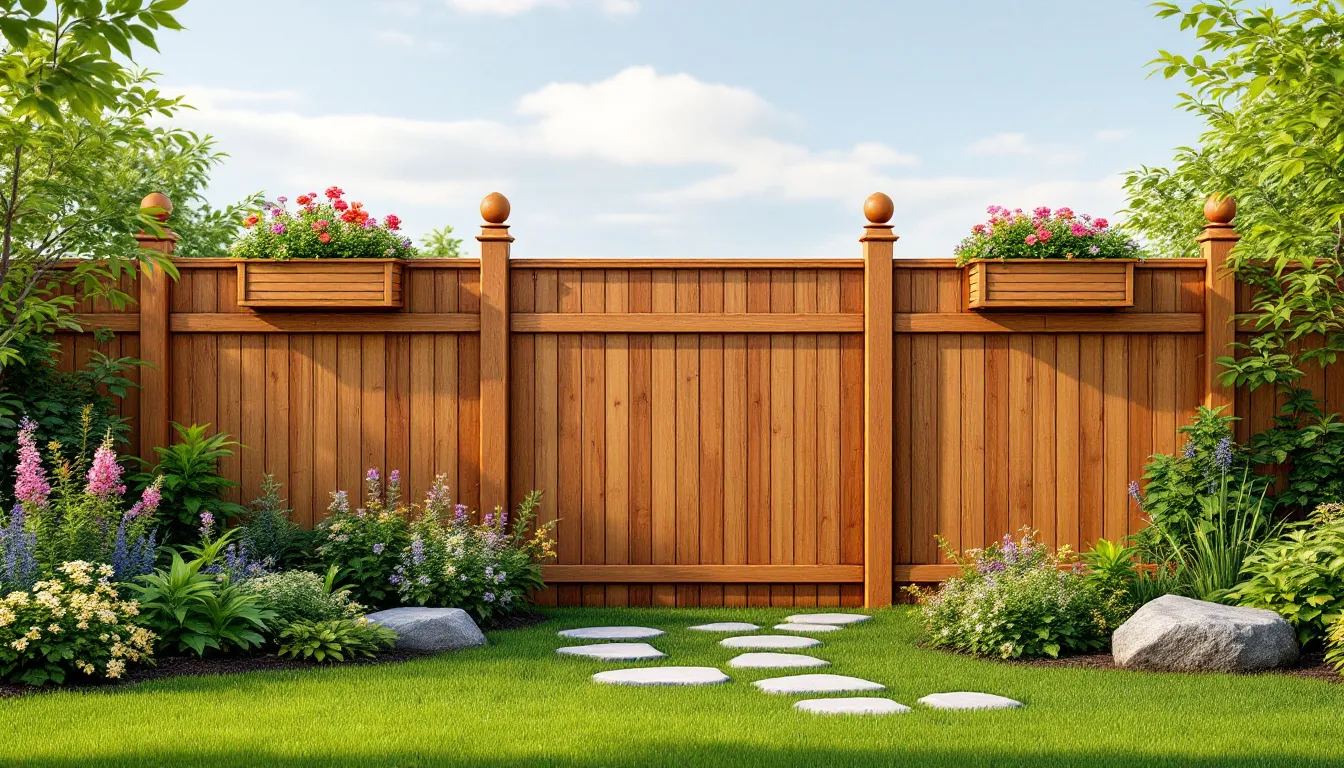
Knowing why you want to build a fence will help you choose the best design and materials. Fences can serve multiple purposes such as providing privacy, security, and aesthetic appeal. For instance, if privacy is your main concern, a tall, solid wood fence might be the best choice. On the other hand, if you want to keep pets in and other animals out, a chain link or picket fence might suffice.
The design of your fence should align with its purpose. Wood fences, for example, offer excellent privacy and security benefits, making them ideal for backyard settings where safety for children and pets is a priority. Consider the level of privacy you need, as this will impact your material choice. A fence that provides complete privacy will look different from one that is more decorative or open.
Understand Property Lines and Local Building Codes
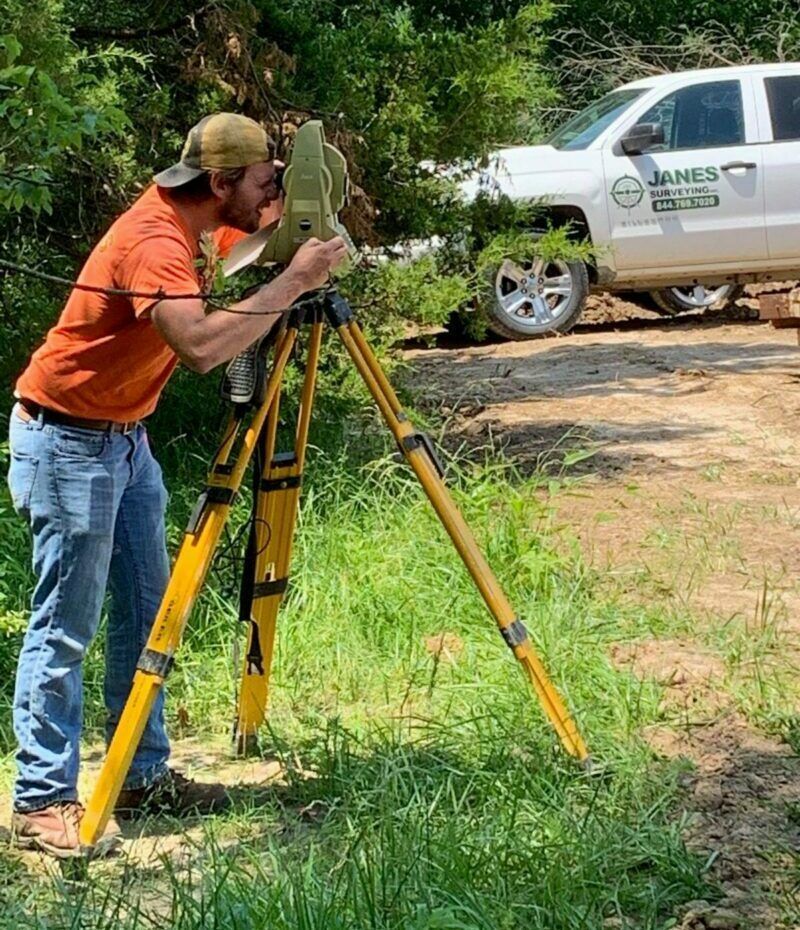
Confirming your property lines and understanding local building codes is critical before starting the installation. Knowing the exact boundaries of your property prevents disputes with neighbors and ensures that your fence is legally placed. You can find an official map of your property at your county’s clerk or surveyor’s office.
Local building codes and zoning laws often dictate the height, design, and placement of fences. These regulations can vary significantly, so it’s important to research and comply with them to avoid potential fines and delays. Additionally, discussing your plans with neighbors can help address their concerns and maintain good relationships.
Choose the Right Fence Type
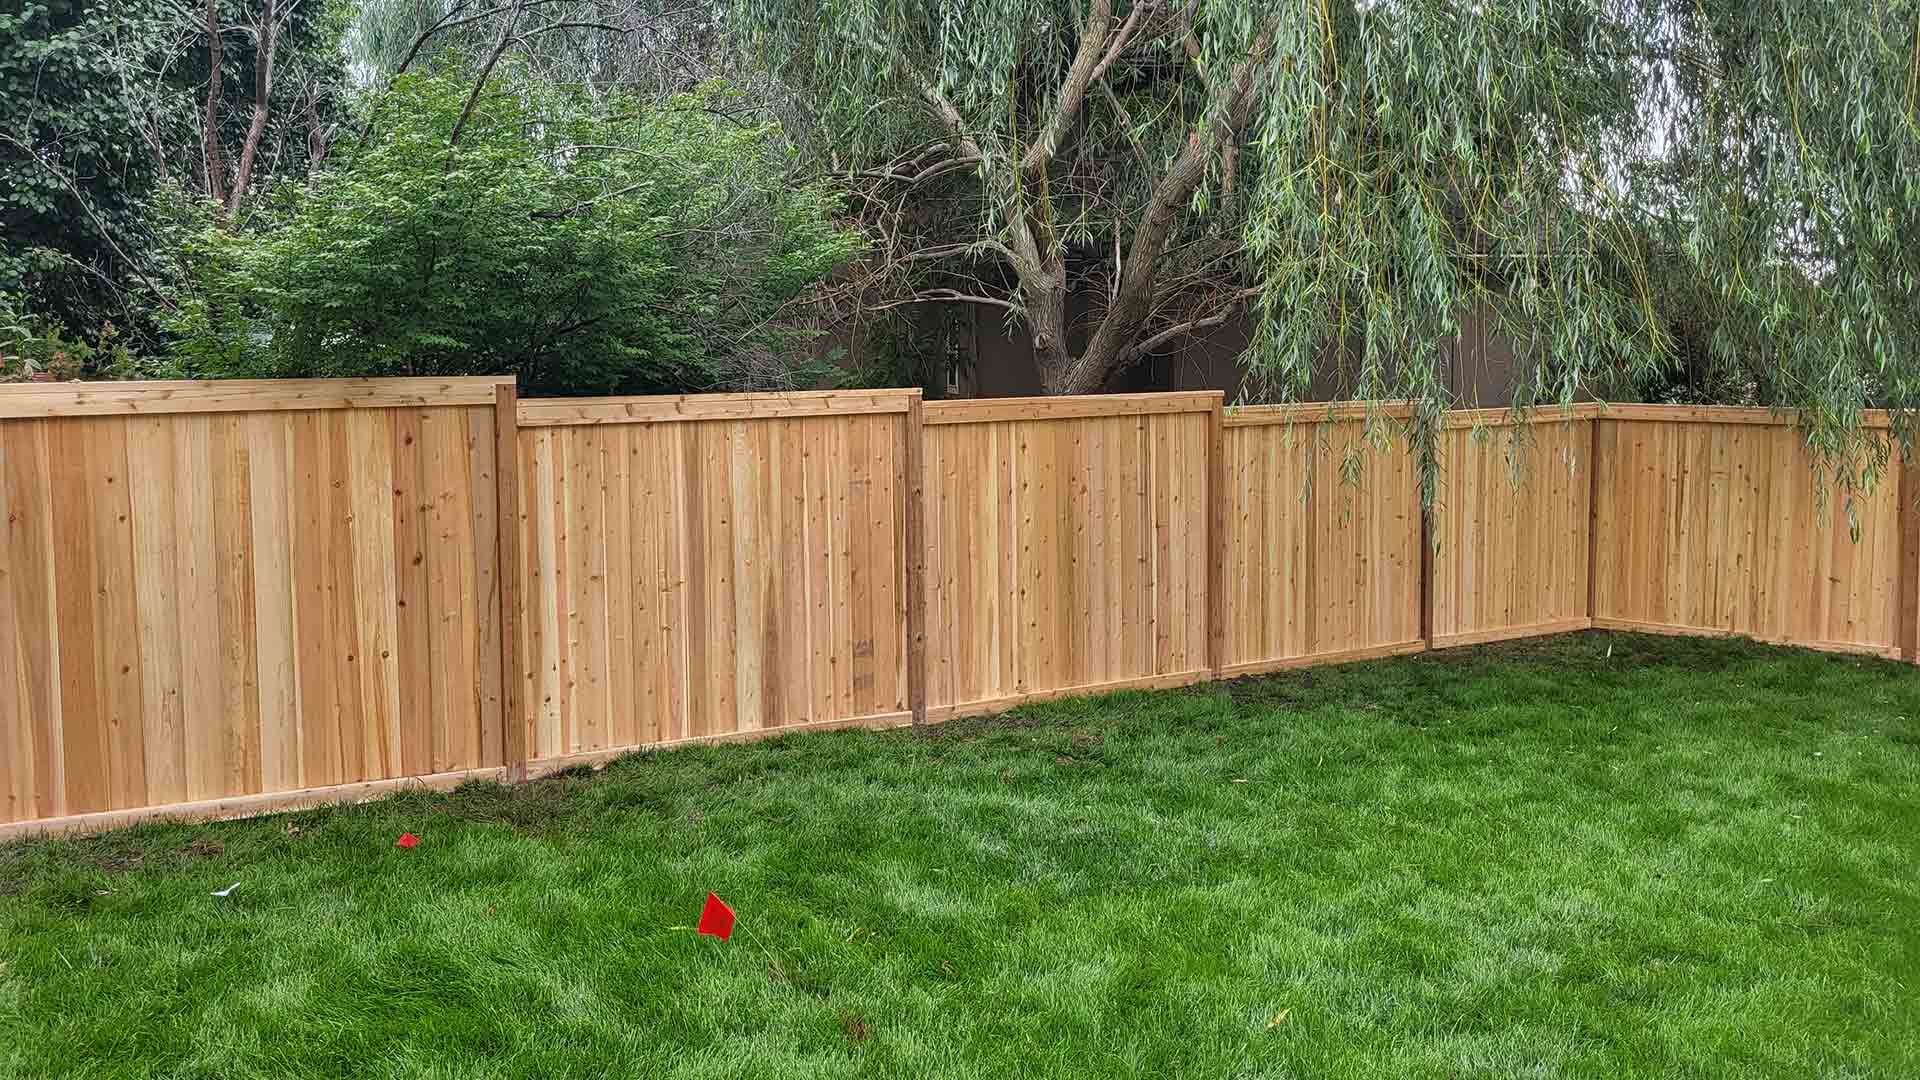
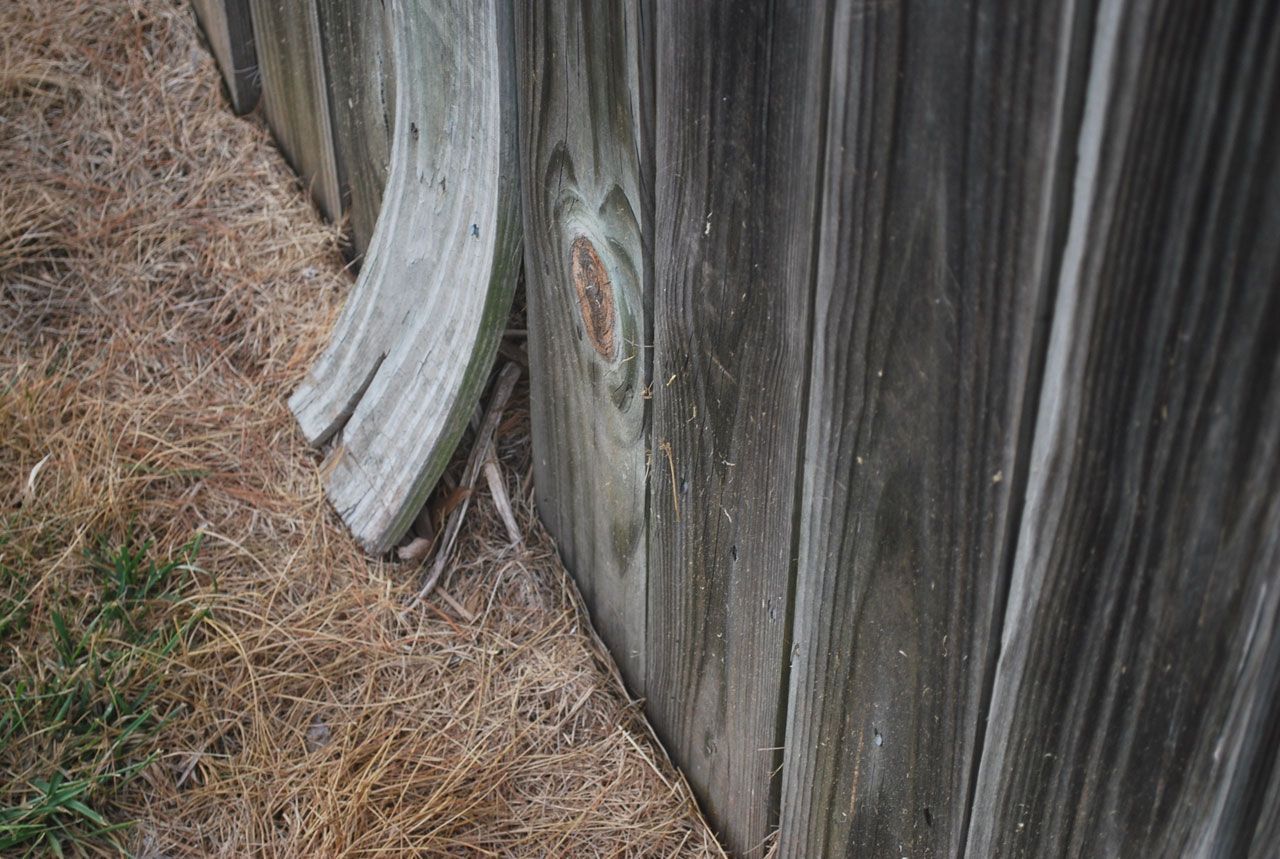
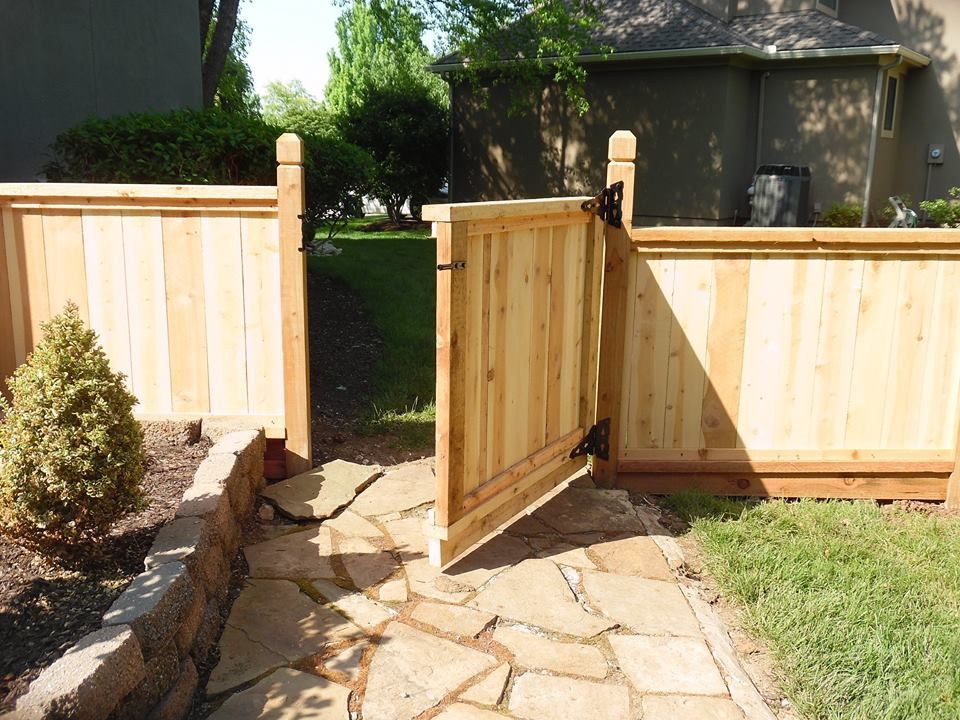
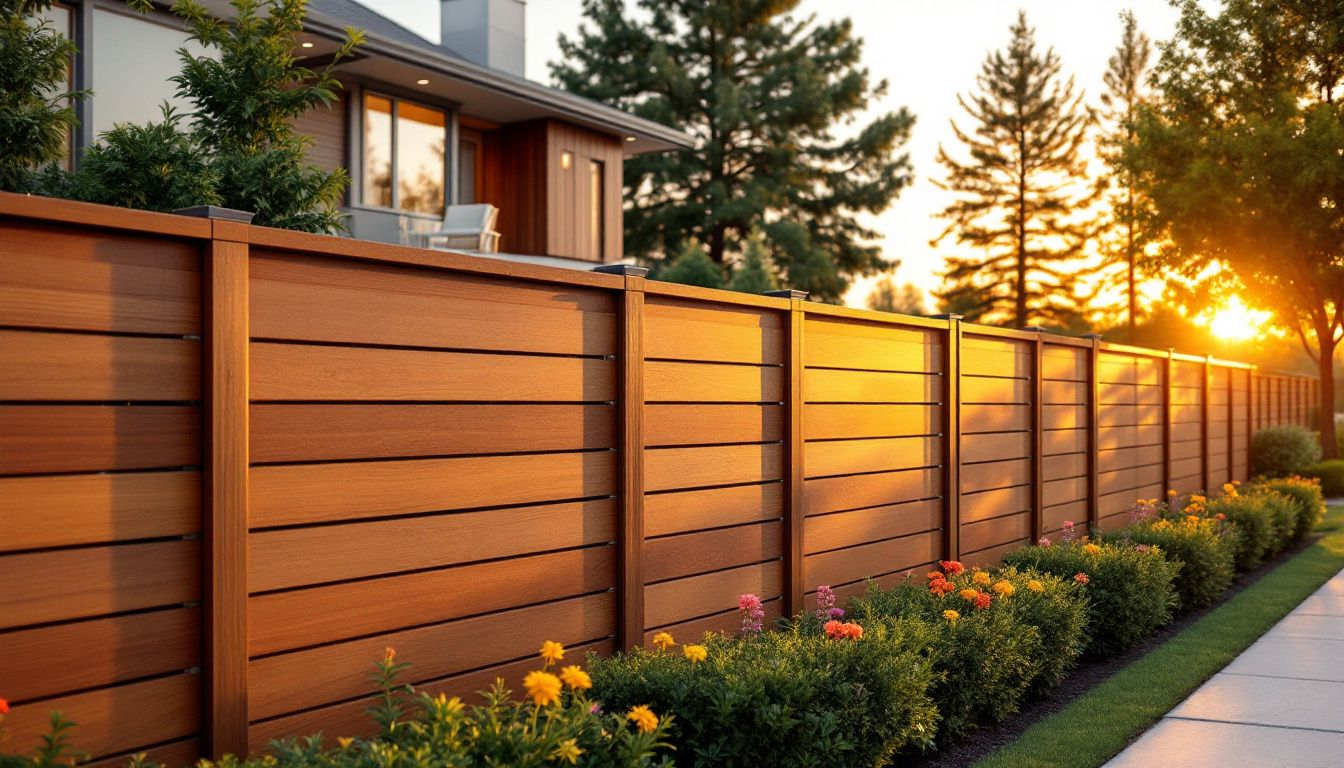
Selecting the right type of fence for your needs is a crucial planning step. Different fence materials offer various benefits. Wood fencing is popular for its aesthetic appeal and flexibility in design. It’s also a great choice for DIY projects due to its ease of installation.
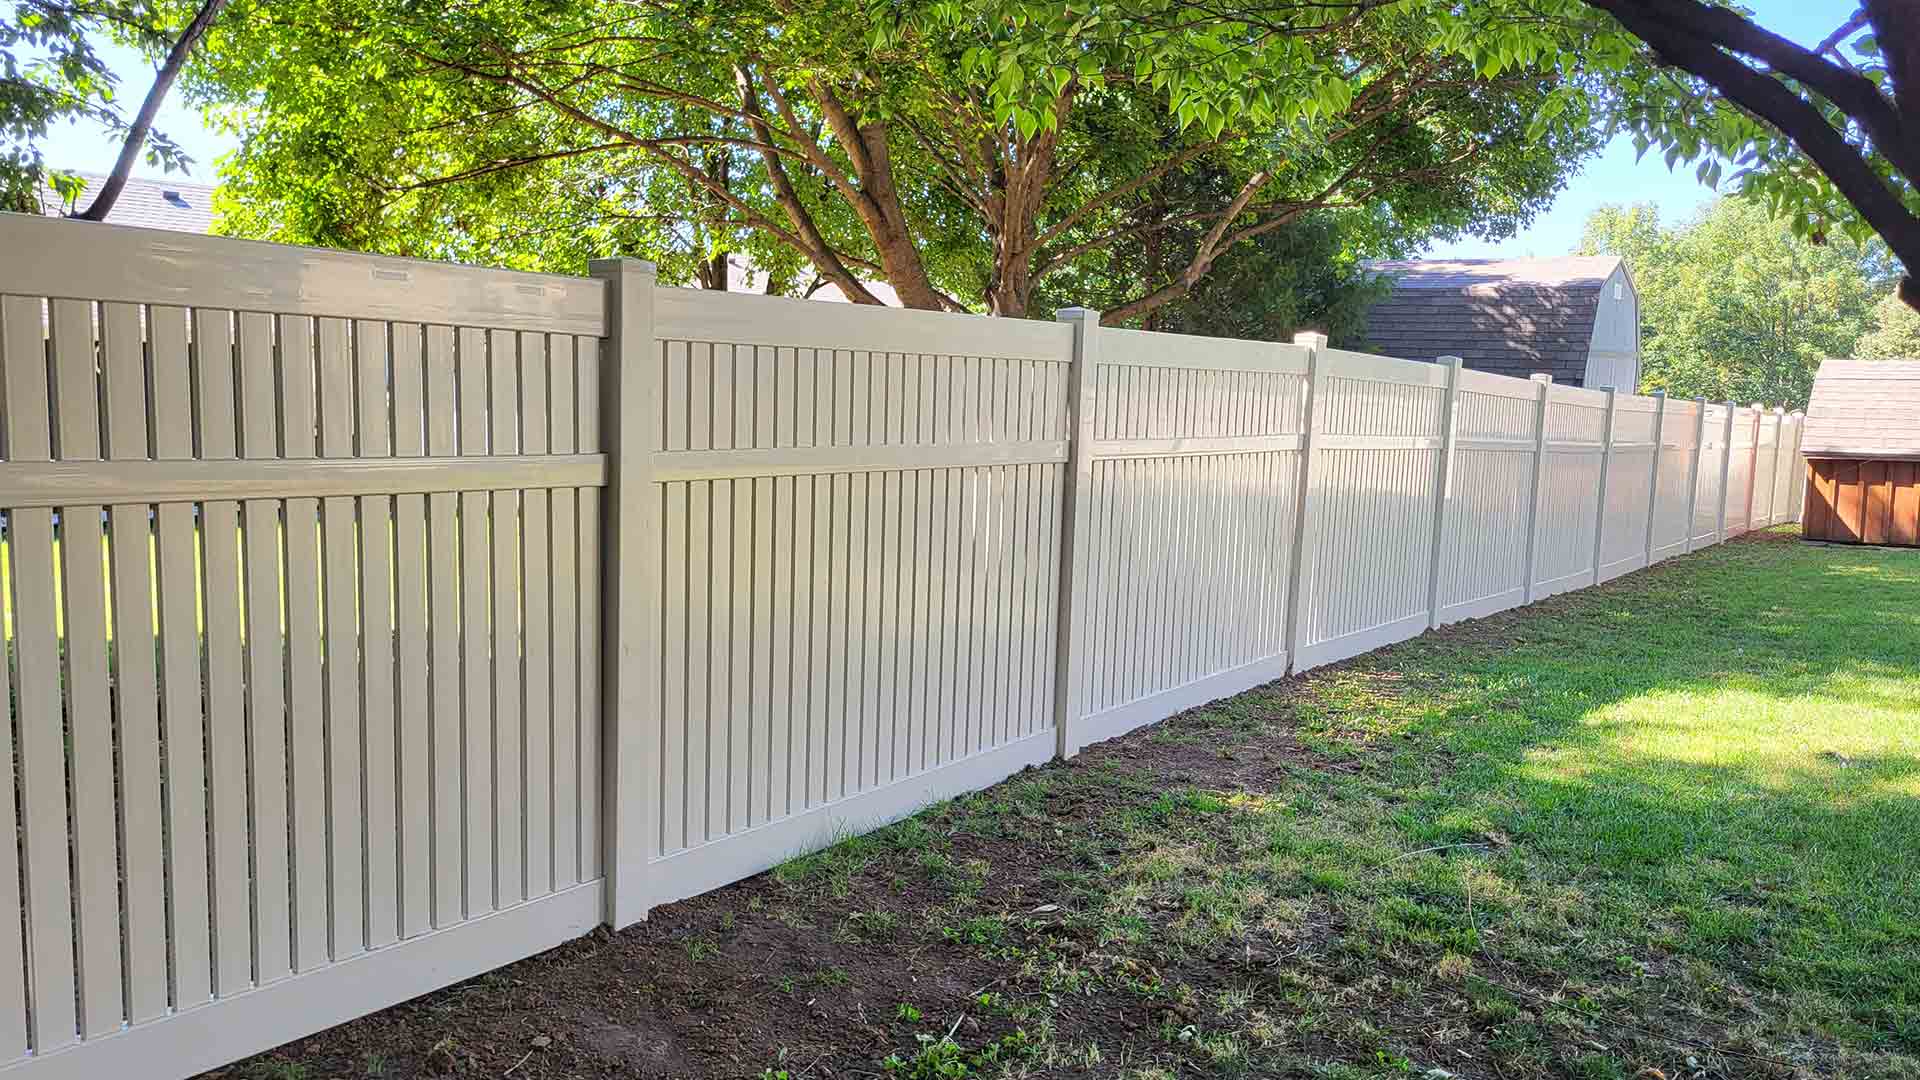
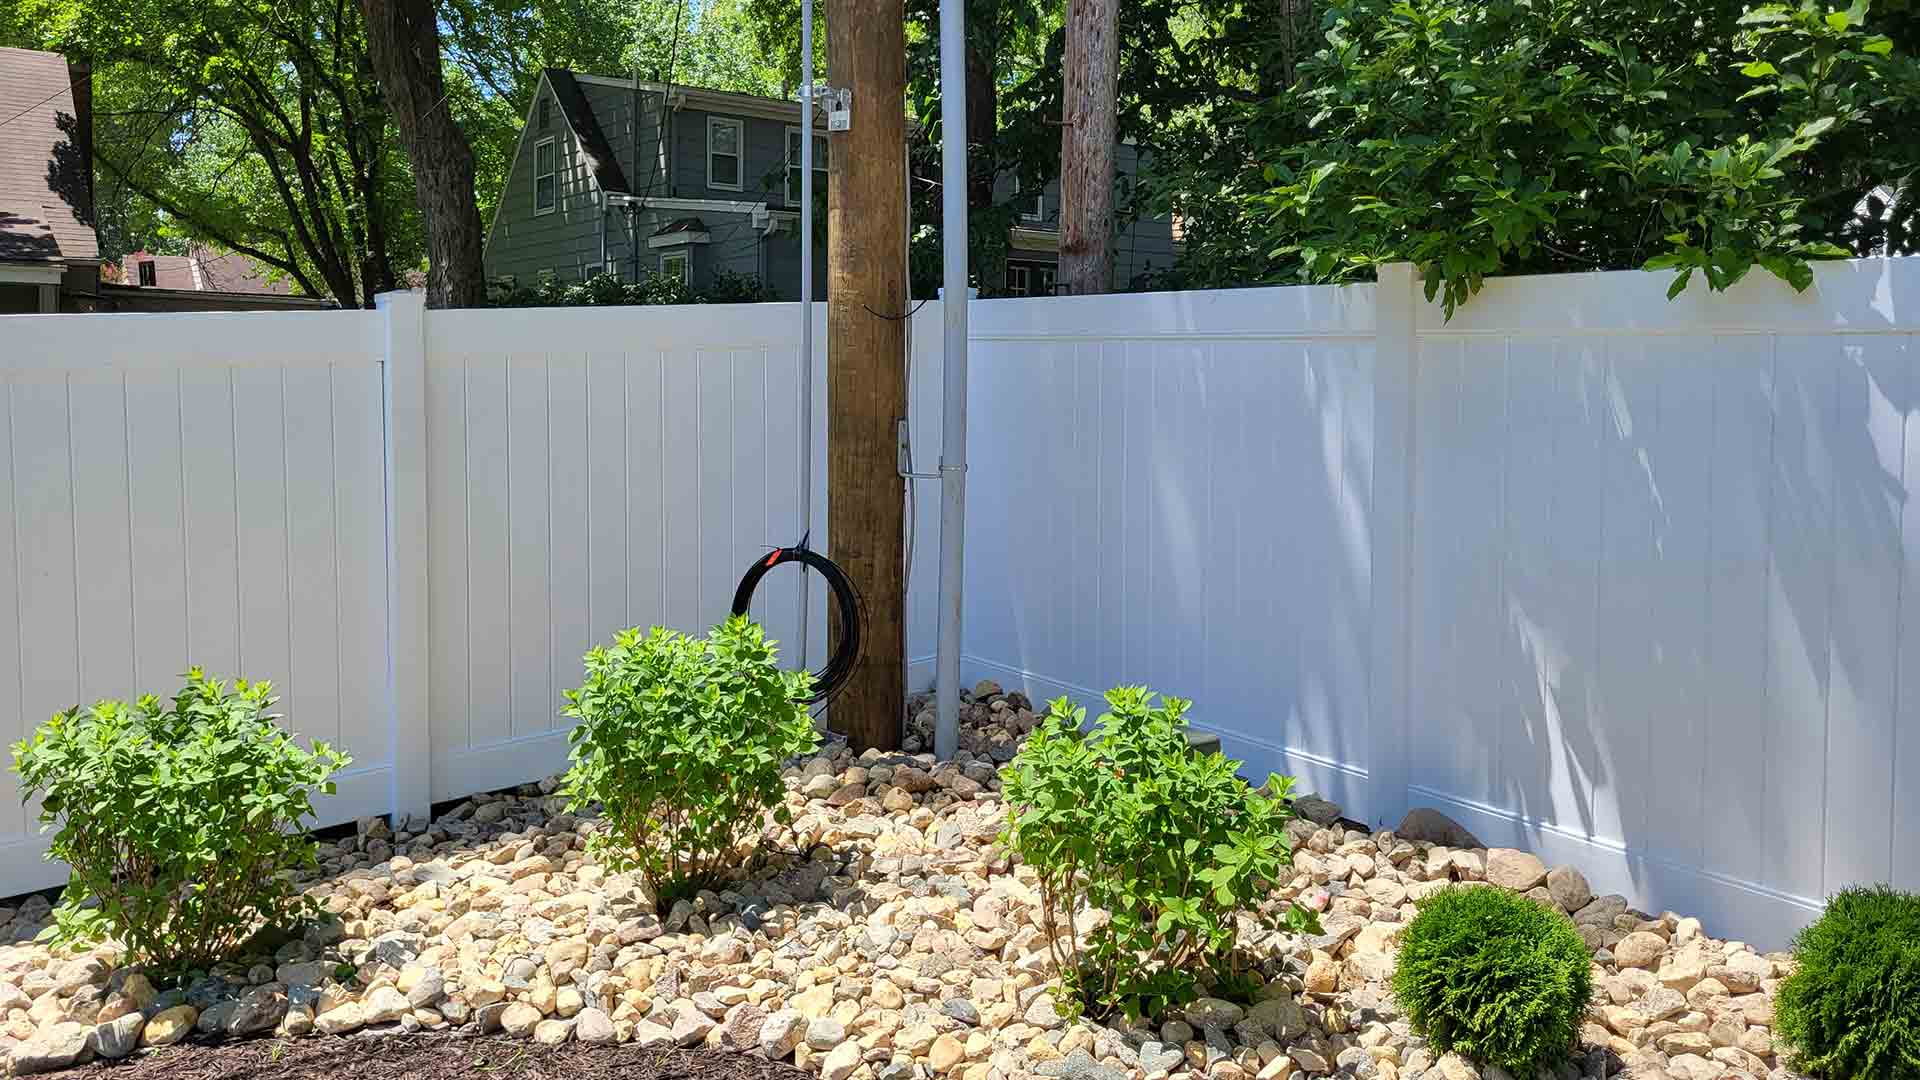
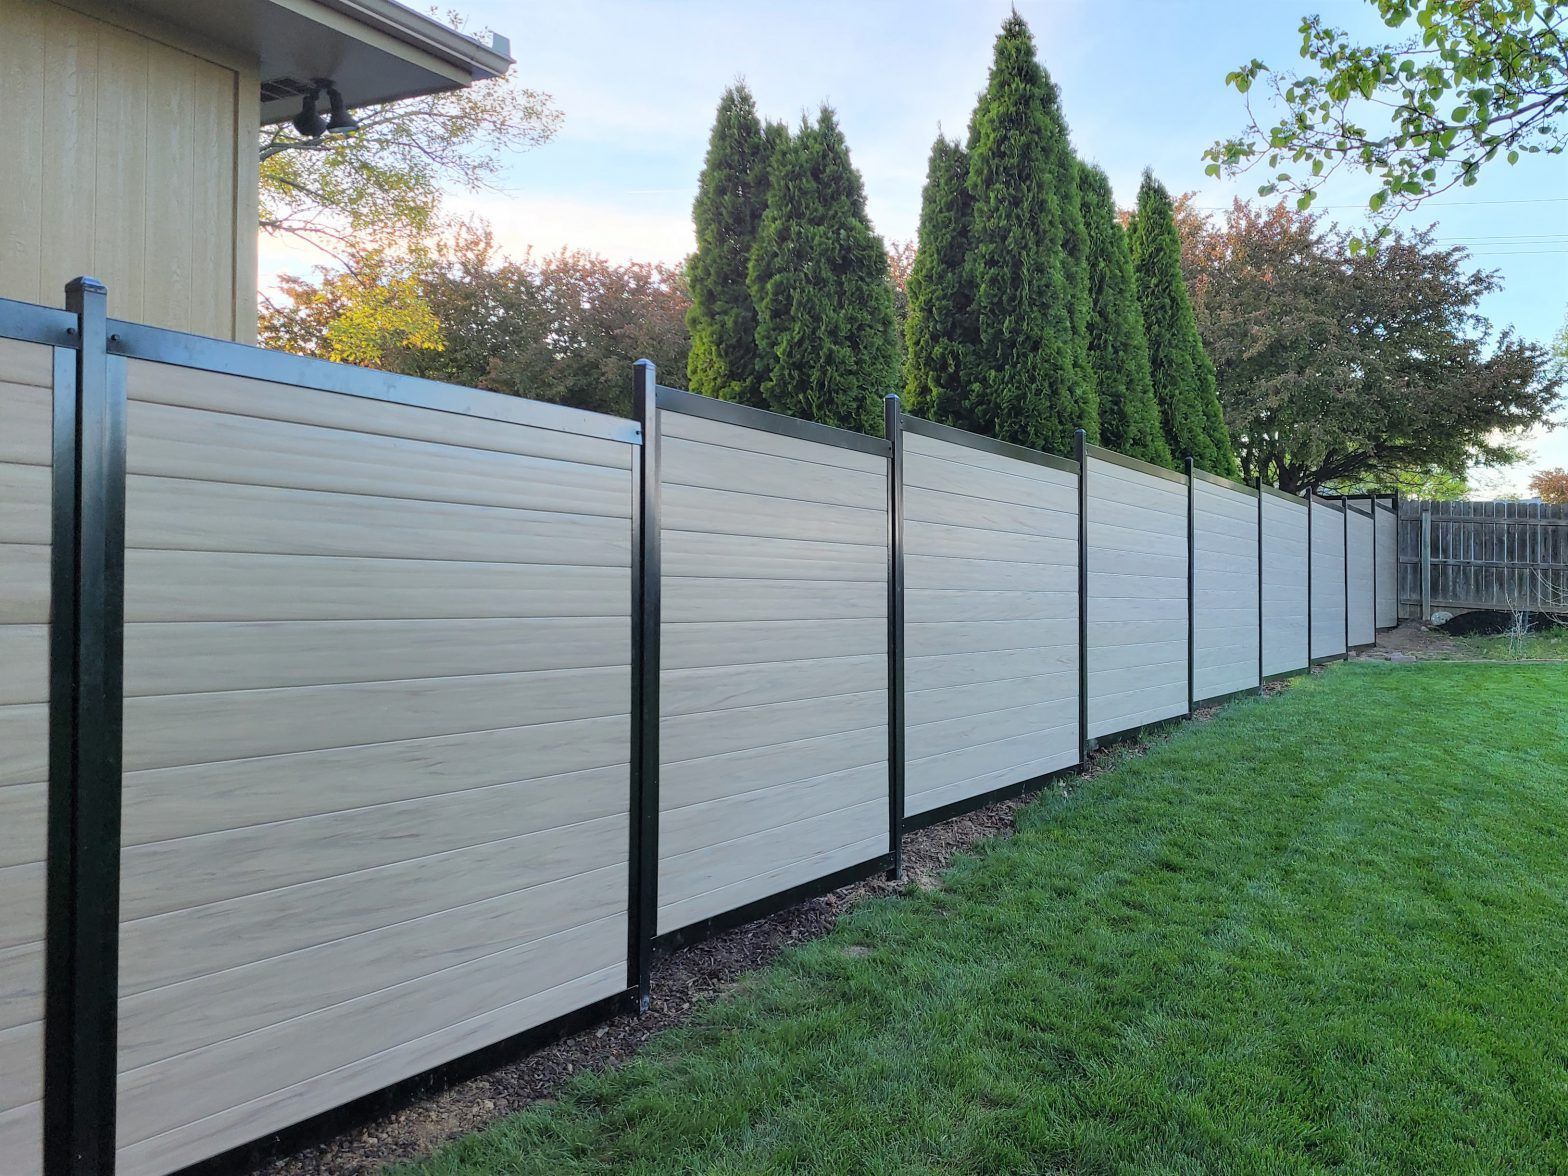
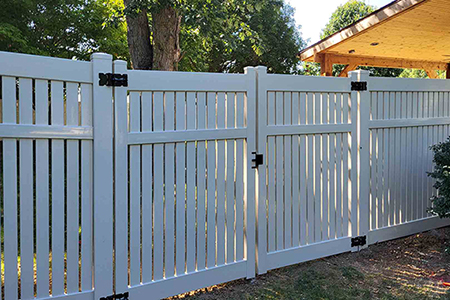
Vinyl fences, on the other hand, are known for their low maintenance and durability. They can withstand harsh weather conditions and usually last longer than wood fences. If you’re looking for an eco-friendly option, composite fencing, which combines wood fibers and plastic, could be a suitable alternative.
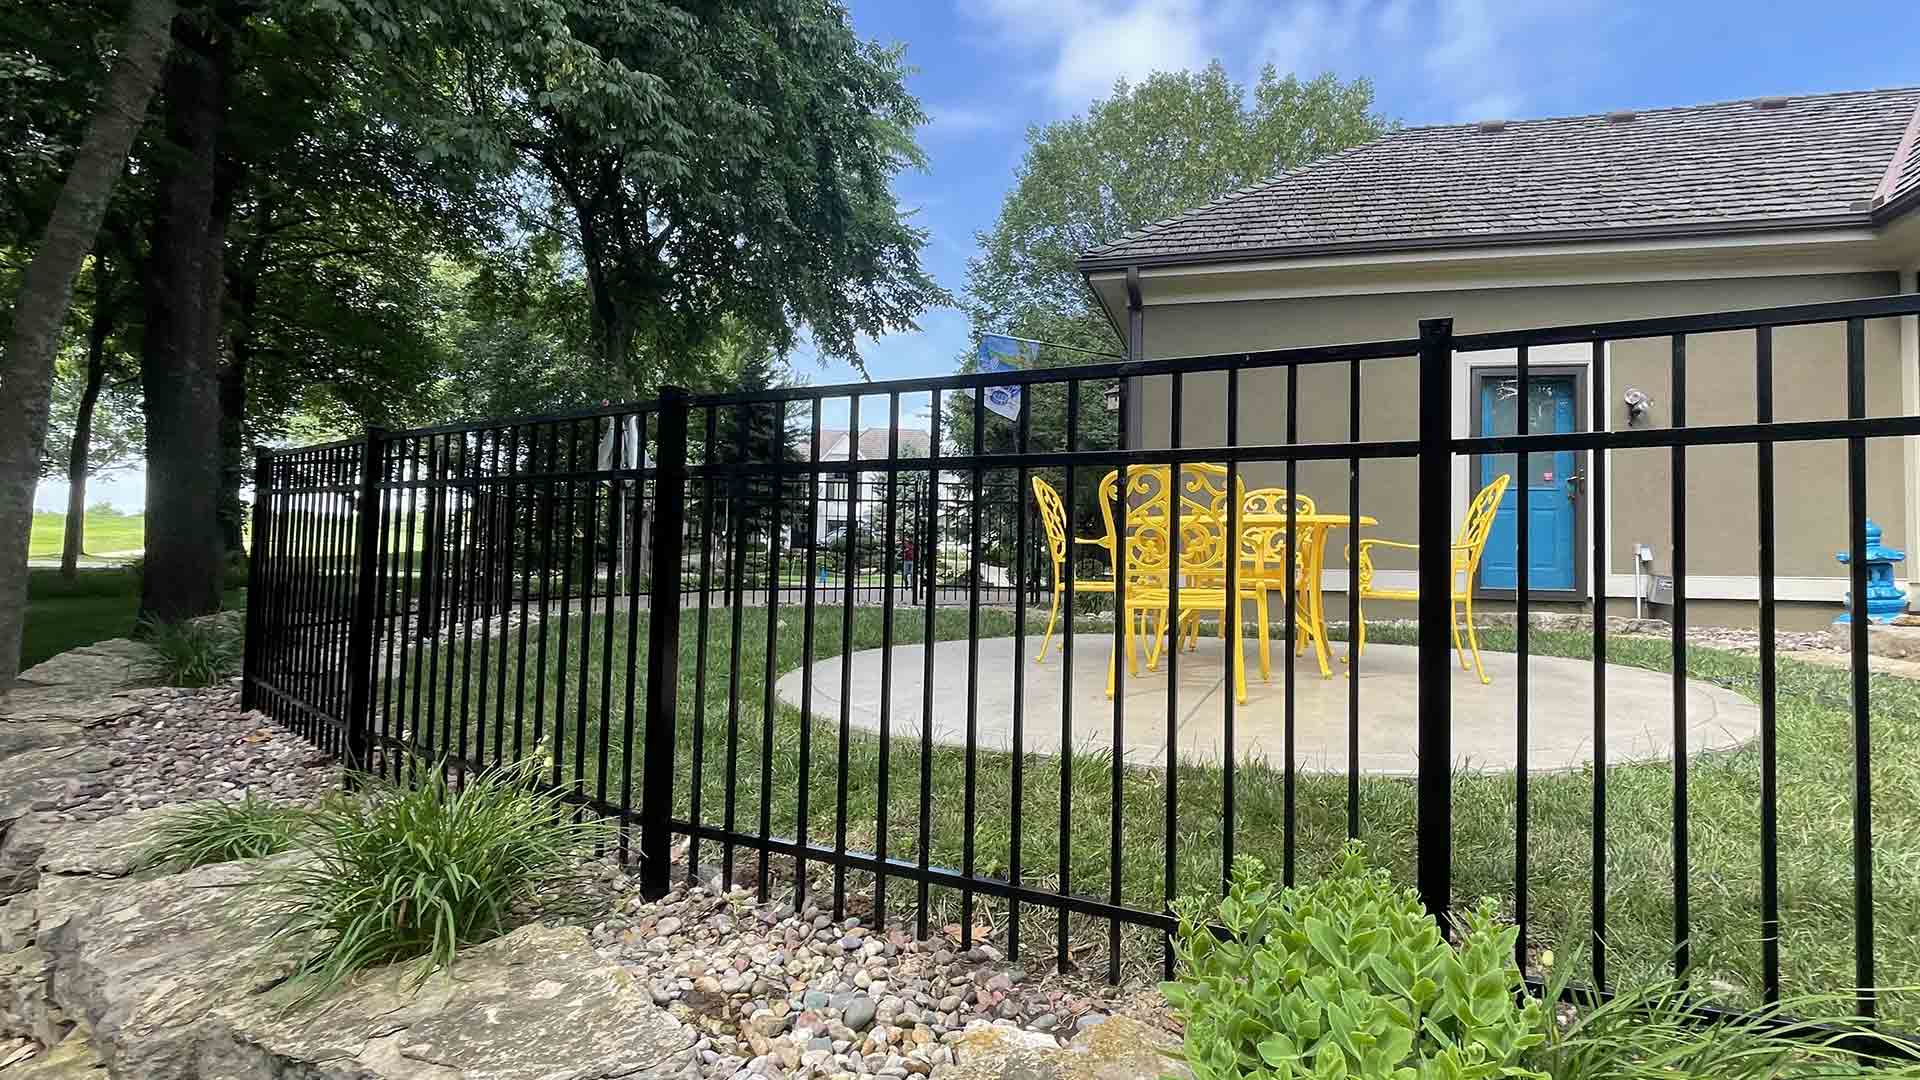
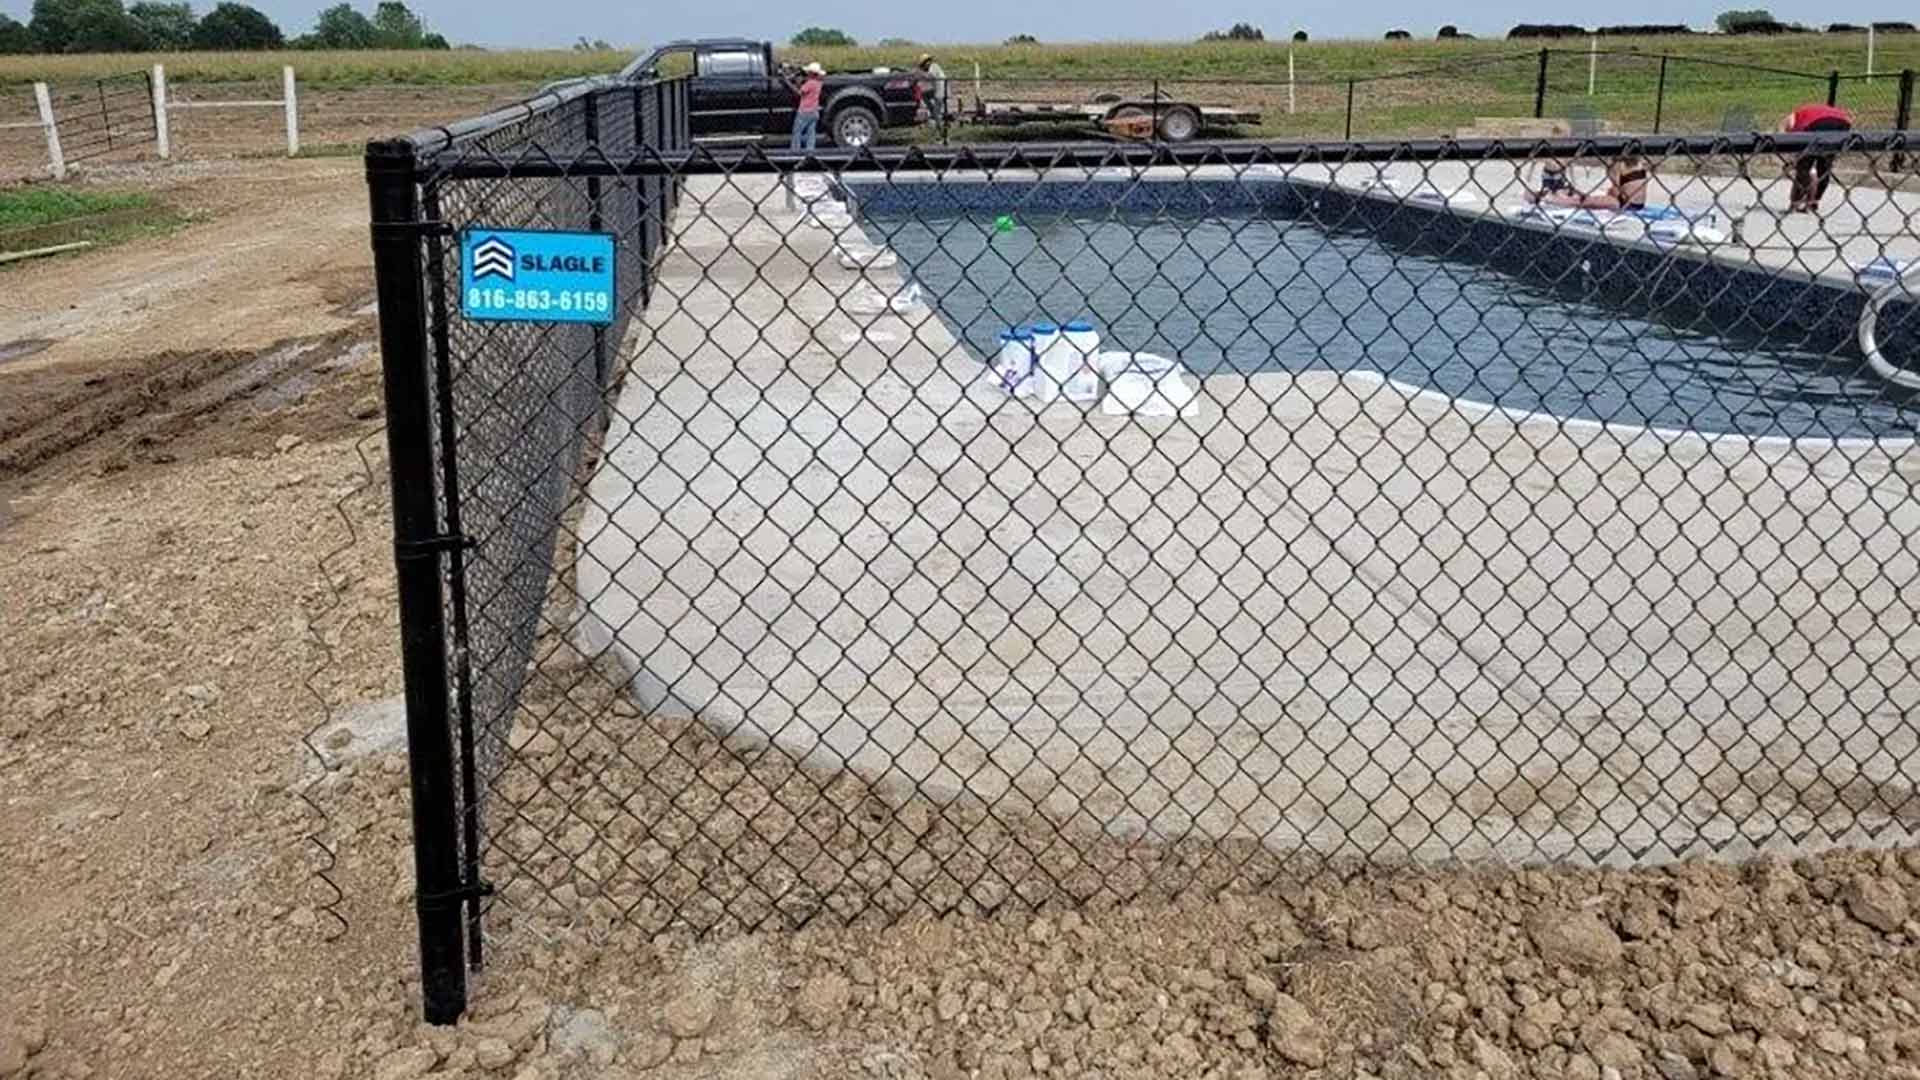
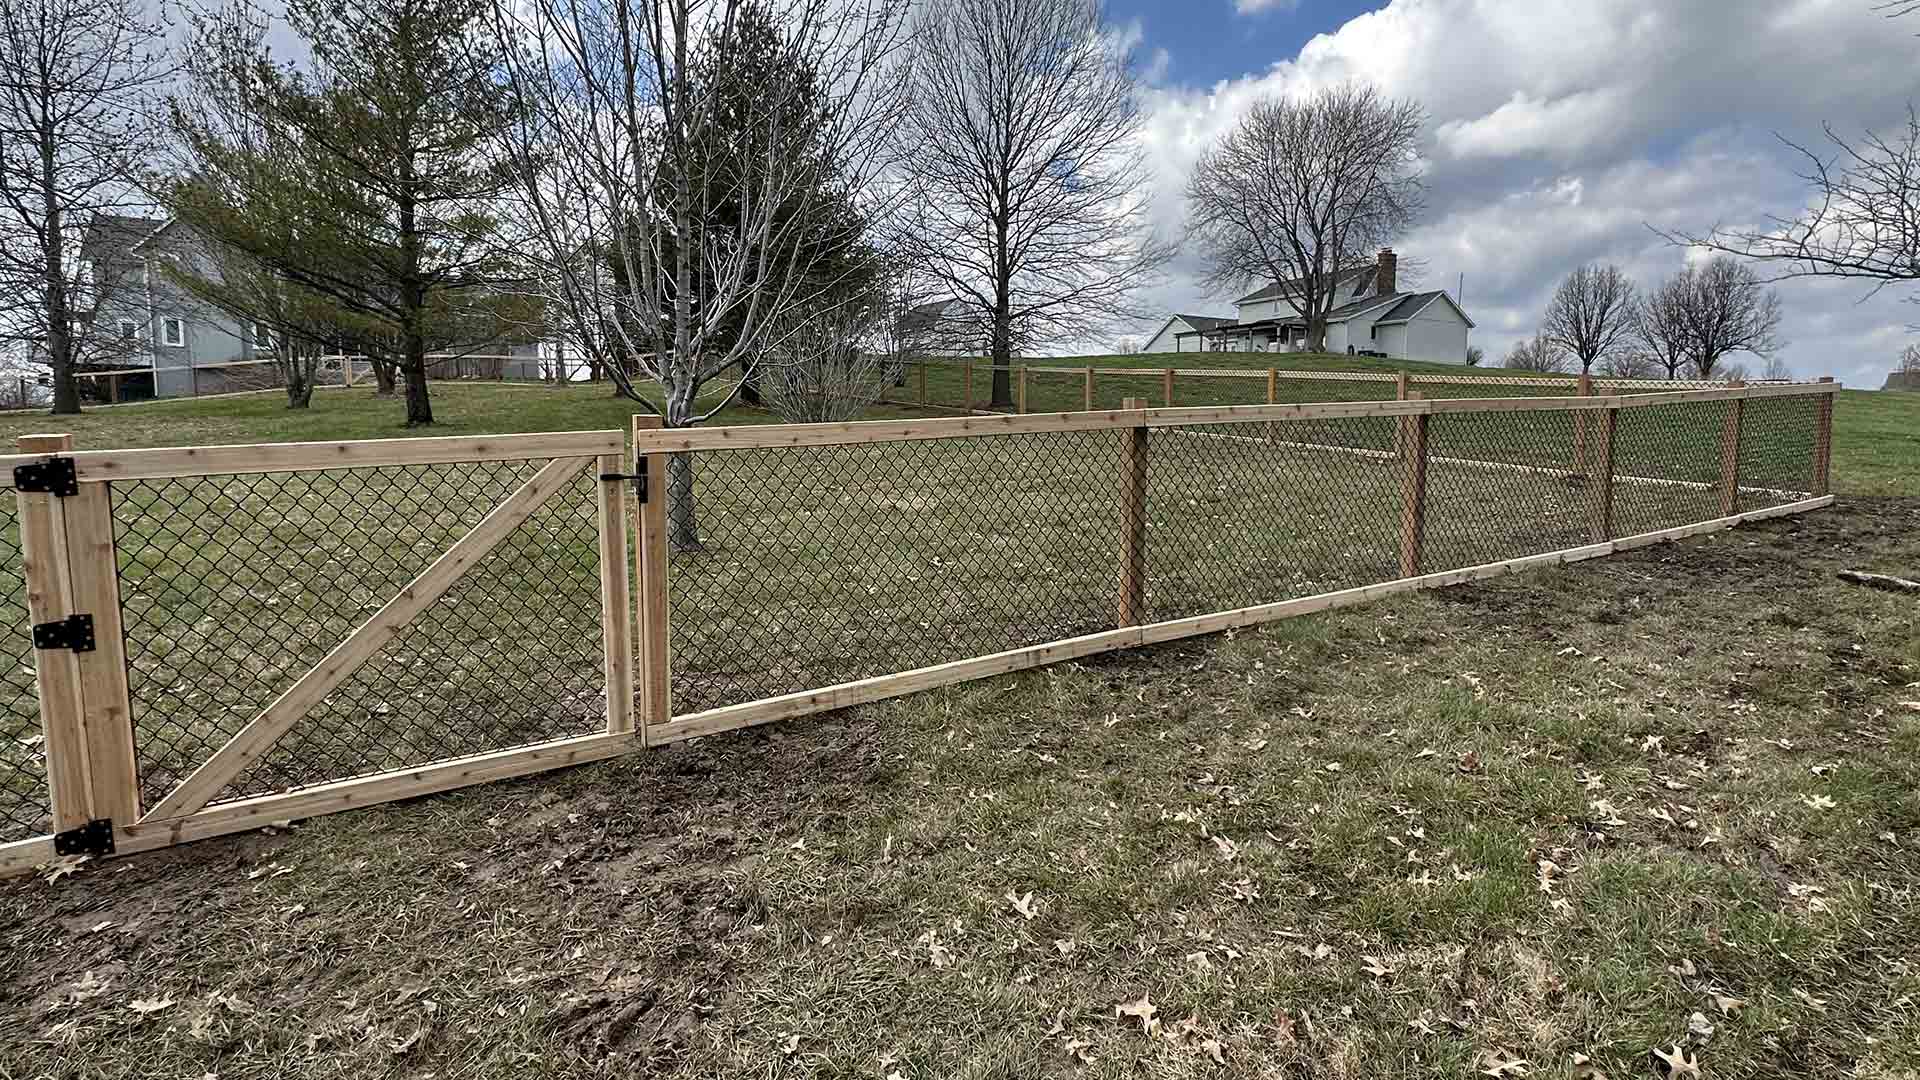
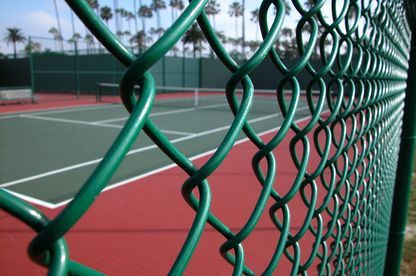
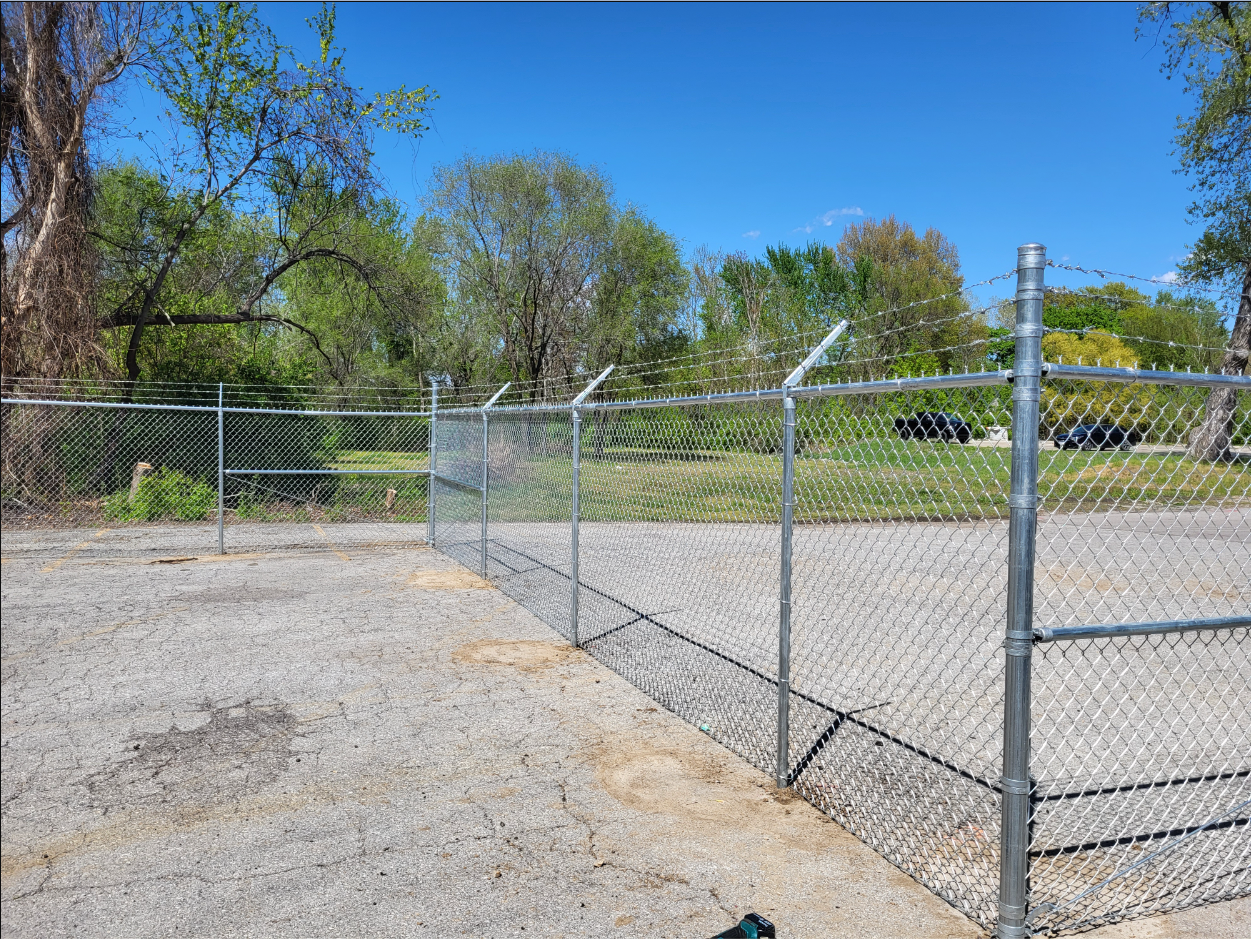
Chain link fences are an economical option that offers security, though they provide less privacy. Before deciding, consider the specific needs of your property and consult local fence codes to ensure compliance.
Gathering Tools and Materials
Gathering the right tools and materials is the next important step in your diy fence installation project. Having everything ready beforehand will make the process smoother and prevent unnecessary delays. Essential tools for this project include a post hole digger, tape measure, power drill, and level. These tools will ensure accurate measurements and proper installation of fence posts.
You’ll need fence posts, fence rails, fence panels, deck screws, and concrete mix for setting the posts. Choosing pressure-treated wood for the posts enhances their longevity and resistance to decay. Additionally, buying a little extra material can be a lifesaver if you encounter any unexpected issues during installation.
Essential Tools
The right tools are crucial for a successful and efficient fence installation. A post hole digger creates holes for the fence posts, while a tape measure ensures accurate measurements. A power drill will help you secure the fence components together, and a level is necessary to ensure everything is straight and even.
Having these tools on hand will not only make the installation process smoother but also ensure that the final product is sturdy and well-built. Investing in quality tools saves time and frustration in the long run.
Selecting Materials
Selecting the right materials is equally important for the success of your fence installation. For a wood fence, you’ll need fence posts, fence panels, concrete mix, and deck screws. Pressure-treated wood is a great choice for fence posts due to its enhanced durability and resistance to the elements.
When purchasing materials, it’s always a good idea to buy a little extra to account for any mistakes or unexpected issues that may arise during installation. If you’re unsure about what materials to buy, ask for guidance from professionals at the store.
Measuring and Marking the Fence Layout
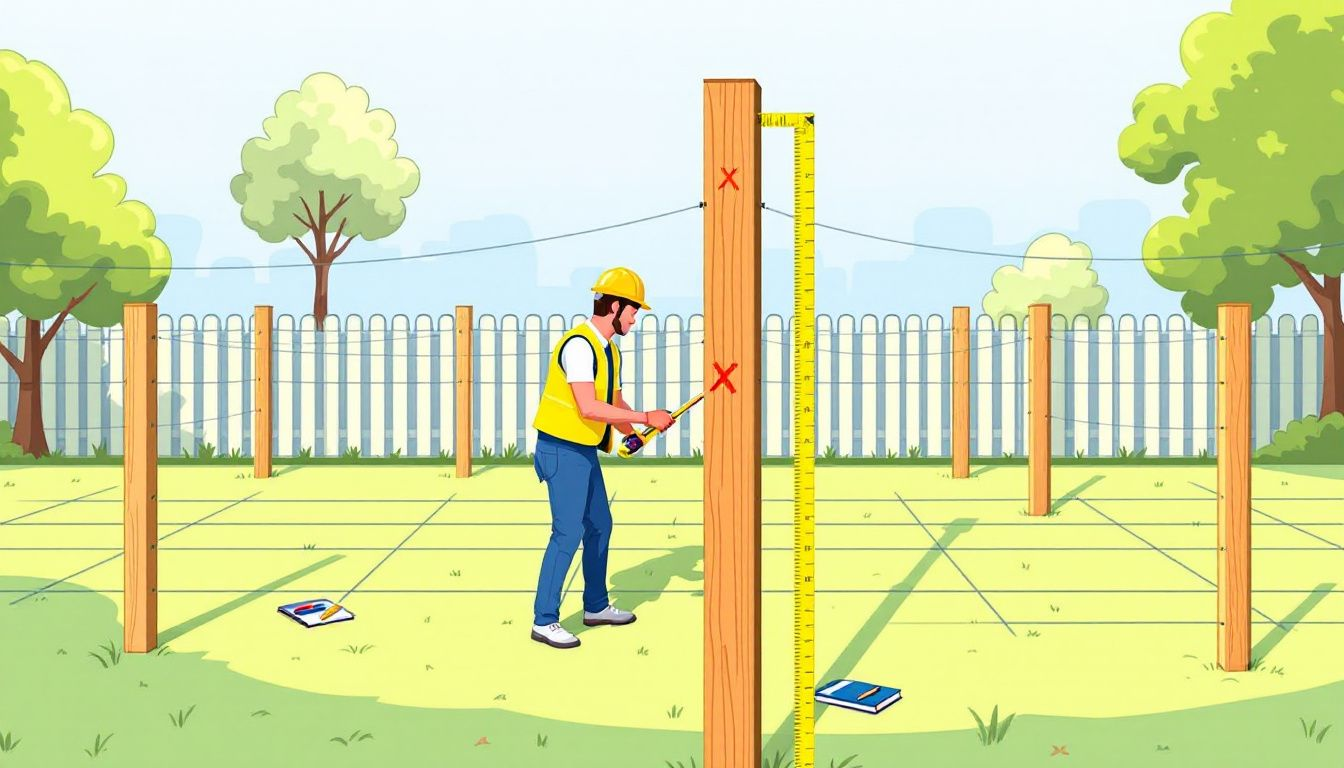
Accurate measuring and marking are essential for a successful fence installation. This step ensures your fence will be aligned correctly and fit precisely within your property lines. Measure the entire length of the fence line using a tape measure, starting from a corner stake and keeping the tape away from obstacles.
Once you have the measurements, mark the post locations using wood stakes and twine. The recommended distance between fence posts is 8 feet apart or 103 inches on-center. Using string lines or spray paint can help ensure that the post locations are marked accurately and that the posts are aligned straight during installation.
Measure the Length of the Fence Line
To measure the length of the fence line, use a tape measure starting from a corner stake along the proposed fence line, ensuring you keep the tape away from obstacles. This initial measurement sets the stage for the rest of the installation process, ensuring all subsequent steps are based on accurate dimensions.
Mark Post Locations
Marking post locations correctly is crucial for a straight and sturdy fence. Use wood stakes and run twine between them to mark the fence layout. Ensure that each post is placed precisely by using a string line to maintain alignment.
This careful marking guides you in digging post holes and setting the fence posts properly.
Digging Post Holes

Digging post holes is crucial for ensuring your fence’s stability and longevity. The depth and width of the post holes directly affect the security of your fence posts. Post holes should be dug below the frost line to ensure stability and prevent heaving due to freeze-thaw cycles.
The depth of the concrete post hole should be one-third to one-half the height of the post. This depth provides the necessary support for the fence, ensuring it stands firm against weather and time.
Before you start digging, it’s essential to prepare properly to avoid any mishaps.
Prepare to Dig
Preparation is key when digging post holes. Start by wearing work gloves to protect your hands and a hard hat to safeguard against falling objects. Before you begin, call the local utility locator hotline to identify any buried utility lines and avoid accidents.
Clearing out any large roots from the area makes the digging process smoother.
Digging the Post Holes
Now, it’s time to dig. The depth of the post holes should be one-third to one-half the height of the fence for stability. Adding 3 to 4 inches of gravel at the bottom of the hole aids drainage and stability. Use a four-by-four to tamp down the gravel for proper compaction.
If you encounter rocky or difficult terrain, a digging bar might be necessary. Always ensure that the post holes are of the right depth and width, making necessary adjustments for uniformity.
Setting Fence Posts in Concrete
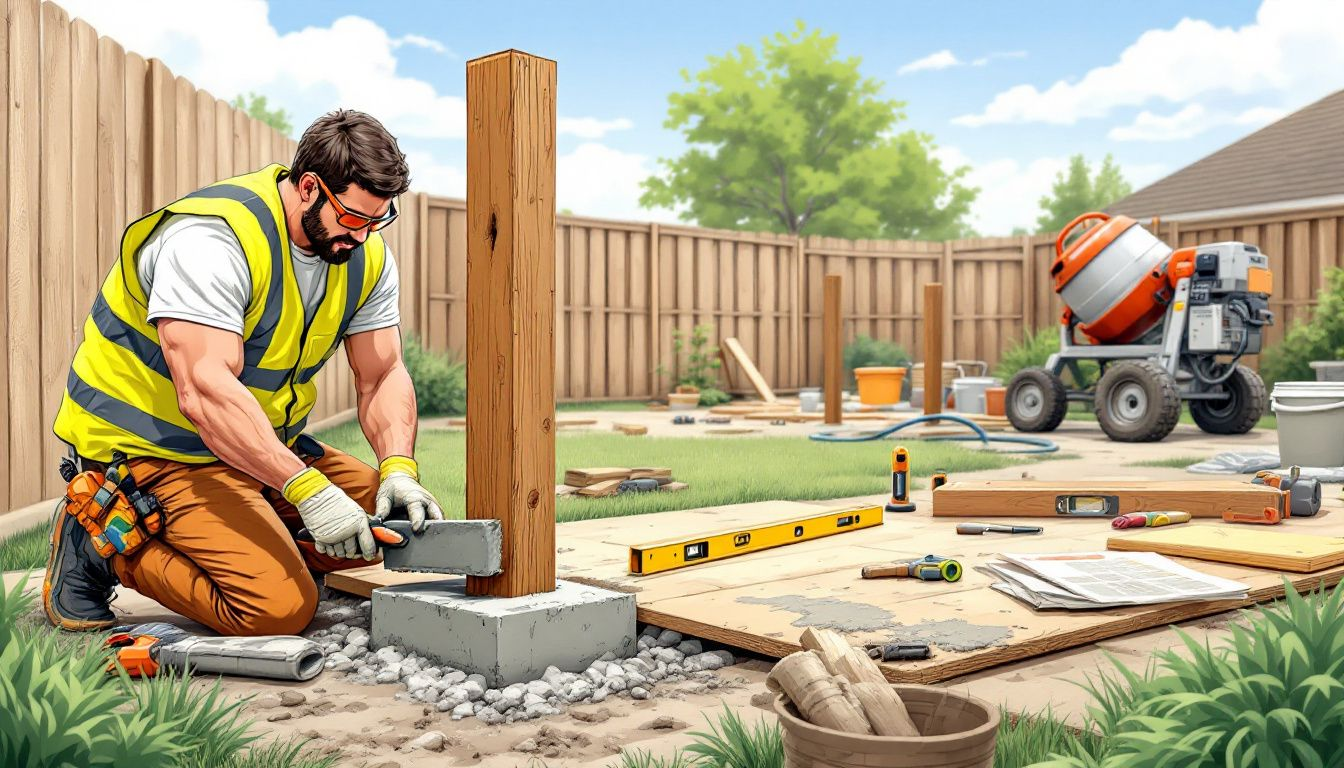
Setting fence posts in concrete ensures a stable and long-lasting fence. This method keeps the posts secure and upright over time. Proper post positioning is key to the fence’s durability. Ready mix concrete is recommended for securely anchoring the posts into the ground.
Setting the posts in concrete involves mixing the concrete, positioning the posts, and pouring the concrete around them. This process creates a strong foundation supporting the entire fence structure.
Mix the Concrete
Mixing the concrete correctly is vital for the stability of the fence posts. Follow the manufacturer’s instructions for the best results. A fast-setting mix can be convenient, allowing you to pour dry concrete into the hole first and then add water.
This method speeds up the setting process and makes the installation more efficient.
Position the Fence Posts
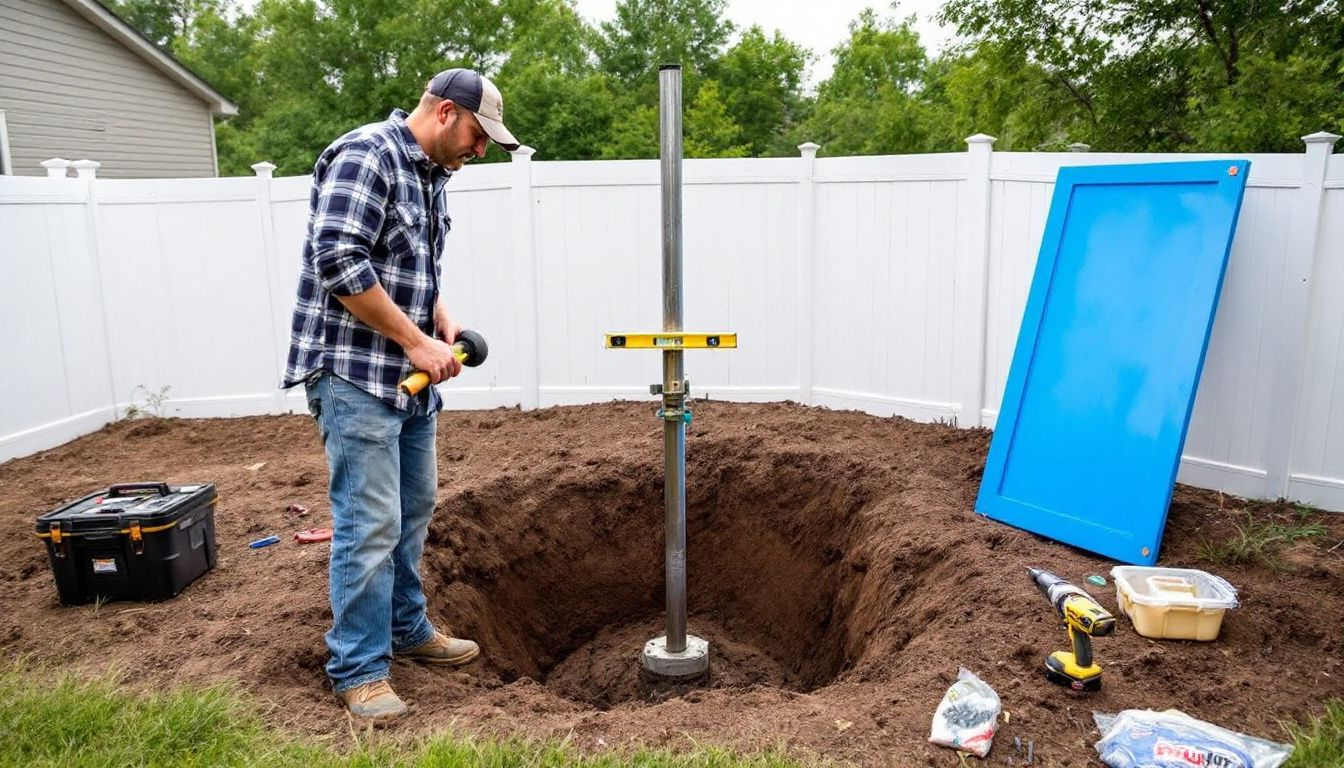
Positioning the fence posts accurately is crucial to the success of your fence installation. Place each fence post in its respective hole, ensuring it is centered and at the correct height. Use a bubble level or laser level to ensure the posts are plumb and vertical. This step prevents the fence from leaning or becoming unstable over time.
After placing the posts in the holes, pour the concrete mix around them. Check the alignment again with a level and make any necessary adjustments before the concrete sets. Ensuring the posts are perfectly vertical provides a solid foundation for the fence rails and panels.
Pour and Set the Concrete
Once the fence posts are in position, pour the concrete. Fill the hole around each post with the concrete mix, ensuring it is level with the ground surface. Tamp down the concrete to remove any air pockets and ensure stability. This step is crucial for creating a strong bond between the post and the ground.
Allow the concrete to set properly according to the manufacturer’s instructions for the best results. Typically, this means letting it cure for at least 24 hours before proceeding with the rest of the fence installation. Properly set concrete ensures your fence stands firm for many years.
Attaching Rails to Fence Posts
Attaching the rails to the fence posts is the next step in creating a sturdy structure. The rails provide horizontal support and are essential for attaching the fence panels or pickets. This step involves marking the positions for the rails, attaching them securely, and ensuring they are level and evenly spaced.
Using a power drill and deck screws or a hammer and nails, secure the rails to the posts. Start from the bottom and work your way up, double-checking the alignment with a level to maintain a straight and even fence.
Mark Rail Positions
Mark the positions for the rails on the fence posts. Use a square or level to ensure the post is straight and mark slots for rail sections at consistent distances.
Batter boards or mason lines can help ensure everything is level when marking rail positions.
Attach Rails Securely
Attach the rails securely to the posts using brackets and screws. Ensure the brackets are fastened tightly to prevent any movement.
Use a level to ensure the rails are straight and even, which is crucial for the overall stability of the fence.
Installing Fence Panels or Pickets
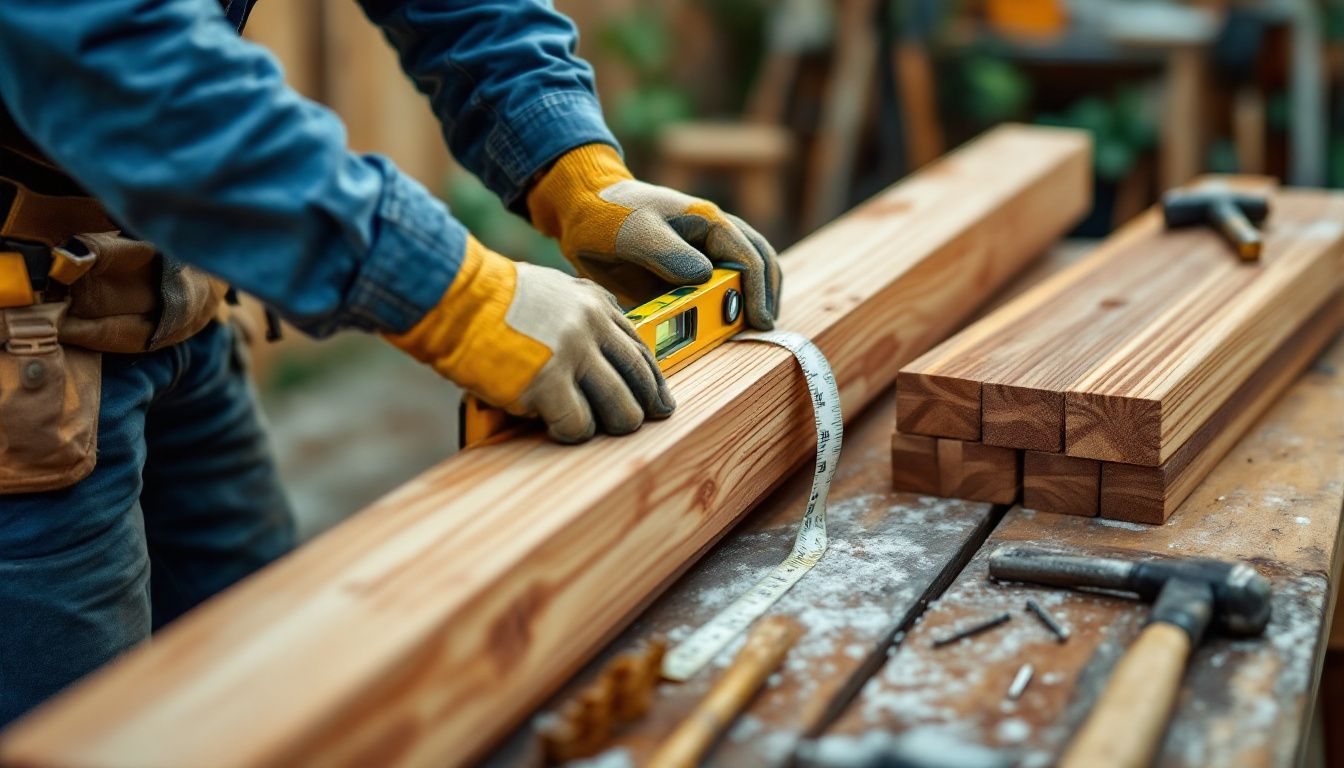
With the rails in place, install the fence panels or pickets. This step involves positioning the panels or pickets at the correct height and securing them to the rails. Prefabricated panels make the installation process faster and simpler, providing a uniform look.
Whether you choose fence panels or individual pickets, ensure each piece is level and straight during installation. Consistent spacing and secure attachment are key to achieving a professional and polished appearance.
Position and Secure Panels/Pickets
Lift and place each fence panel between two posts, adding blocking below to raise it to the correct height. Ensure both sides of the panel touch the posts without spreading them apart during installation.
Secure the panels by driving four screws through their sides into the posts, ensuring a strong attachment.
Ensure Consistent Spacing
As you install each panel or picket, double-check the spacing to ensure the seams between each panel are tight and flush.
This attention to detail will result in a cohesive and aesthetically pleasing fence.
Installing the Gate
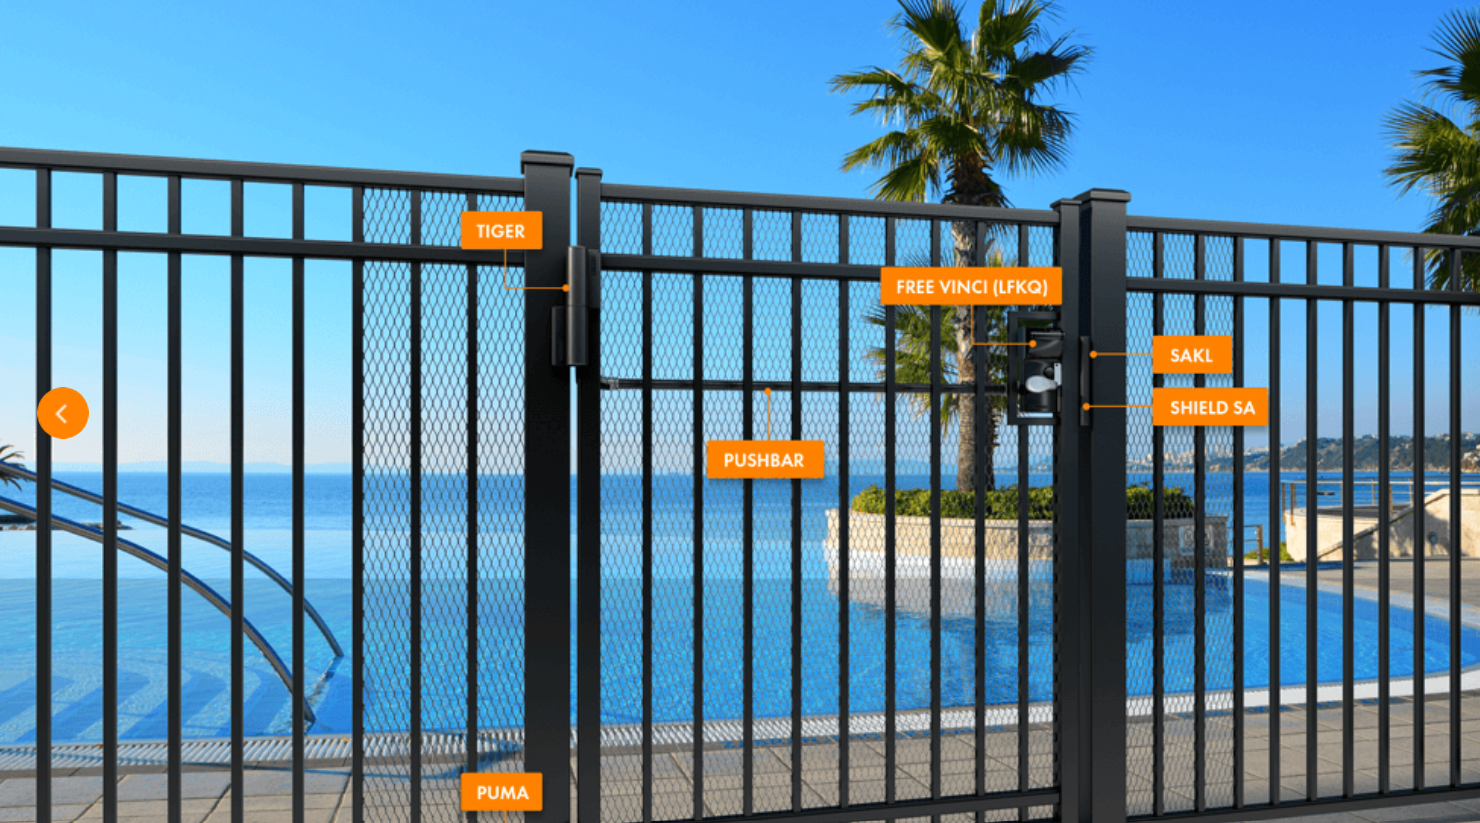
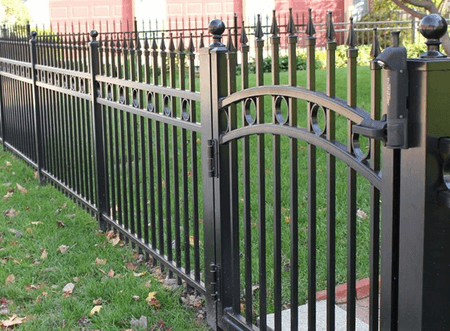
Installing the gate is an important step in completing your fence project. A well-installed gate provides access and security, enhancing the functionality of your fence. Begin by positioning the gate posts properly, ensuring they are centered and at the correct height to accommodate the size of the gate.
Once the gate posts are in place, attach the hinges and locking hardware. This step involves drilling holes for the hinges, securing them to the gate, and then attaching the gate to the posts. Finally, install the locking mechanism to ensure the gate operates smoothly and securely.
Position Gate Posts
Place the gate posts in the holes, ensuring they are centered and at the correct height to accommodate the size of the gate.
Ensure that the gate posts remain vertical and do not shift during the installation process to maintain stability.
Attach Hinges and Locking Hardware
Measure twice to ensure accuracy before attaching the gate. Then, drill the holes for the hinges at the marked locations. Screw the hinges onto the gate, then attach the gate to the posts.
After attaching the gate, install the locking hardware as recommended.
Finishing Touches
The final touches of your fence project involve attaching post caps and sealing or staining the fence. These steps not only enhance the appearance of your fence but also protect it from the elements. Post caps protect the tops of fence posts from moisture, preventing weather damage, and adding a polished look.
Sealing or staining the fence is the last step. This process protects the wood from weather and enhances its visual appeal. Choose a wood sealer or stain suitable for your fence type and apply it using a brush or roller, starting at the top and working down. Allow the sealer or stain to dry completely before considering the project finished.
Attach Post Caps
Post caps protect the tops of fence posts from moisture, preventing weather damage and enhancing the visual appeal of your fence. Measure the outside diameter of the fence post top to choose the correct size of post caps.
Secure the post caps with glue, screws, or nails, ensuring they are level and centered.
Seal or Stain the Fence
Using a wood sealer or stain not only protects the wood but also improves the overall aesthetics of the fence. Choose a product that matches previous treatments or coatings and apply it with a brush or roller.
This step will ensure your fence remains beautiful and durable for years to come.
Summary
In summary, installing a fence involves careful planning, gathering the right tools and materials, and following a step-by-step process to ensure stability and durability. From determining the purpose and design of your fence to the final touches of sealing and staining, each step is crucial to achieving a professional-looking and long-lasting fence.
We hope this guide has provided you with the knowledge and confidence to tackle your own fence installation project. Remember, a well-built fence not only enhances the functionality and aesthetics of your property but also brings a sense of pride and accomplishment. With patience and attention to detail, you can create a beautiful and sturdy fence that will stand the test of time.
Frequently Asked Questions
Why is it important to confirm property lines before installing a fence?
It’s essential to confirm property lines before installing a fence to prevent any neighbor disputes and ensure your fence is legally and correctly placed. This way, you can enjoy your space without any worries!
What are the benefits of using pressure-treated wood for fence posts?
Using pressure-treated wood for fence posts significantly extends their lifespan and protects them against decay, weather damage, and pests. This means less worry for you in the long run!
How deep should post holes be for a stable fence?
For a stable fence, post holes should be dug below the frost line, usually one-third to one-half the height of the post. This depth helps ensure your fence stands strong against the elements.
Why is sealing or staining the fence important?
Sealing or staining your fence is crucial because it protects the wood from weather damage and boosts its appearance, keeping it looking great and lasting longer.
What are the essential tools needed for fence installation?
You’ll definitely need a post hole digger, tape measure, power drill, and a level for a successful fence installation. Having these tools on hand will help you get precise measurements and install those posts just right!

