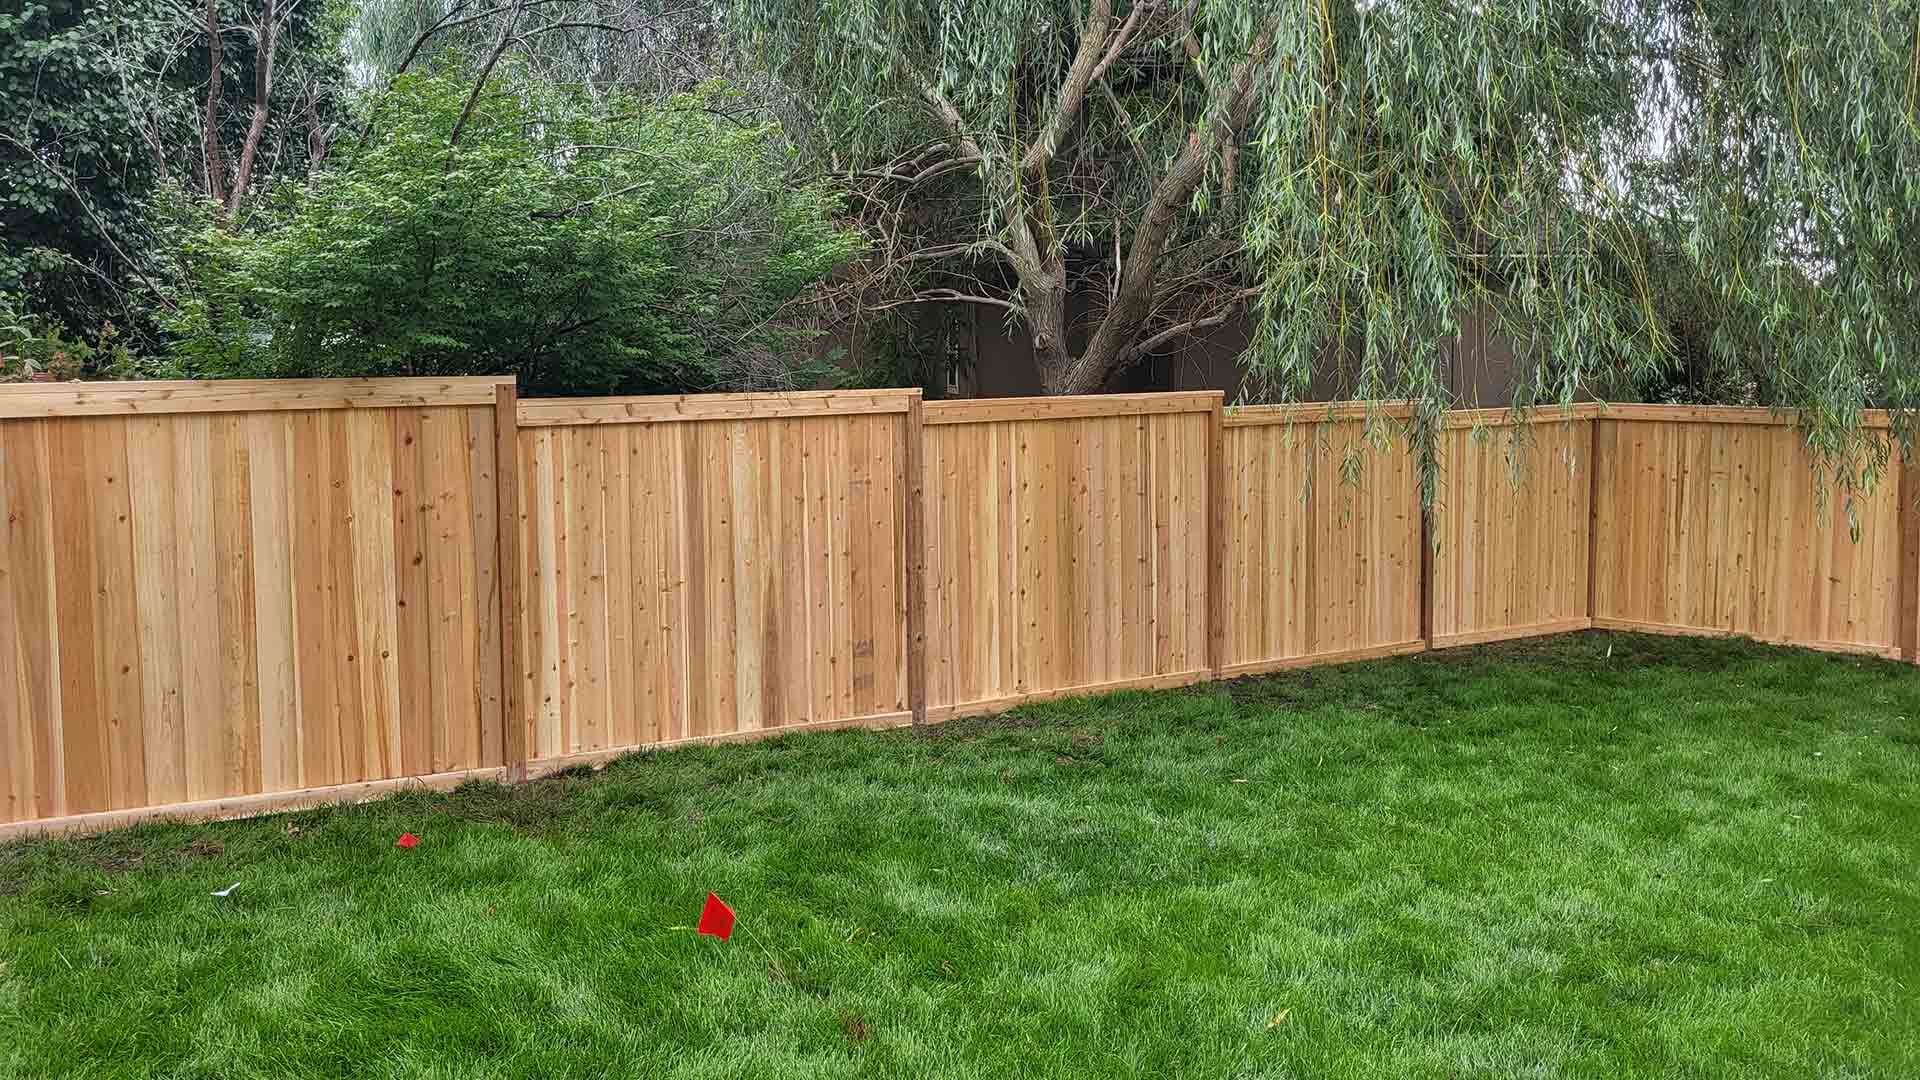
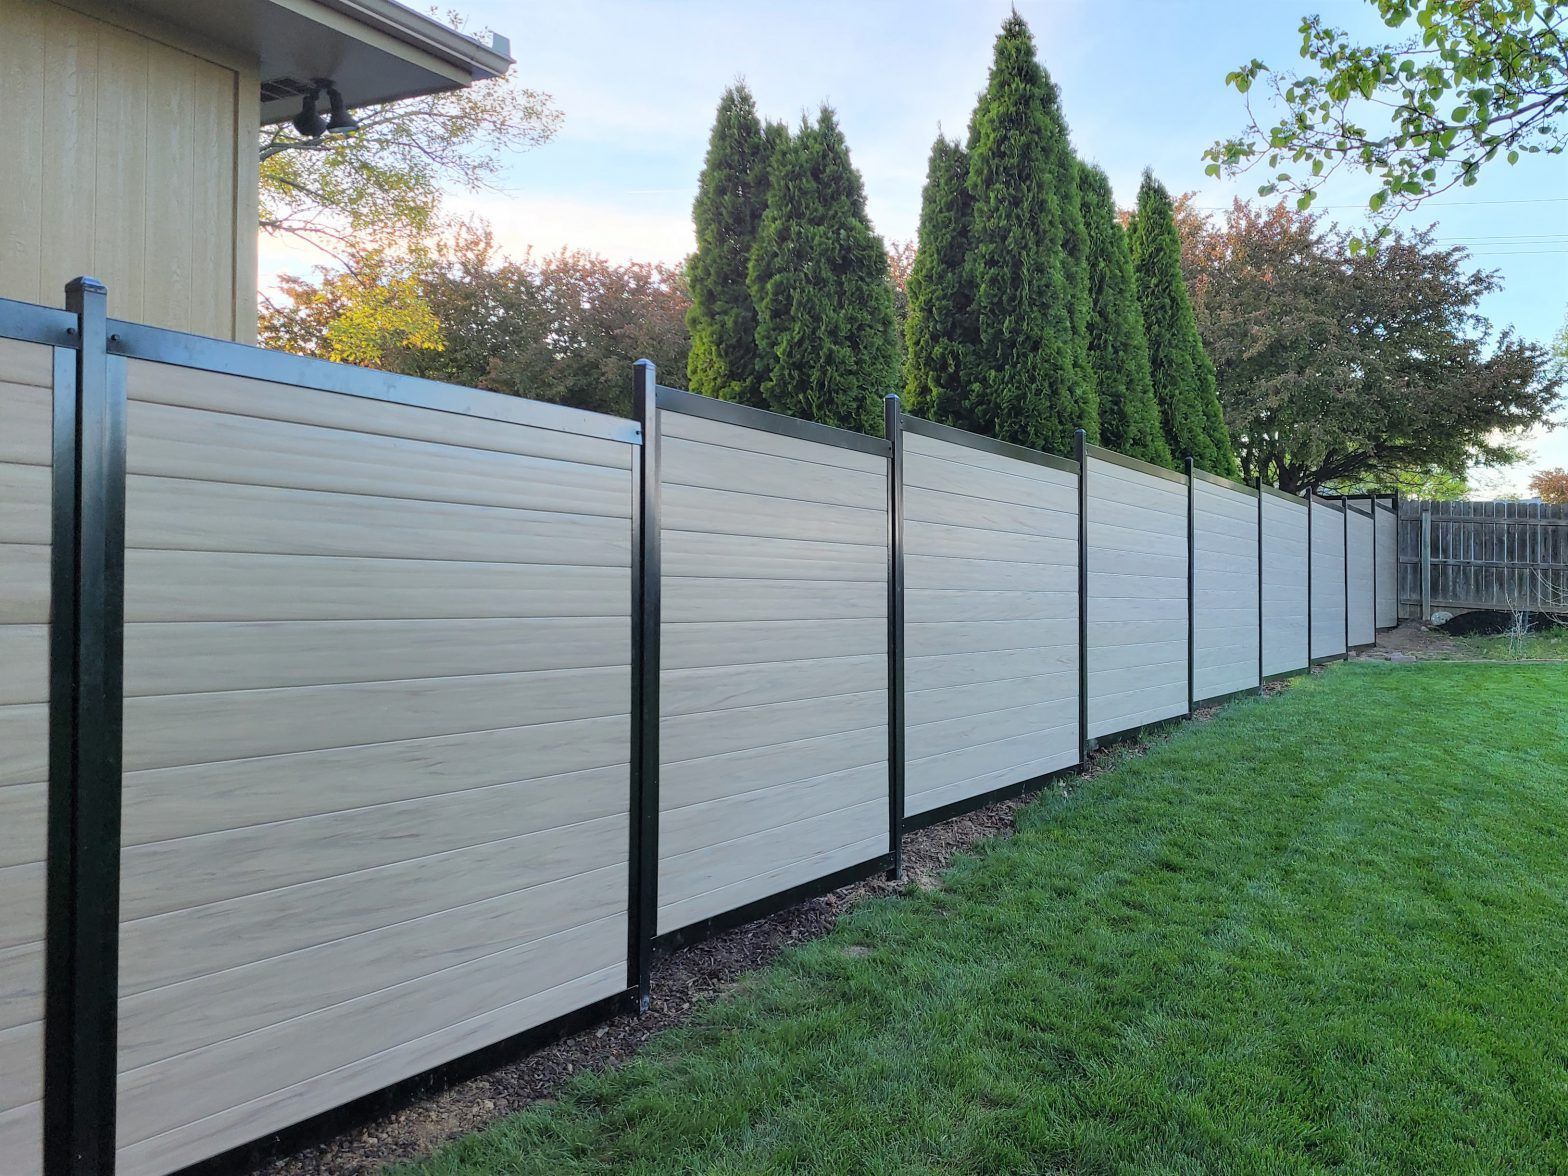
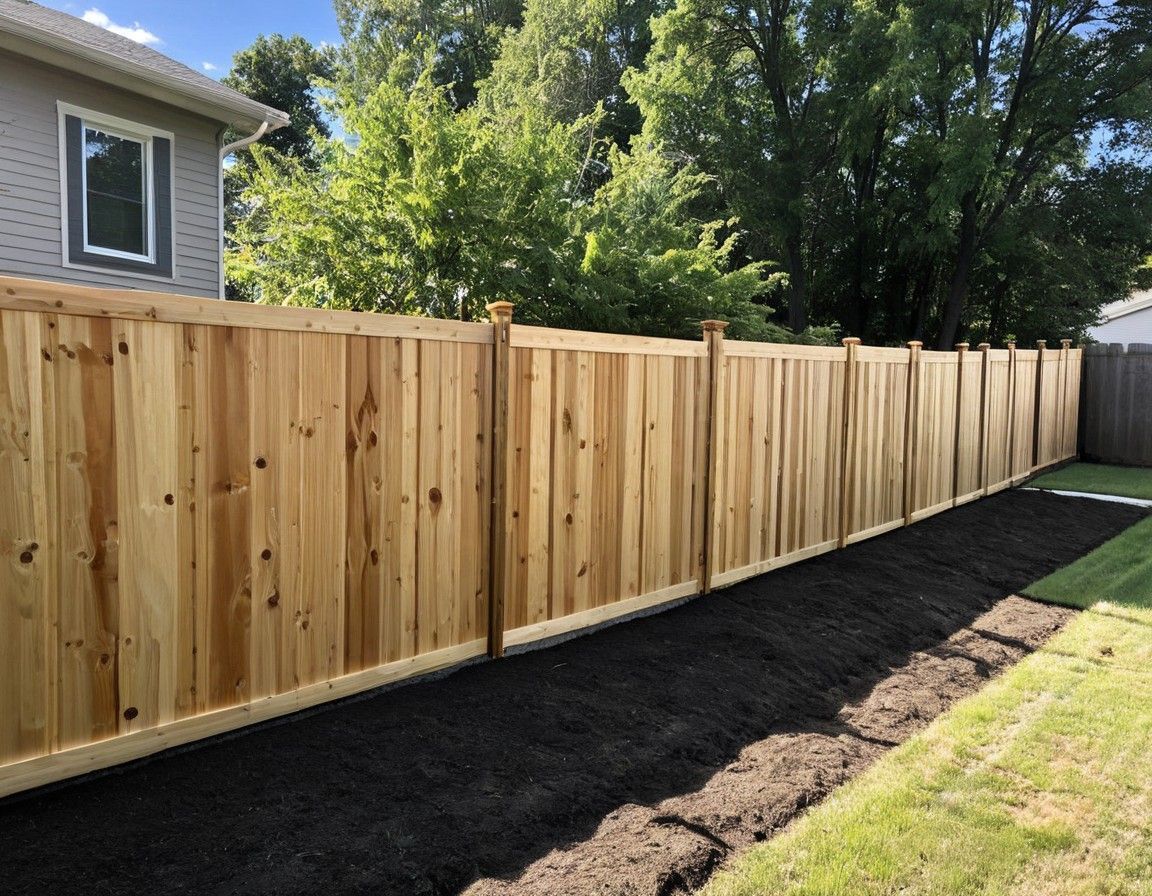
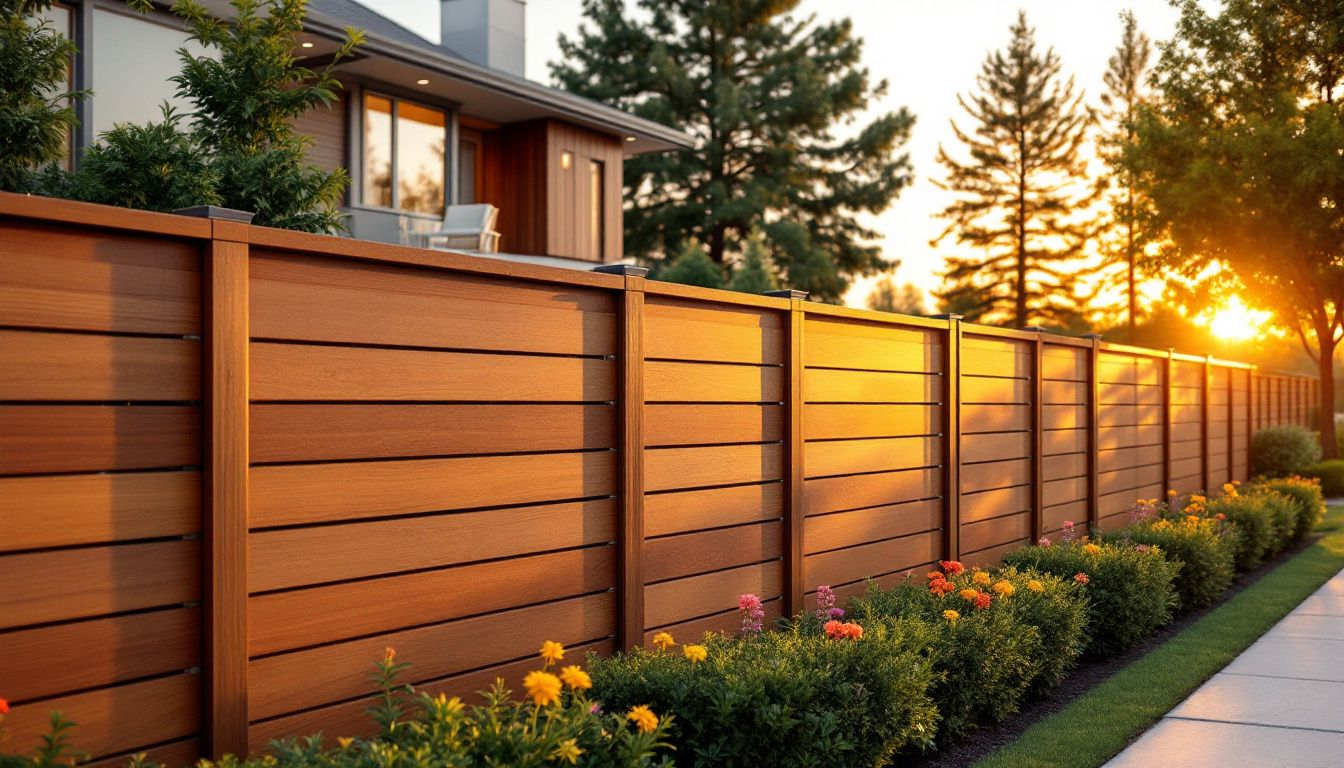
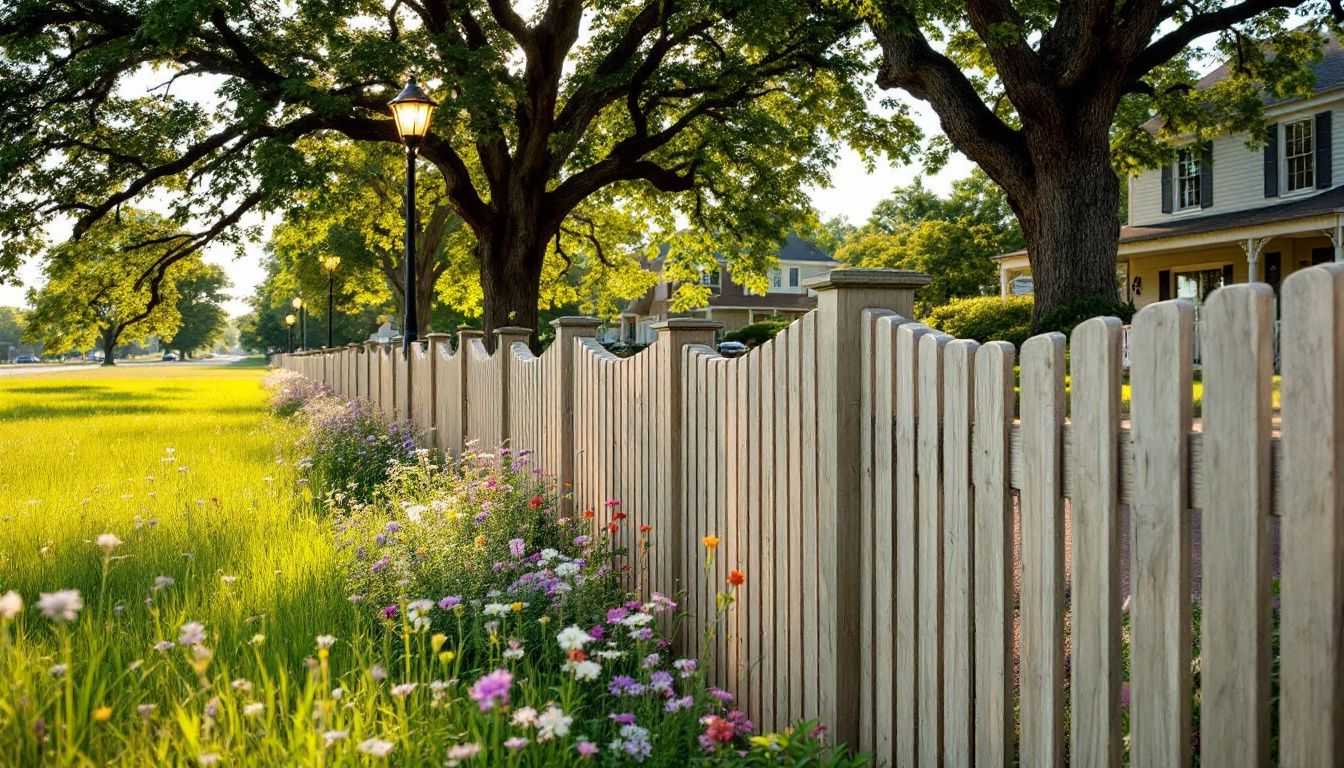
Looking to INSTALL WOOD FENCE? This step-by-step guide covers everything you need to know—from planning and measuring your property to settling posts and adding finishing touches. Follow along, and you’ll have a new, sturdy wood fence installed in no time.
Key Takeaways
- Thorough planning is essential for a successful wood fence installation, including accurate property measurement and compliance with local regulations.
- Gather all necessary materials and tools before starting the installation to ensure efficiency and avoid interruptions.
- Regular maintenance, including inspections and reapplying protective finishes, is crucial for extending the lifespan and maintaining the aesthetic of your wood fence.
Planning Your Wood Fence Installation
Careful planning is the cornerstone of a successful wood privacy fence installation project. Thorough planning ensures your wood fence meets functional and aesthetic requirements and complies with local regulations. Whether you’re looking for enhanced privacy, security, or simply a stylish addition to your property, understanding your goals will guide your choices in materials and design.
Before:
Before you start digging post holes, take the time to measure your property accurately and mark your boundaries. This step helps avoid future disputes and legal issues. Additionally, check local building codes and regulations to ensure your new fence complies with all height limits and permit requirements. This will save you from potential fines and the hassle of having to make costly adjustments later on.
After:
- Measure your property accurately and mark your boundaries to avoid future disputes and legal issues.
- Check local building codes and regulations to ensure your new fence complies with all height limits and permit requirements.
- This will save you from potential fines and the hassle of having to make costly adjustments later on.
Define the Purpose of Your Fence
Clearly defining the purpose of your wood fence ensures it meets your needs effectively. Whether your goal is to create a wood privacy fence, secure your property, enclose pets, or add decorative elements, understanding these factors will significantly influence your choice of materials and design.
For example, a privacy fence would require taller fence panels and possibly thicker fence pickets, while a decorative fence might focus more on aesthetic appeal. Considering the property layout in advance can save you time and money by ensuring an appropriate fence design that fits seamlessly into your landscape.
Measure Your Property and Mark Boundaries
Accurately measuring and marking boundaries is essential for your fence installation project. Begin by referring to your property survey to define the property line. If you don’t have access to a recent survey, you can look for existing boundary markers or hire a professional surveyor.
Using a measuring tape, measure the property dimensions and note any obstacles that might affect your fence layout. Record all measurements carefully to ensure your new fence is installed along the correct fence line, avoiding disputes and ensuring proper stability.
Check Local Building Codes and Regulations
Verify local building codes and regulations to ensure your fence meets height and design requirements. Before you start building, it’s often necessary to obtain a permit, especially if your fence exceeds certain heights as defined by local regulations.
Additionally, always check for any utility lines under or near your property that may be affected during the fence installation process. This step will prevent any accidental damage and ensure your project proceeds smoothly.
Gathering Materials and Tools
Having all necessary materials and tools beforehand ensures a smoother and more efficient installation. Not only does this preparation save time, but it also helps in managing the material cost effectively. Essential materials include pressure-treated lumber, concrete mix, fence panels, post caps, deck screws, and galvanized nails.
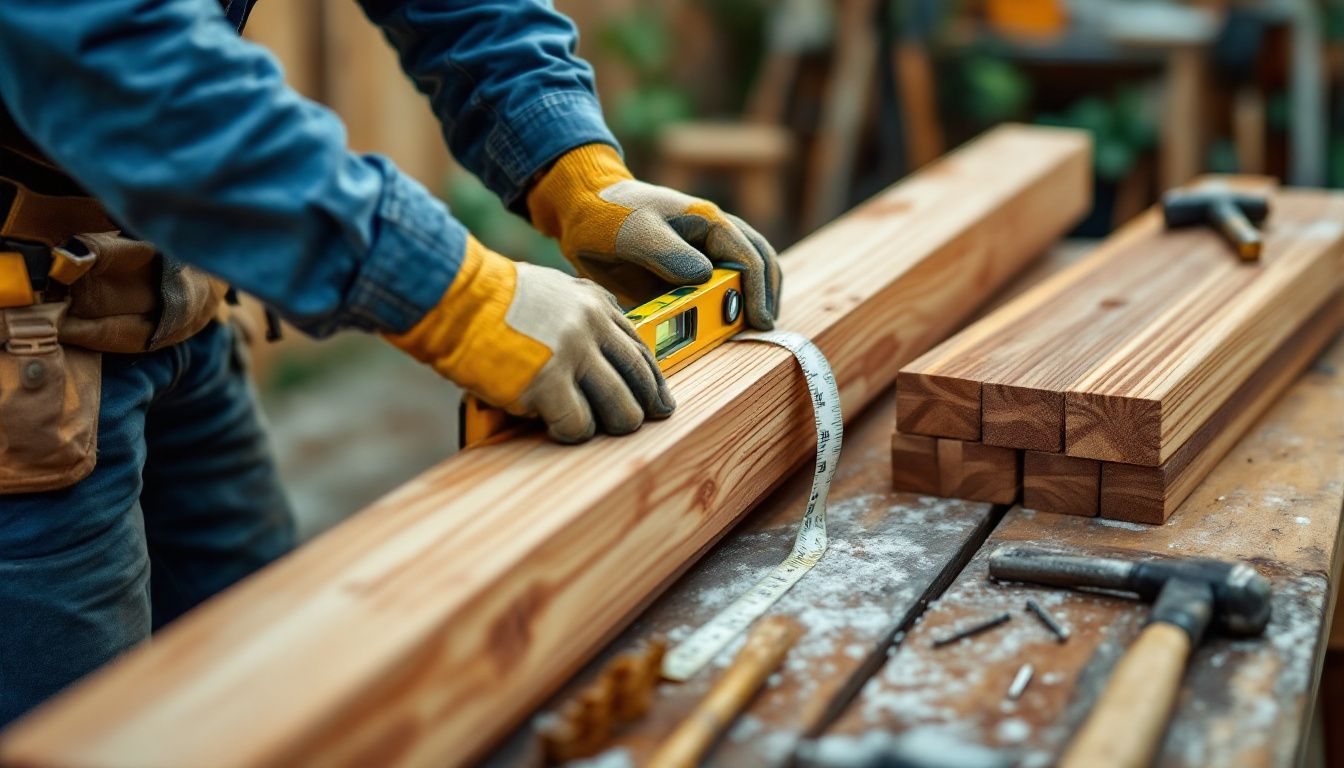
Having the right tools at hand is equally important. You’ll need a post hole digger, circular saw, measuring tape, string line, drill, level, and power auger. These tools will help you achieve precise cuts and measurements, ensuring each part of your fence fits together perfectly.
Preparing both materials and tools sets the stage for a successful installation.
Essential Materials
The essential materials for a wood fence installation include pressure-treated lumber for the posts, framing, and planking boards, as well as concrete mix, deck screws, galvanized nails, gate hardware, and post caps. Pressure-treated lumber or cedar is recommended for its durability and resistance to rot.
The cost of lumber can range from $1 to $15 per linear foot, depending on the type and quality. Having all these materials ready will help you avoid interruptions and keep the total cost within budget.
Necessary Tools
The necessary tools for installing a wood fence include both manual and power tools. You’ll need a post hole digger and measuring tape for precise measurements and digging holes. A circular saw is essential for trimming pickets and rails to the desired height.
Other crucial tools include a string line for marking straight lines, a drill for fastening screws, a level to ensure everything is plumb, and a power auger to make digging post holes faster and easier.
Having these tools on hand will make the installation process more efficient and accurate.
Marking and Digging Post Holes
Marking and digging post holes are foundational steps in your fence installation project. Before you start, it’s essential to call 811 to check for underground utilities to avoid damaging any lines. Once you have your layout planned, measure and mark the fence posts to ensure accurate spacing.
Using a power auger can significantly speed up the process of digging post holes compared to manual methods. The depth of the post holes should be about one-third the height of the fence, plus an additional 6 inches for drainage gravel. Ensuring uniformity in depth and width for each post hole is crucial for the stability of your fence.
Marking Post Locations
Marking post locations accurately is essential for a stable fence. You can use spray paint or stakes to mark the exact positions for the fence posts. Ensure that the post locations are spaced at least 6-8 feet apart for optimal stability.
This spacing helps in maintaining the structural integrity of your wood fence, ensuring that the posts are properly supported and aligned.
Digging Post Holes
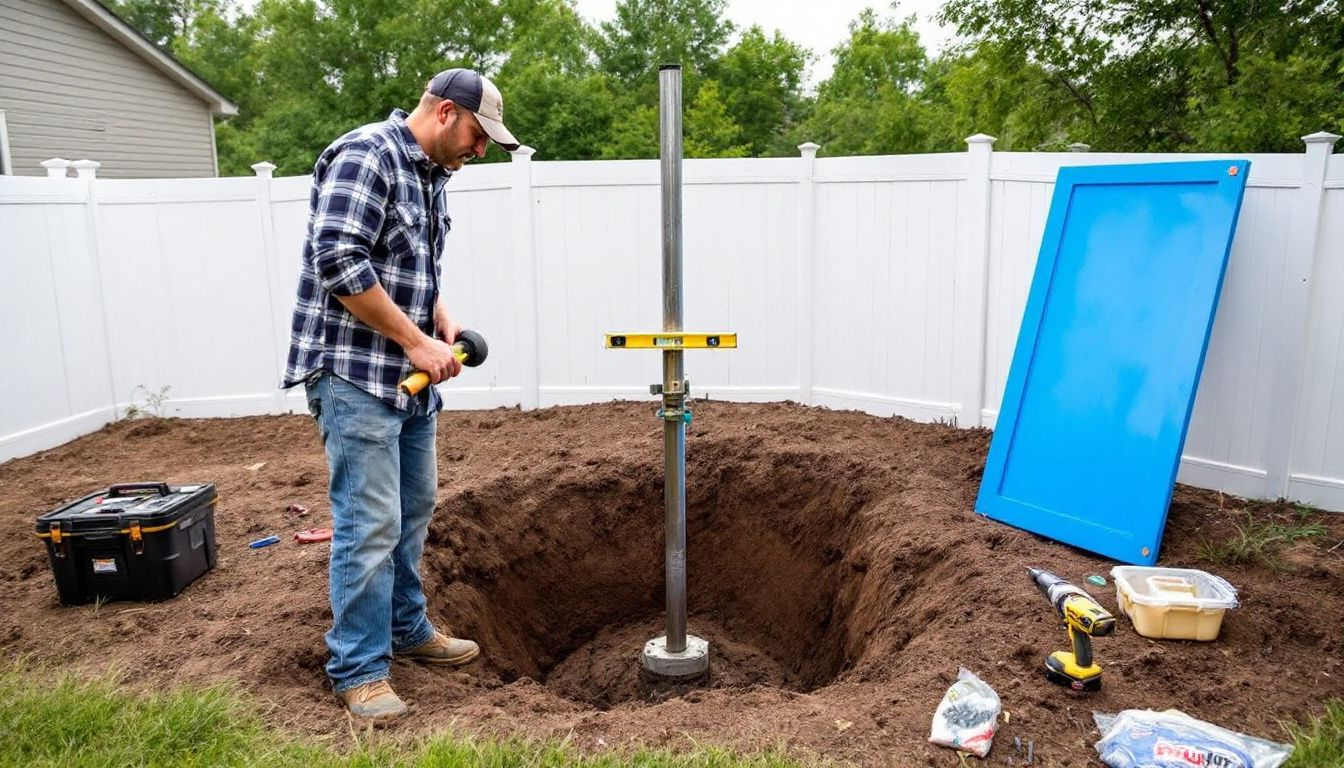
When it comes to digging post holes, using tools like a post hole digger or power auger will make the task easier and quicker. For a six-foot-high fence, the post holes should be approximately two feet deep to ensure adequate stability.
Different soil types may require adjustments in post hole depth; for instance, sandy soils should be dug deeper. Always ensure each hole is uniform in depth and width, and place a few inches of gravel at the bottom for drainage to prevent wood rot.
Setting Fence Posts in Concrete
Setting your fence posts in concrete is a crucial step in ensuring the stability and longevity of your wood fence. Begin by ensuring that each post hole is the right depth and width before placing the posts. For proper drainage, add a few inches of gravel at the bottom of each hole. This will help ensure that water does not accumulate.
Once the posts are in place, pour the mixed cement and tamp it down to secure the posts. Use a bubble or laser level to ensure each post is upright and plumb. This foundation is key to supporting the entire structure of your fence, so take your time to set the posts properly.
Mixing Concrete
Mixing concrete correctly is vital for a solid foundation. Use quick-drying cement and follow the manufacturer’s instructions for the right water-to-mix ratio. Mix small batches of cement while setting the posts. This strategy helps prevent waste.
Ensure the concrete mix is just right, as too much or too little water can affect its strength. Once mixed, the concrete should be poured immediately into the post holes.
Installing Fence Posts
To install the fence posts, insert each post into its respective hole and fix it in place with concrete. Use a level to ensure each post is upright and plumb, checking both axes for accuracy.
Properly set posts are essential for the stability of your wood fence, preventing future structural issues.
Allowing Concrete to Set
Allow the concrete to harden for 10 to 24 hours for optimal strength. Keeping the concrete moist during the setting process prevents cracking, so consider covering it to maintain moisture and avoid exposure to extreme temperatures.
This step ensures that your fence posts are securely set and ready to support the rest of the fence structure.
Attaching Fence Rails and Panels
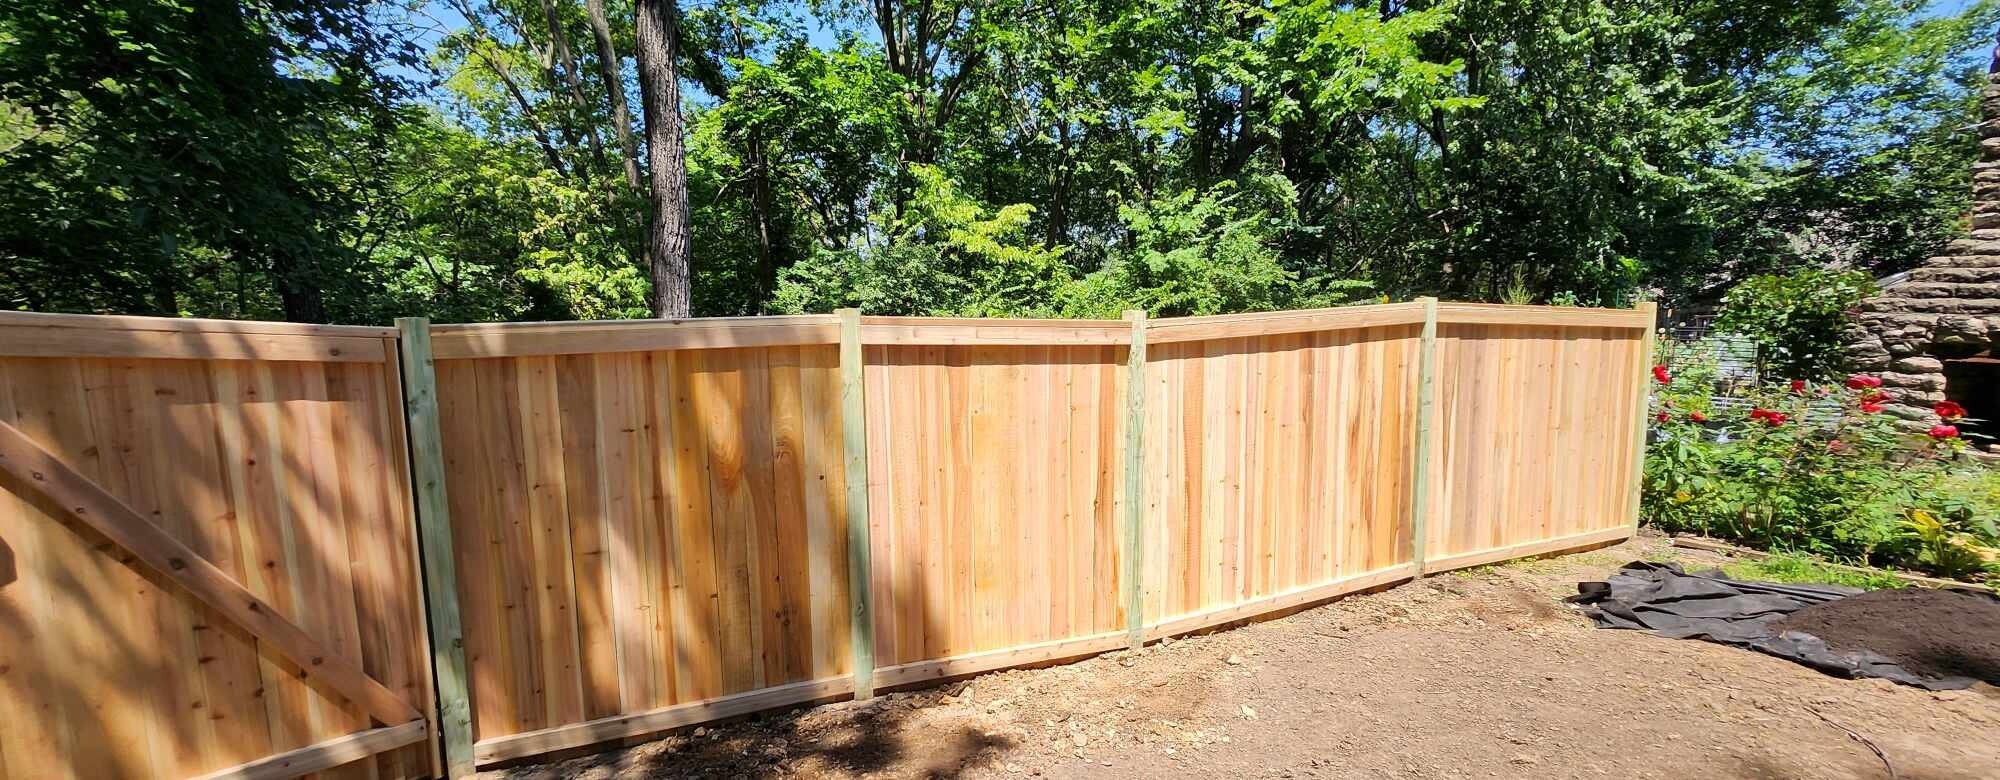
Attaching fence rails and panels is where your fence starts to take shape. Using preassembled fence panels can simplify the construction process, although a component-built fence may adapt better to uneven ground. Ensure that all fasteners used are specifically designed for treated lumber to prevent future corrosion issues.
A level is crucial for ensuring that the fence panels and posts are installed straight, preventing structural problems. Heavy-duty hinges and sturdy components for the gate will prevent sagging and ensure durability.
Installing Fence Rails
To install fence rails, first, use a measuring tape to mark the correct positions. Then, utilize a chalk line and a level to accurately place the rail brackets. Ensure the brackets are level before fastening them to the fence posts for proper stability.
Attach the support rails to the brackets, starting with the bottom rail and then the top rail. Tighten all screws firmly to ensure that the rails are securely attached.
Securing Fence Panels
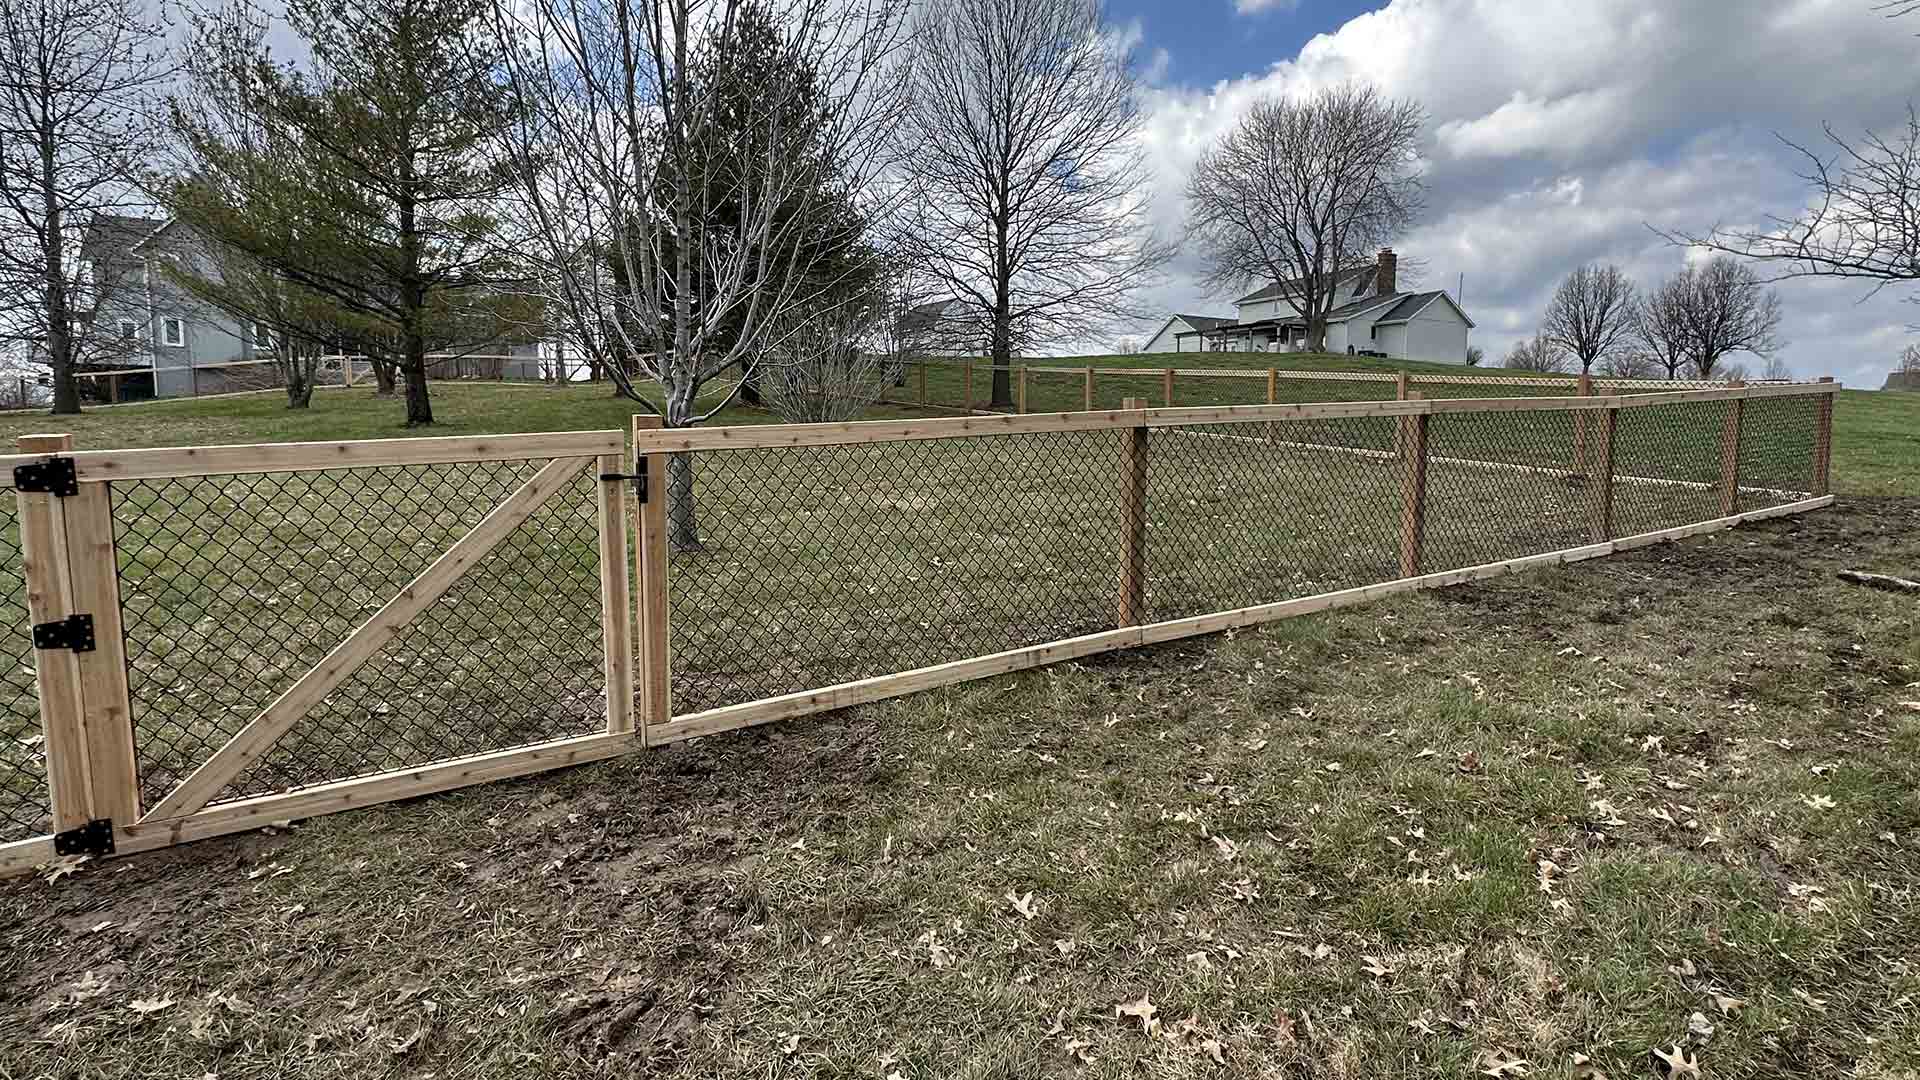
To secure the fence panels, place the first picket or panel into position, ensuring it is level and straight. The recommended height for the bottom of the fence pickets above the ground is 1-1/2 inches. Drive screws straight into the rail, spacing them evenly for a secure fit.
As the wood fence ages, the pickets may experience slight shrinkage, so take this into account when spacing the panels.
Installing the Fence Gate
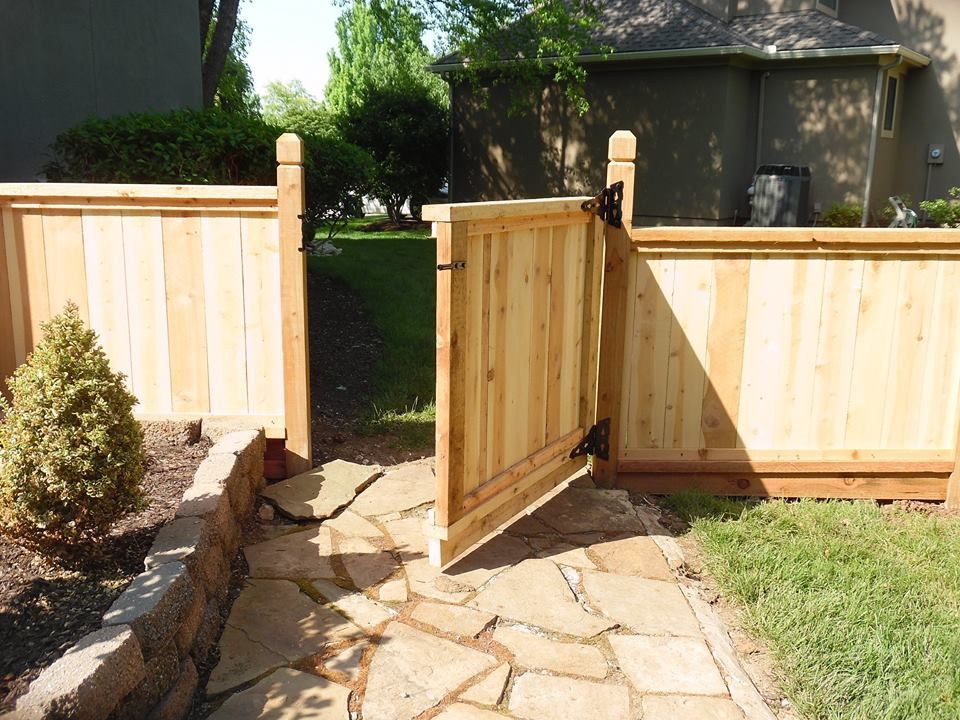
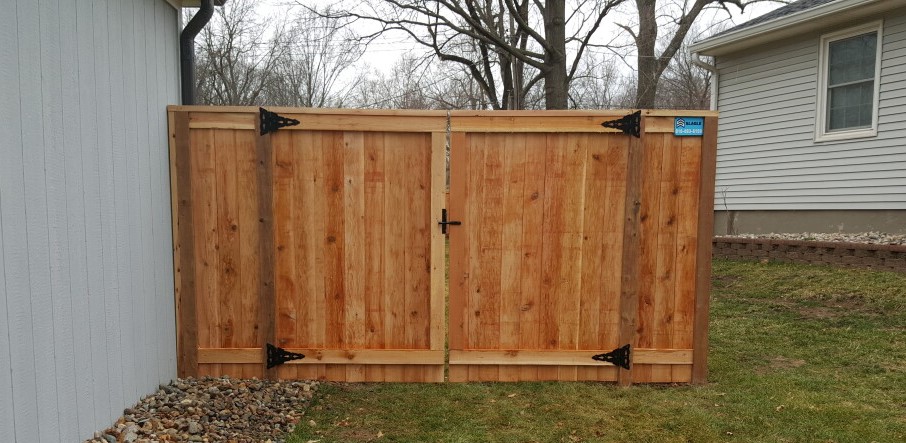
Installing the fence gate is a critical step that requires precision and the right hardware. Using a complete gate hardware kit can simplify the installation process by ensuring all components fit together properly. Ensure the gate is installed at the same height and alignment as the rest of the fence to maintain a uniform appearance.
A gate stop can prevent the gate from swinging too far and causing damage during use. Heavier gates require stronger hinges, such as strap or butterfly hinges, while lighter gates can use simpler utility hinges.
Selecting Gate Hardware
Selecting the right gate hardware is essential for a functional and durable gate. A gate hardware kit is necessary for a successful installation, helping to keep the gate square and prevent sagging over time.
Ensuring proper gate alignment is crucial for the functionality of the gate, so choose hardware that fits well with your fence design and can be found at your local hardware store.
Installing the Gate
To install the gate, attach it to the fence posts using the selected hardware. Check that the gate swings freely and does not hit the fence. Ensure that the gate is aligned with the rest of the fence for proper closure.
This alignment ensures the gate functions smoothly and maintains the overall aesthetic of your wood fence.
Finishing Touches for Your Wood Fence
Once your fence rails and slats are securely in place, it’s time to move on to the finishing touches. These final steps are crucial for both the aesthetics and longevity of your wood fence. Applying a sealer or stain will protect the wood from the elements and enhance its appearance. A well-sealed fence can last over 20 years with proper care and upkeep.
Additionally, using waterproof wood glue can help seal any cracks or splits in the wood, further protecting your investment. Ensuring proper drainage by sloping the mix down and away from the post base will prevent water damage. These finishing touches not only add to the aesthetic appeal of your fence but also ensure its durability.
Attaching Post Caps
Post caps are both decorative and functional, shielding the tops of fence posts from weather damage. It’s advisable to ensure that the post caps fit snugly to prevent water from pooling around the post.
Installing these caps correctly will enhance the appearance of your fence and protect the posts from moisture, extending their lifespan.
Sealing or Staining the Fence
Applying a stain or sealant protects your wood fence from the elements. Choose a product that is compatible with your type of fence and provides the desired appearance. Stains with UV protection can help prevent fading and prolong the wood’s appearance.
Ensure the wood is thoroughly dry before applying the protective coat, and consider a product that matches previous treatments for easy maintenance in the future.
Maintaining Your Wood Fence
Maintaining your wood fence prolongs its lifespan and keeps it looking its best. Regular maintenance includes cleaning the fence every 2-3 years to remove dirt and prevent mildew. This not only enhances the fence’s appearance but also helps to prevent damage caused by moisture and other environmental factors.
Reapplying a protective finish, such as a stain or sealant, every 3-5 years is essential to safeguard against moisture and UV damage. Ensuring adequate drainage around the fence prevents water from pooling at the base of the posts, further extending the life of your wood fence.
Regular care and attention can help your fence remain sturdy and beautiful for many years.
Regular Inspections
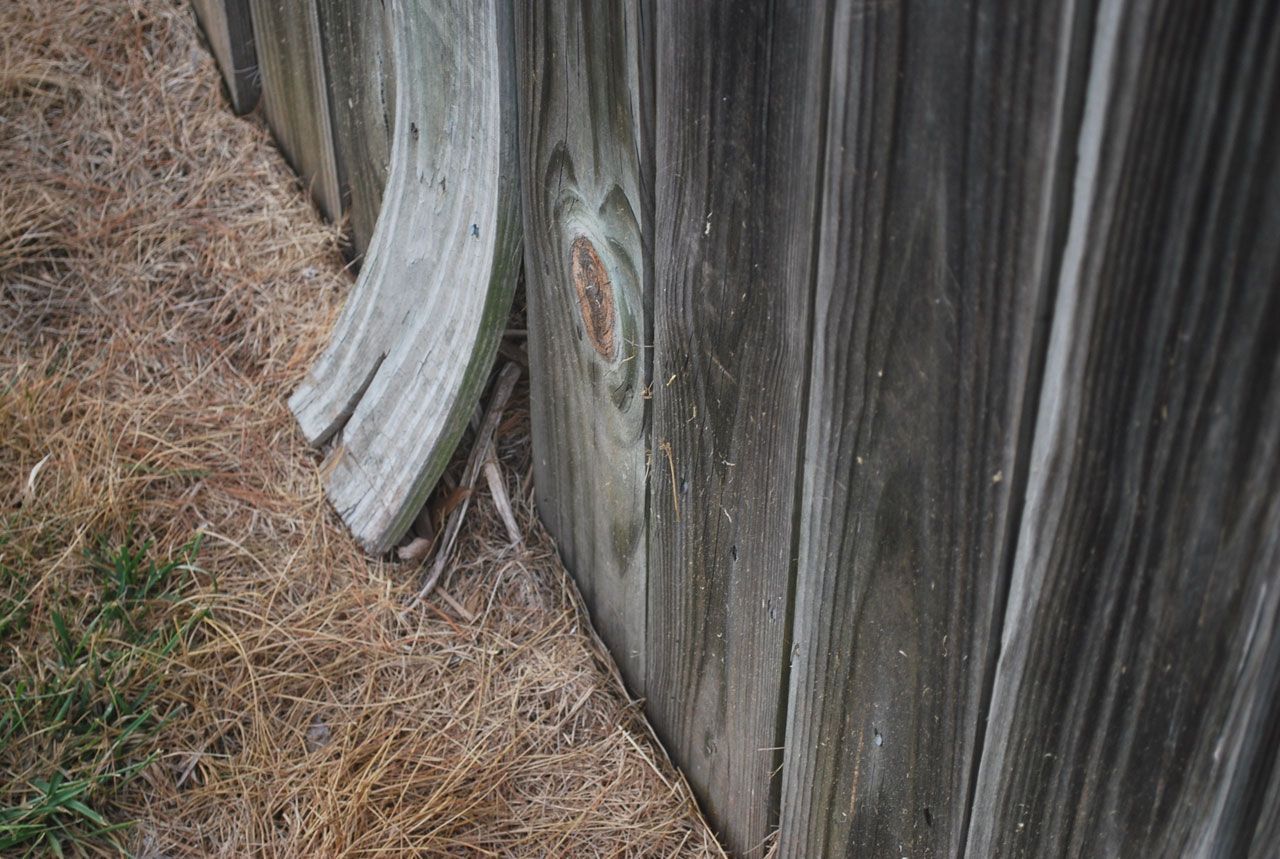
Inspect your wood fence annually to identify and address any damage. Look for broken boards, loose fittings, and signs of insect infestations or wood rot. Regular evaluations can catch issues early, allowing for timely repairs and ensuring the proper stability of your fence.
Addressing these problems promptly will help maintain the fence’s integrity and appearance.
Cleaning and Reapplying Finish
Cleaning your wood fence yearly helps maintain its appearance and prolong its life. After cleaning, reapply sealer or stain as needed to protect the wood from the elements.
This regular maintenance, including cleaning and reapplying finish, is crucial for keeping your fence in great condition.
Summary
In summary, installing a wood fence involves careful planning, precise measurements, and the right materials and tools. From defining the fence’s purpose to setting the posts in concrete and attaching the rails and panels, each step is crucial for a successful installation. Finishing touches like sealing or staining and regular maintenance will ensure your fence remains durable and attractive for years to come. By following this guide, you can achieve a professional-looking wood fence that enhances the privacy, security, and aesthetic appeal of your property. Ready to start your fence installation project? Let’s get building!
Frequently Asked Questions
Do I need a permit to install a wood fence?
Yes, you typically need a permit to install a wood fence, particularly if it exceeds specific height limits set by local regulations. Always check with your local authorities to ensure compliance.
What tools do I need for installing a wood fence?
You will need a post hole digger, circular saw, measuring tape, string line, drill, level, and possibly a power auger to successfully install a wood fence. Having these tools on hand will streamline the installation process.
How deep should the post holes be for a wood fence?
For a six-foot-high wood fence, post holes should be approximately two feet deep to ensure stability and support.
How often should I clean and maintain my wood fence?
To maintain your wood fence effectively, clean it annually and reapply a protective finish every 3-5 years. Regular maintenance will help preserve its appearance and longevity.
What type of wood is best for a wood fence?
Cedar or pressure-treated lumber is best for a wood fence due to their durability and resistance to rot. Selecting these materials will ensure your fence lasts longer.


